Spring has sprung, which not only means we have begun our first full growing season here on the mountain (last year we didn't move in until mid June) but several projects we have been planning over the winter can be started. In this case the project is the resurfacing of the circular driveway with half inch stone and the addition of a parking area off to the side of the property.
We presently have two vehicles so the circular driveway is manageable, even if it means someone may need to back out of the driveway to leave the property. But with the child unit several months away from a driving license and a car projected to be in her future, we needed some place to park the vehicles that would allow all of us to come and go whenever we wished without playing musical vehicles.
Besides, the area within the circular driveway is so pretty and inviting when seen from the front porch and kitchen window that the view of cars parked on the circular driveway just destroys the aesthetics of the setting.
Click on any image to enlarge.
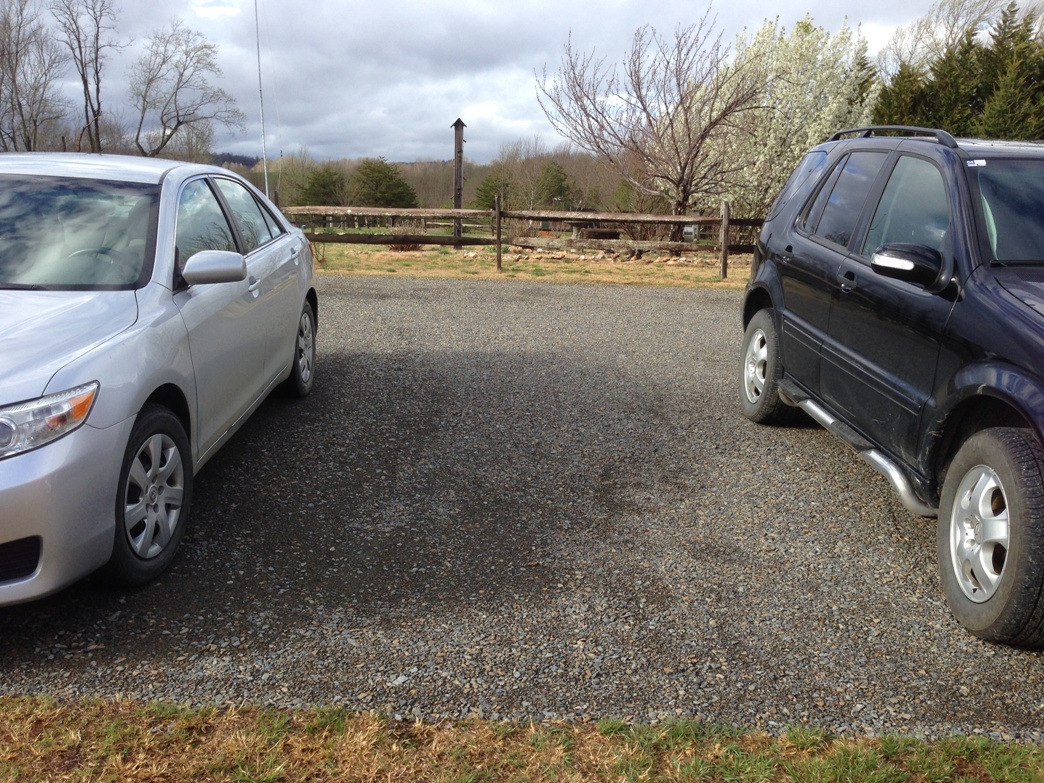
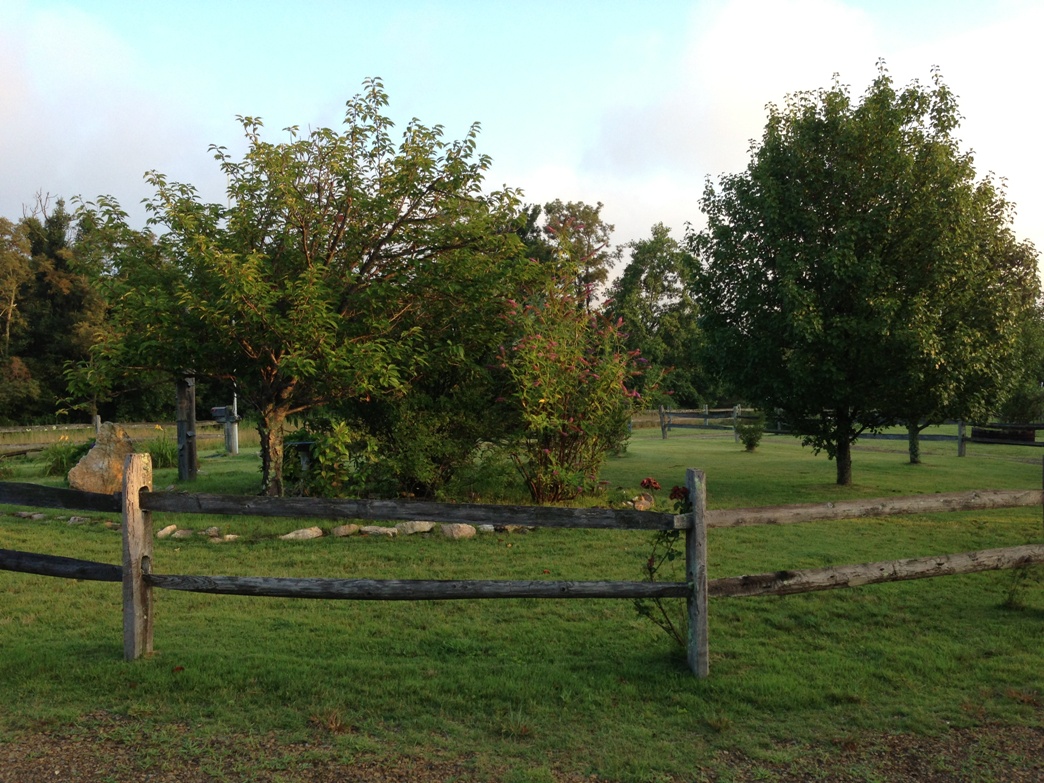 Standing in front of the property and looking at the home, there is an area to the right that could be converted to a full time parking area. In fact that is where we have been parking all winter while leaving minor tire marks and ruts in the lawn. But come a wet spring and/or summer and I just knew those ruts would get even deeper.
So it was decided that we would bring in a contractor to dig out a 30' wide and 25' deep area and put down crushed stone to create an all weather parking area close to the dirt road and connected to the circular driveway. It turns out that the guy we bought some firewood from last fall works for the premier contractor in the area and has access to the equipment. He gave us a fair price to do the work and we hired him to start the next week, a date that was pushed back an additional week due to wet weather.
I used that extra time to lay out the actual parking area using string and marking paint. I debated laying down timbers along the edges to create a clear demarcation between the stone and the existing 'lawn' and decided against doing so. Instead I opted for carefully cutting the lawn along the marked line, then digging out the dirt and grass to create a sharp edge between the dirt and the new crushed stone.
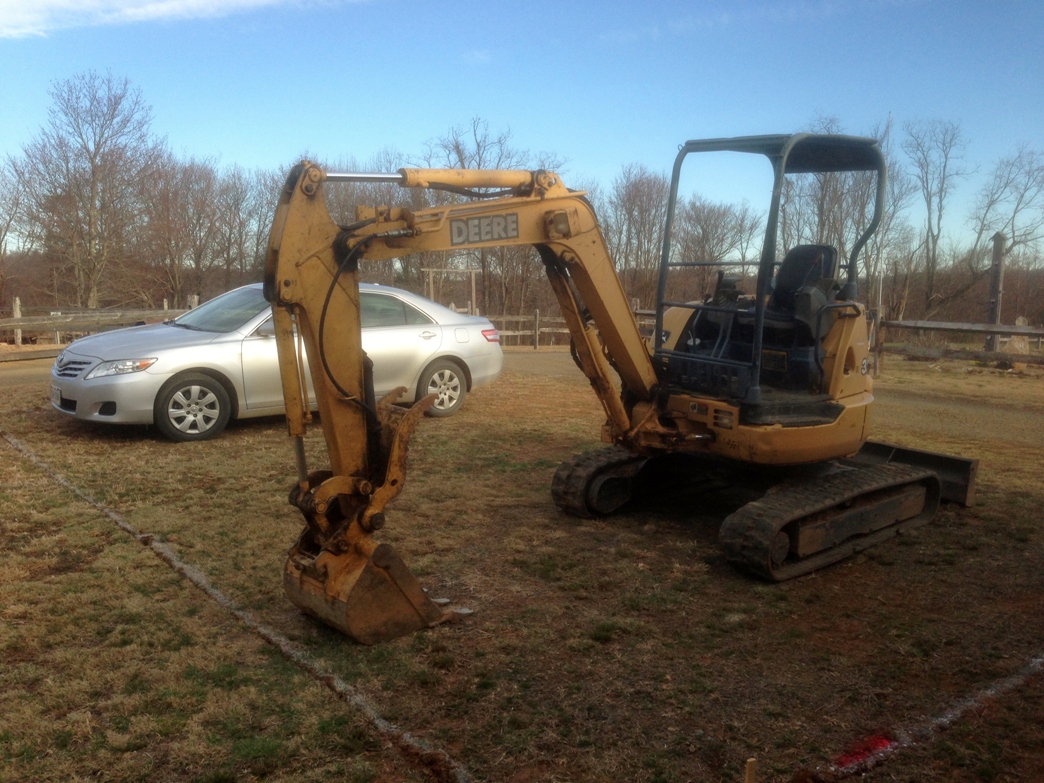
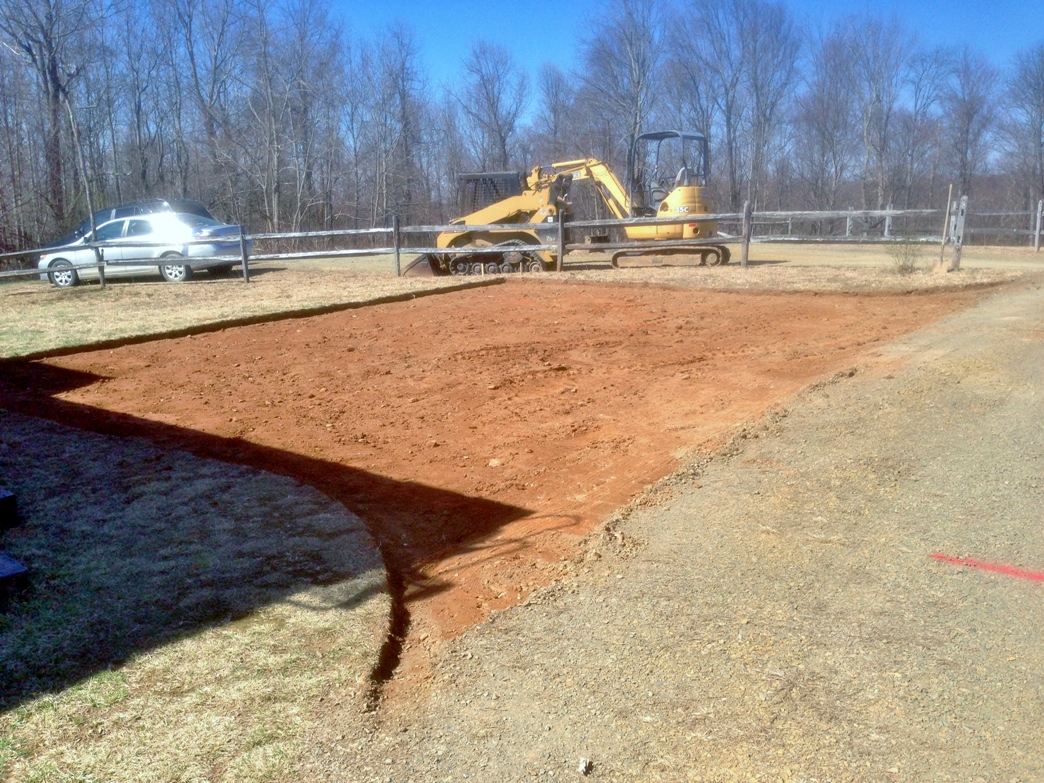
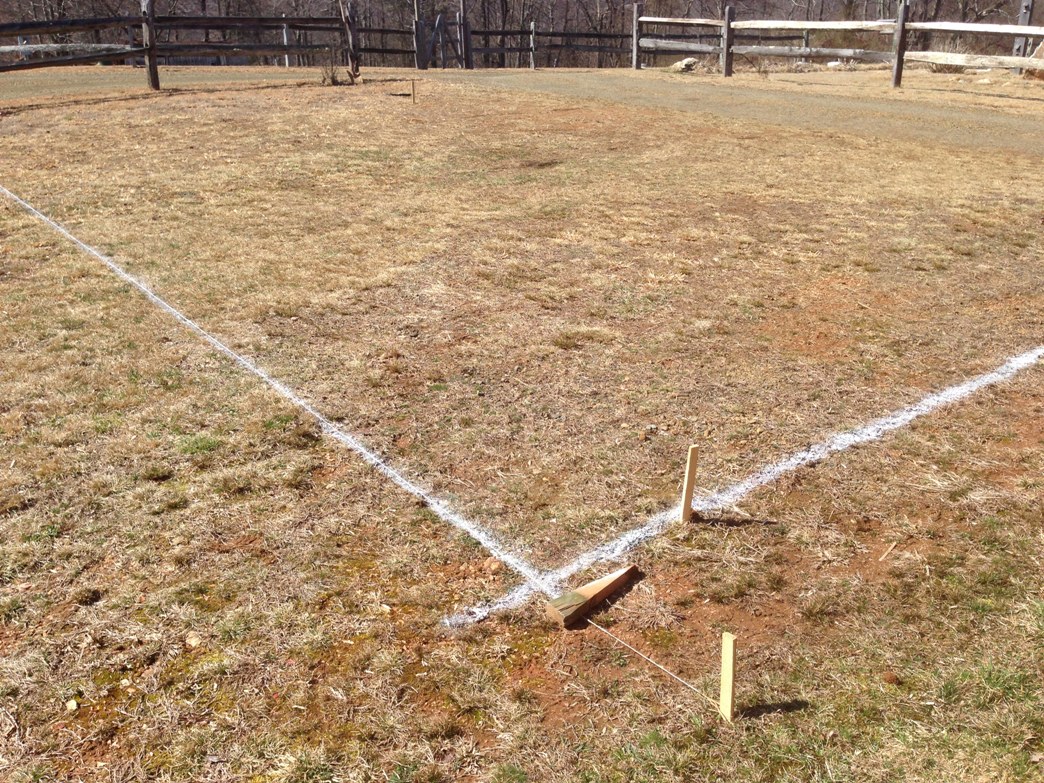 While I measured out the rectangle, then made sure it was square, I actually went with a slightly out-of-square configuration that looked better. Anyone who has rebuilt old kitchens or bathrooms know that you throw out the level and rebuild the place to suit the eye and not the level and ruler. I then used a small straight edged shovel to carefully cut along the edge to make sure it was clean when I dug it out. The image below shows the cut edge and the contractor's equipment parked and ready to go the next day.
 I didn't actually dig out the dirt, grass and clay until the morning the contractor was to begin work. I wanted a clean sharp edge and with all the rain I didn't want the edge eroded from weather while I waited for the contractor to show up. Below you can see the left side already dug out as well as the curve joining the existing circular driveway.
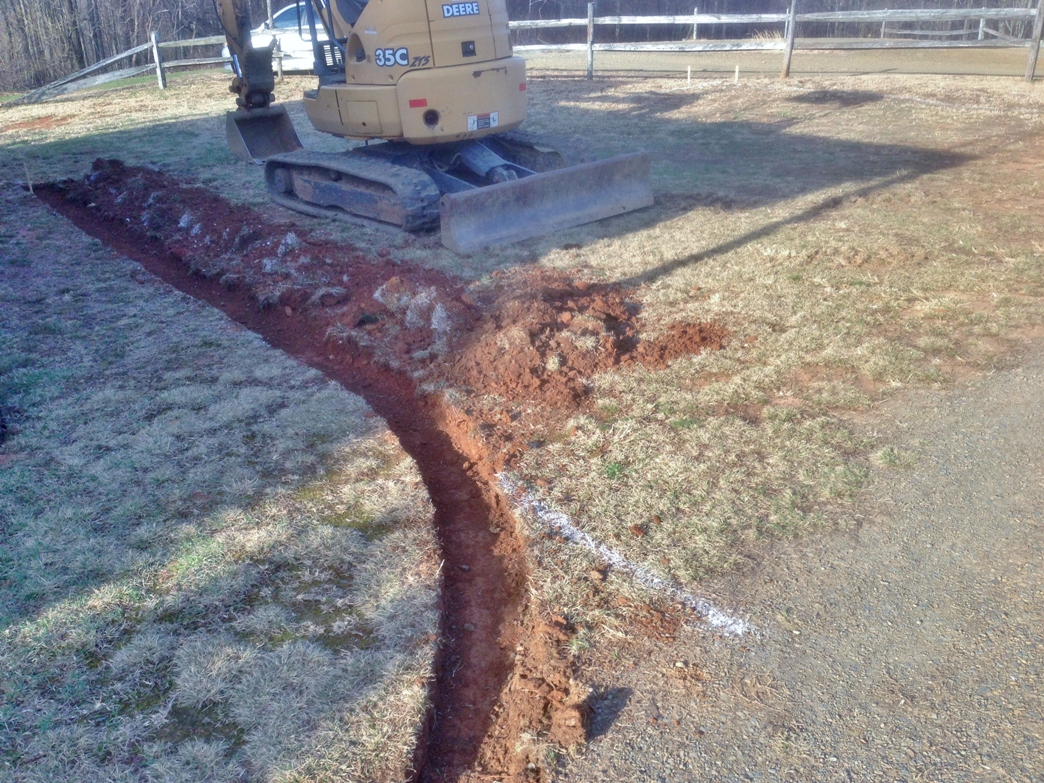 The next image (below) shows the hand excavation extending back out to the road. Because the existing dirt was a combination of grass, some gravel and Virginia red clay I was able to maintain a nice sharp edge as is evident in the images.
 At this point the contractor showed up, and after switching out the toothed shovel on the excavator for the flat wider edged bucket, got right to work. It was immediately obvious to me that despite his relative young age (slightly under 30) the operator was extremely skilled with a light touch at the controls. He told me later he had been operating heavy equipment since he was eight years of age.
I have worked with other equipment operators that I wouldn't get within 20 feet of them when they were working. But this guy had great spatial awareness and within 10 minutes I was very comfortable working within a few feet of his equipment while I finished digging out the far edge of the parking area.
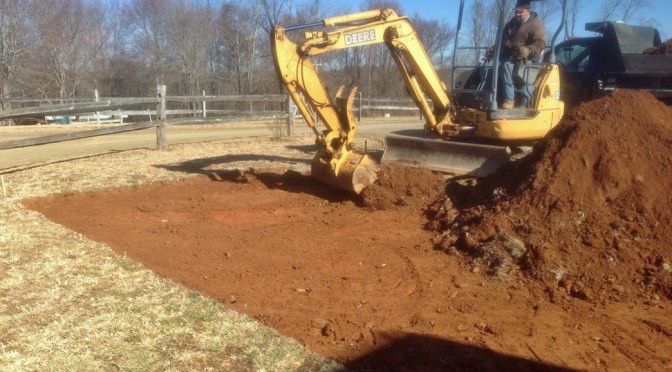
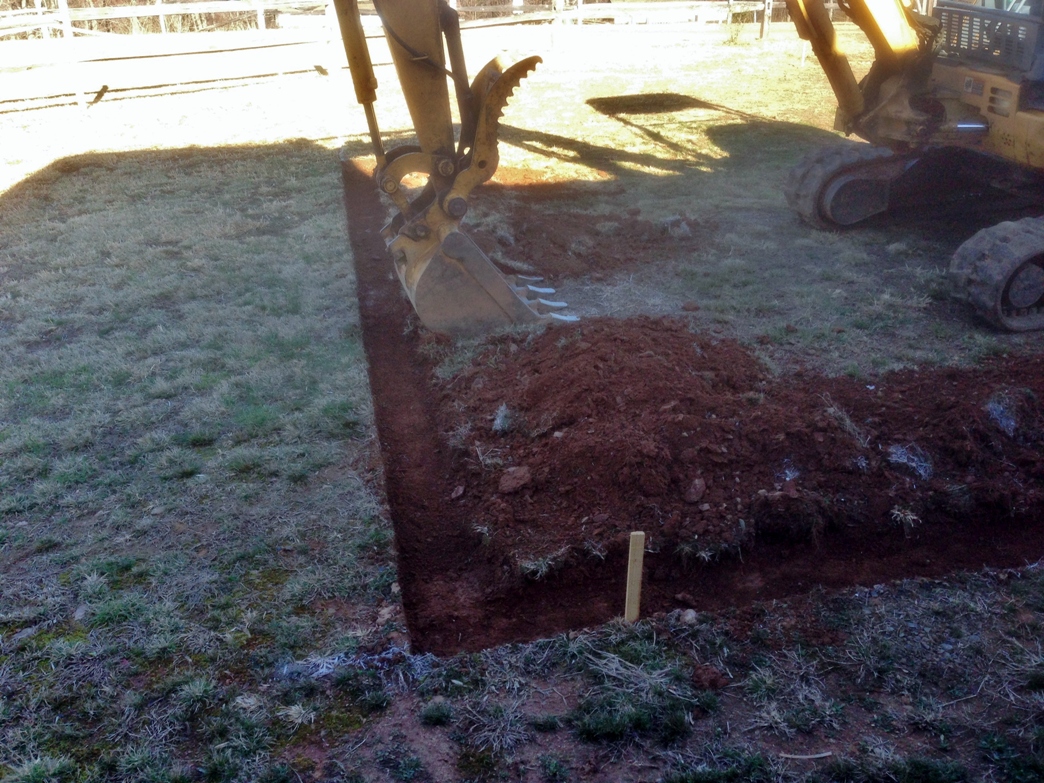
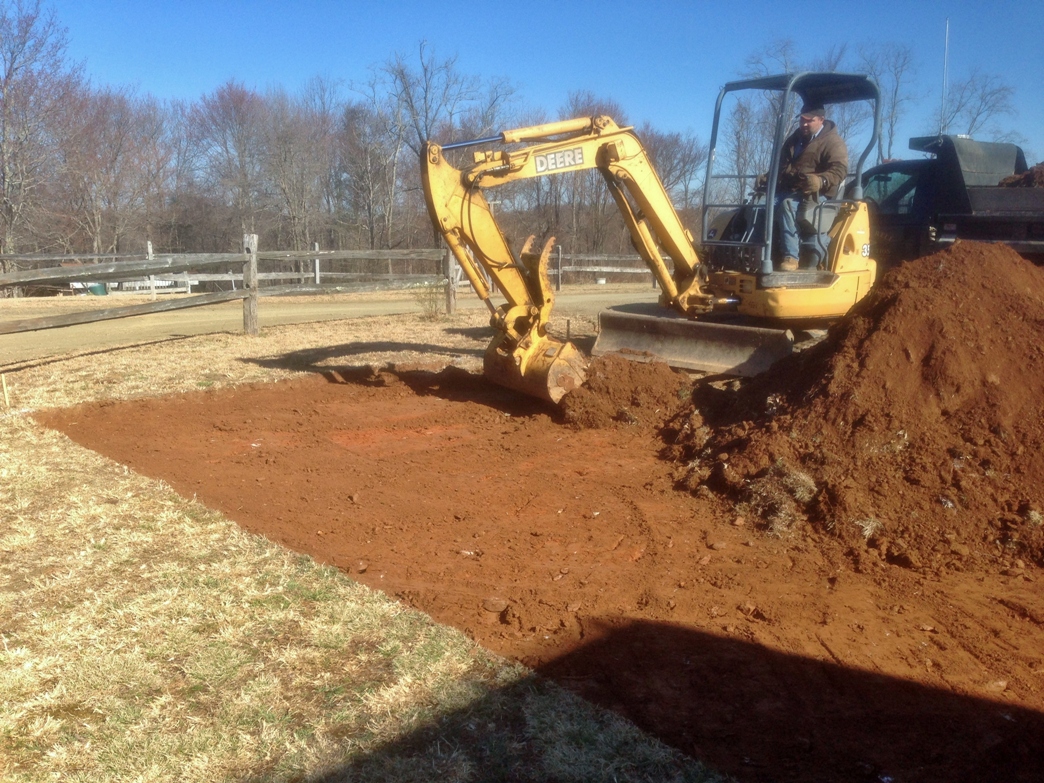
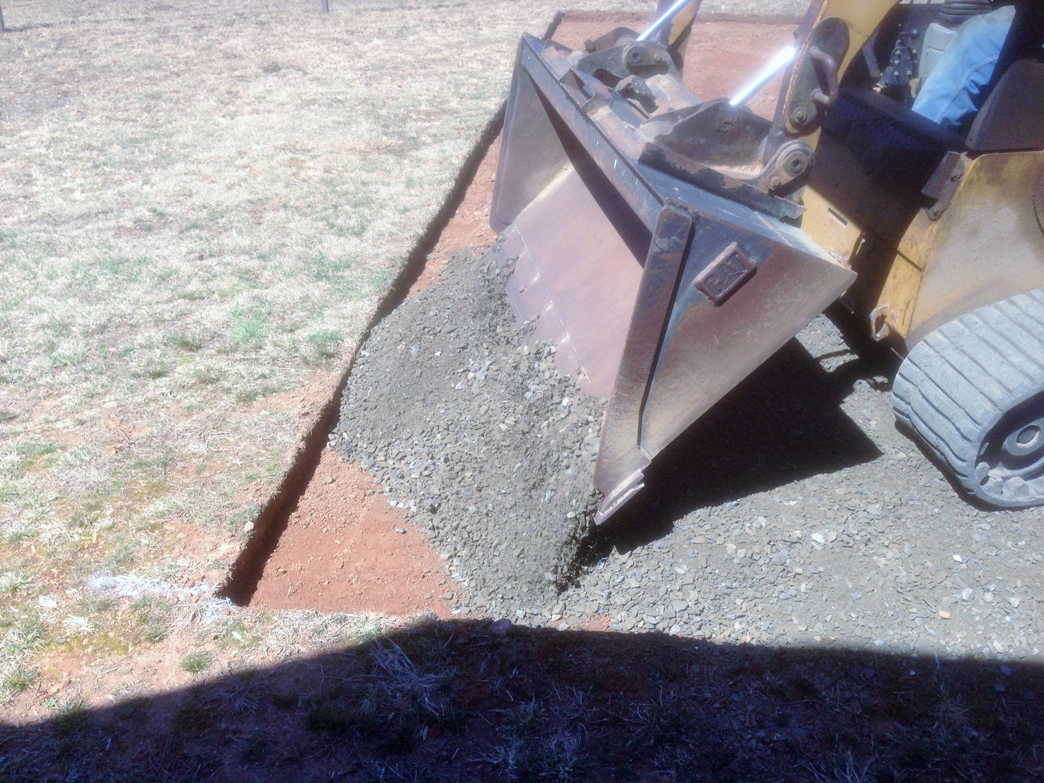
In the image below you can see him removing the dirt while maintaining a nice flat surface, a sure sign of great skill with the equipment. In the background is the circular driveway and off to the right out of the frame is the house. The discarded toothed bucket is to the right in the image. His dump truck, which will be used to relocated the dirt he is removing, is off to the left.
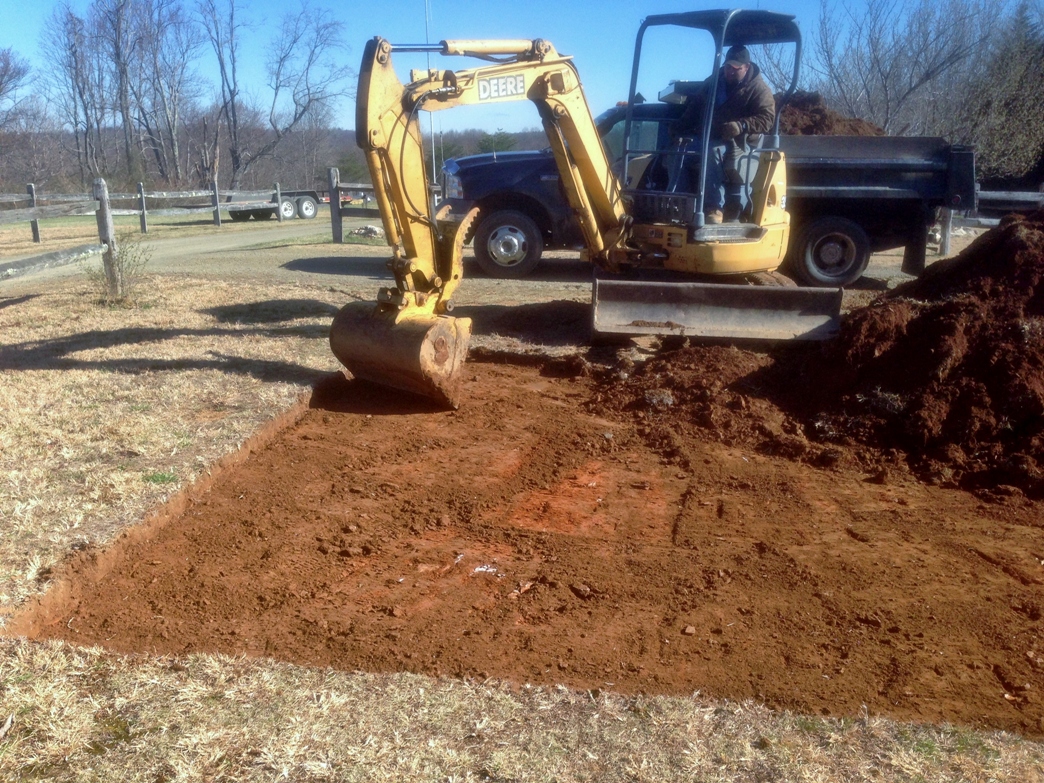
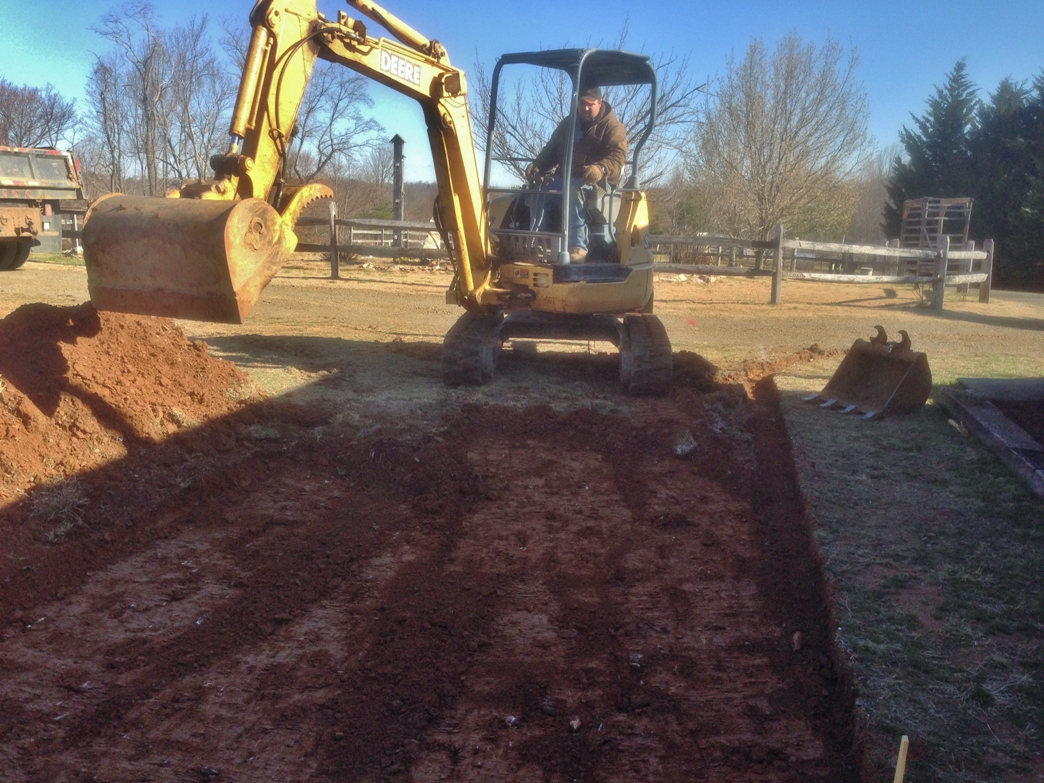 He never touched or even nicked any of my edging, even though he was regularly digging within inches of the sides. Nor did he ever need to add dirt to level off what he just dug out. Below you can see the other side of the parking area as he excavates the dirt. It is always a joy watching a true professional practice his skill.
 And another view (below) of the right side (left in the image) of the new parking area with the dump truck in the back and the dirt road off to the left. While you can see the red clay color in the dirt, it was actually very good soil and we are using it again in the back of the property where I have cleared and want to level the land a bit. That is another project I will be posting about soon.
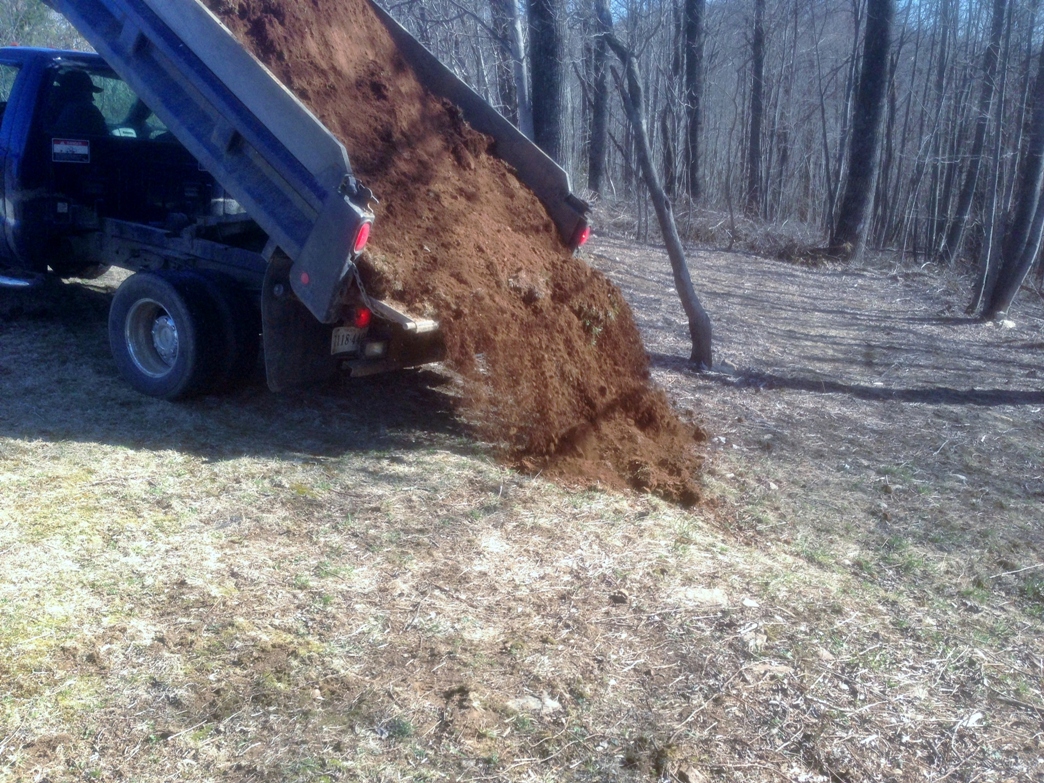
 All this extra dirt was loaded up and trucked back around to an area previously cleared below the soon to be expanded garden area. In total 5 truck loads were dumped back there. While I am not significantly changing the slope I wanted to be able to clear out all the stumps, roots and weeds, then knock down the high spots and fill the lower areas to give me an area than can be maintained with a lawn mower and expanded into with the garden if needed at a future time.
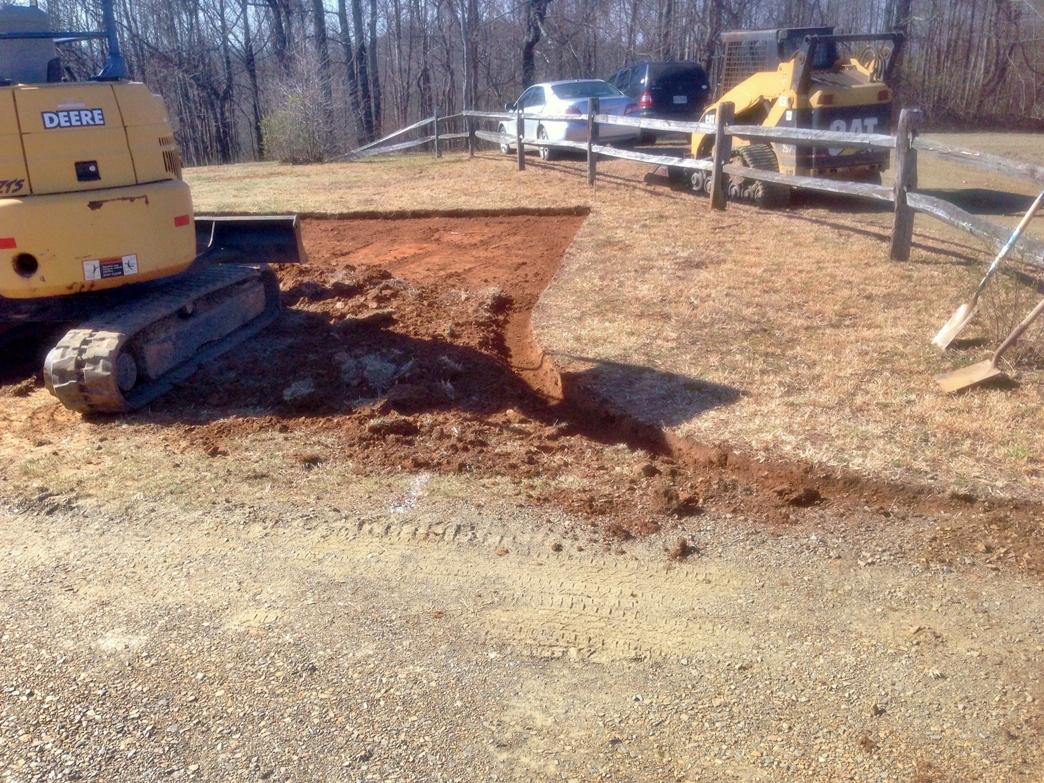
 Below you can see the right side of the parking area from a different angle showing the hand dug edging and the curve out to the existing driveway and road. The excavator is almost finished removing all the dirt from the new parking area. I was very pleased with the quality of the hard packed earth left behind. There will be no subsidence here regardless of what is parked in the new parking area.
 Like I said earlier, a total of 5 truck loads of dirt were hauled out of the new parking area and dumped behind the garden area. The image below shows the area where the dirt will eventually be spread over. There is a big stump to the right that we removed the following weekend for a final round of stump bowling.
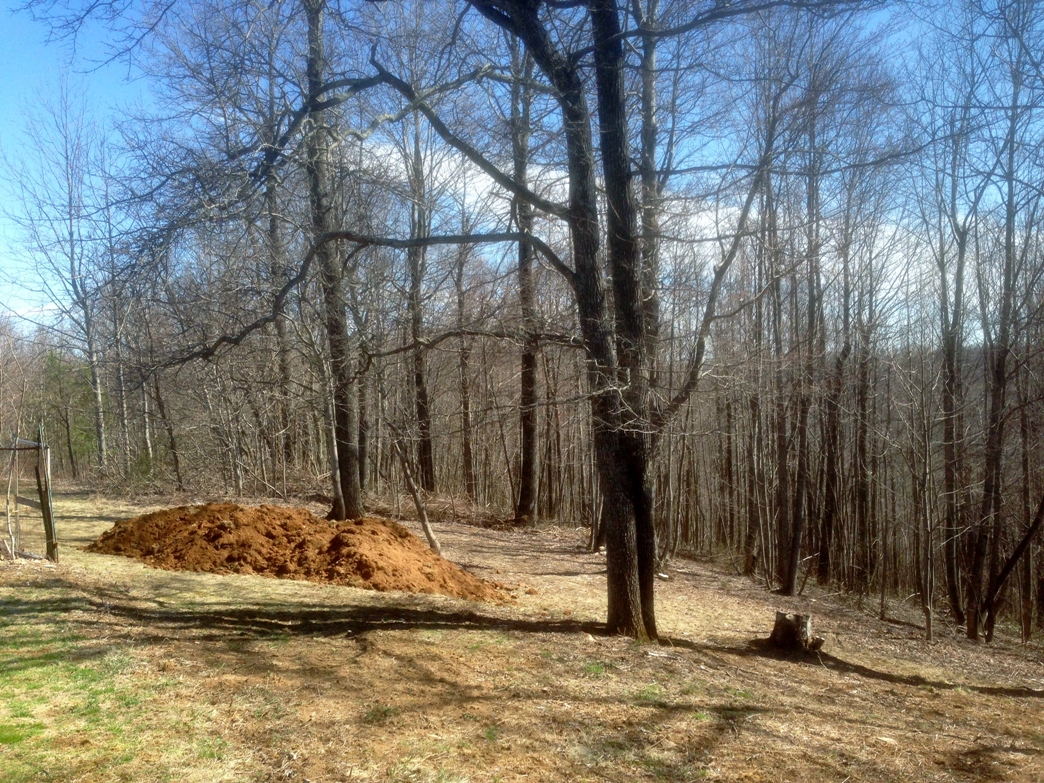 It only took the operator a little more than 3 hours to complete the excavation and transport the excess dirt to the back dumping area. I had a chance to walk the recently cleared parking area while he was off fetching the stone fill and found the excavated area varied in level by less than an inch. Just a beautiful job by a skilled craftsman.
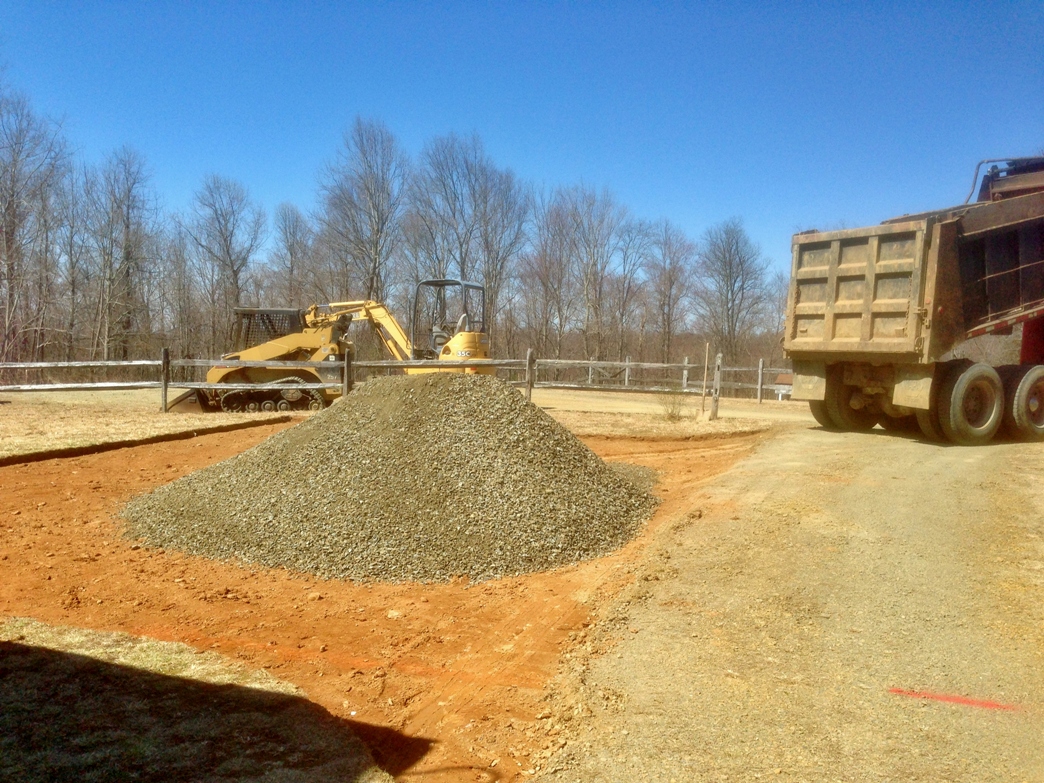
 By this point it was a little past noon so the operator left for lunch, promising to return with the first load of half inch crushed stone for the new parking area. Since we live near the high point for this side of the county I could hear him returning from several miles away. I was pleased with the quality of the stone he delivered. Plenty of stone dust mixed in to help cement the stone in place.
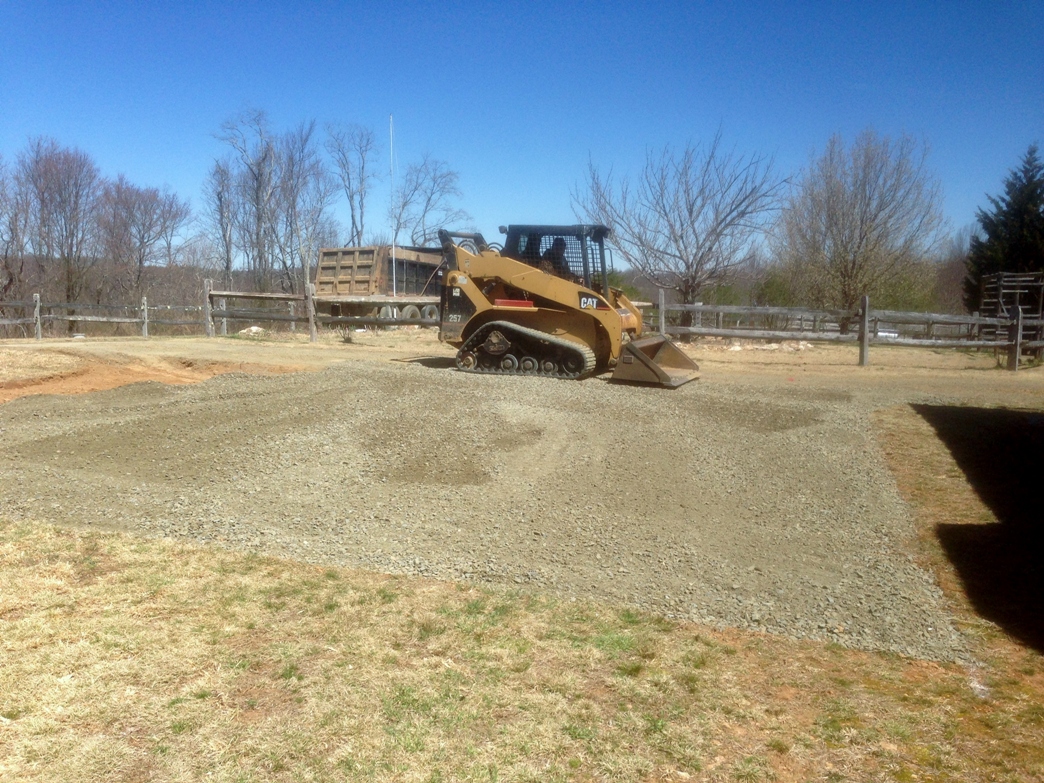
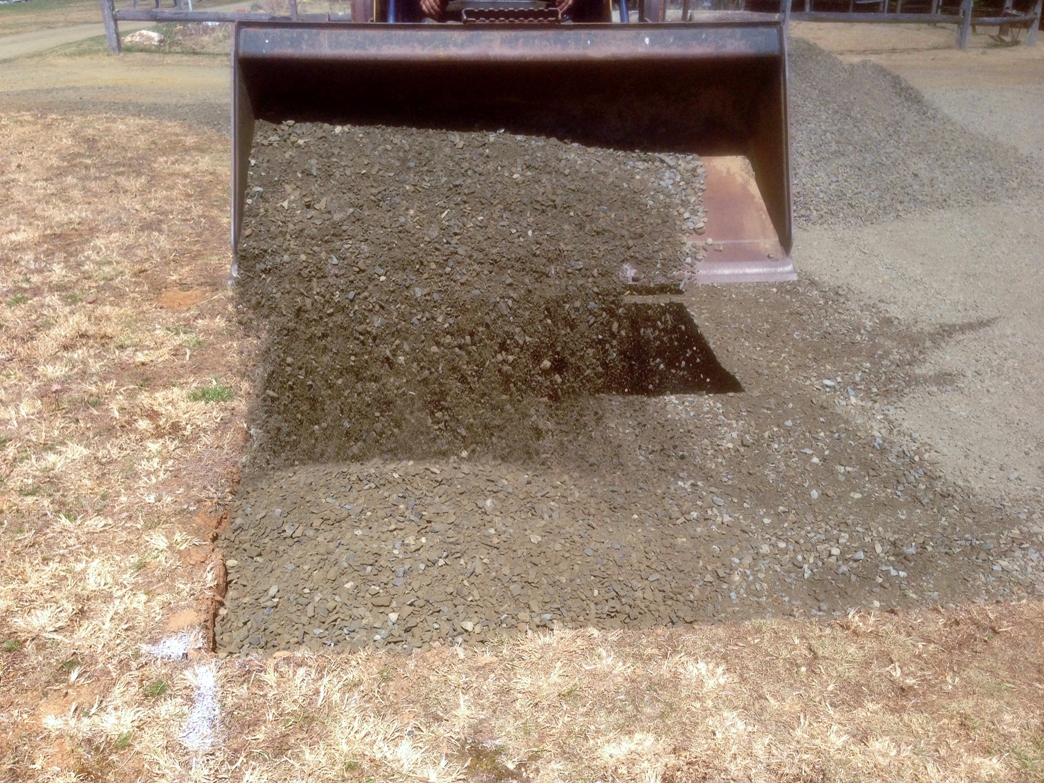
 The operator immediately got to work spreading the half inch stone around the excavated area. Once again his skill was evident as he maneuvered the CAT loader around. I was particularly impressed with how well he handled the bucket, never biting off more than he could chew while evenly spreading the stone out. This was clearly not his first rodeo. By the way it was a gloriously beautiful Saturday, though a bit chilly.
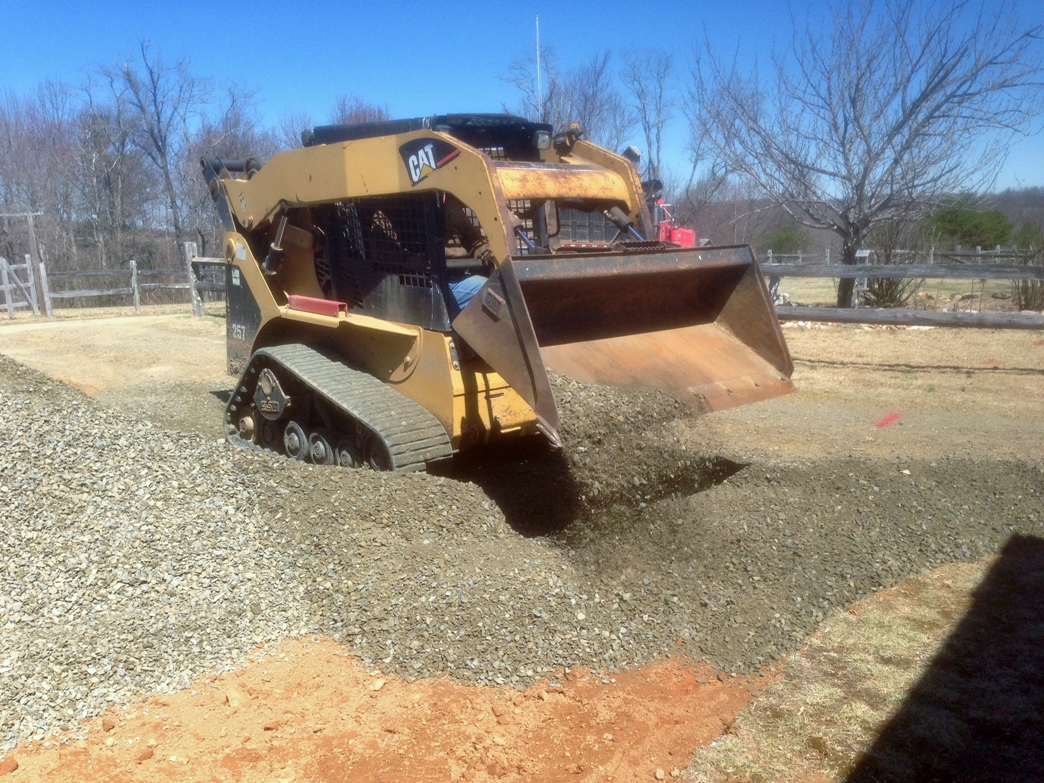 I was helping wherever I could, be it shoveling loose dirt into the pile, picking up stones, cleaning the edges or, in this case, spreading the crushed stone into the corners and tightly up to the edge. I didn't need to do much because the operator was able to drop stone within a few inches of wherever I needed it. Did I tell you I love working with skilled professionals? :)
 He had the entire load spread out in less than 15 minutes and was ready to go back for the second and final load of half inch stone. In the image below you can see how even he was able to spread it and how clean the edges were coming out.
 Before he left for the second and last load of stone he used the CAT to scrape off the top layer of stone from the 16 year old driveway, then redeposited it back down. Over the years moss and grass had begun to grow and he wanted to remove as much of it as he could before laying down the new stone. It was an example of craftsmanship done by someone who paid attention to the little details that make for a quality job.
 The second and final load of crushed stone is delivered. Once again I could hear him coming from miles away.
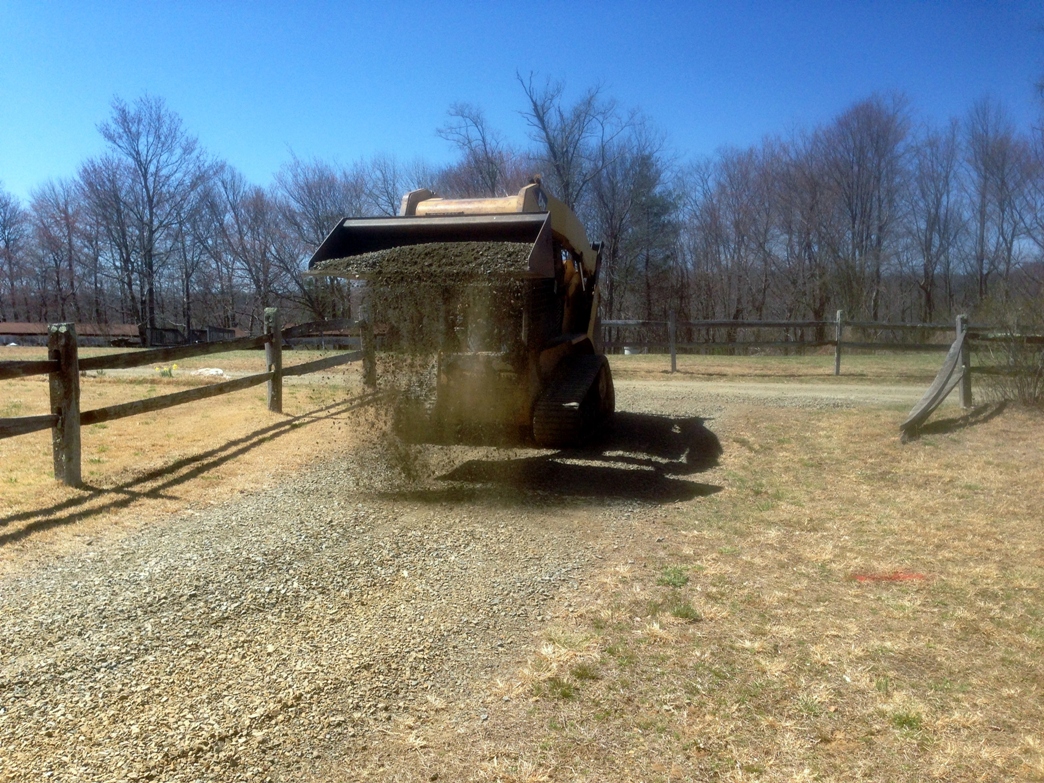
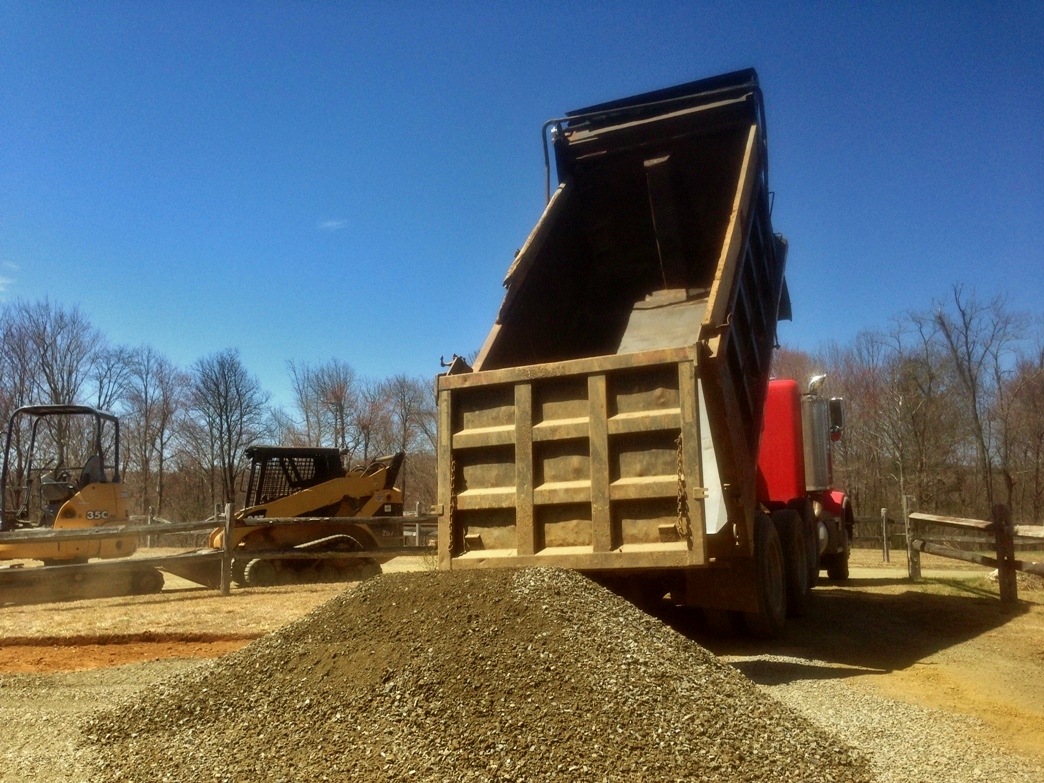 He made short work of filling the remaining areas of the parking lot.
 Once the new parking area was completely back filled with stone, the operator turned his attention to spreading the remaining stone over the circular driveway. I had him pull out a bucket load of stone and deposit it off to the side so that I had a cache of material available for minor repairs I'm certain I will face as the crushed stone moves around and settles in.
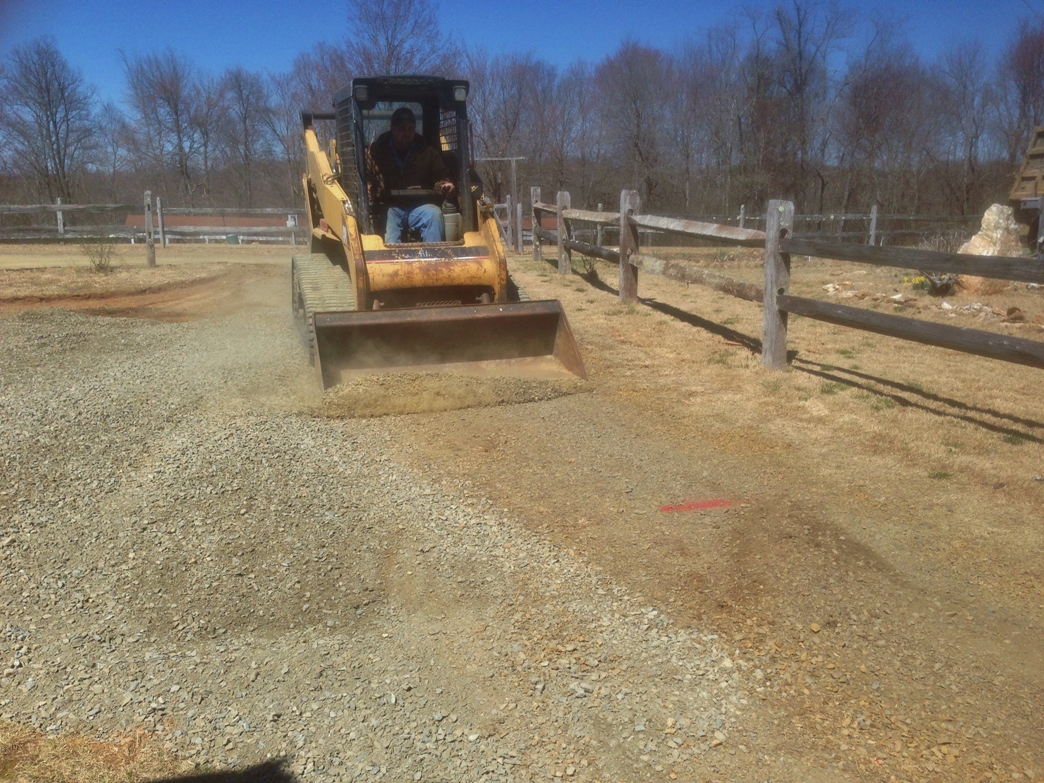
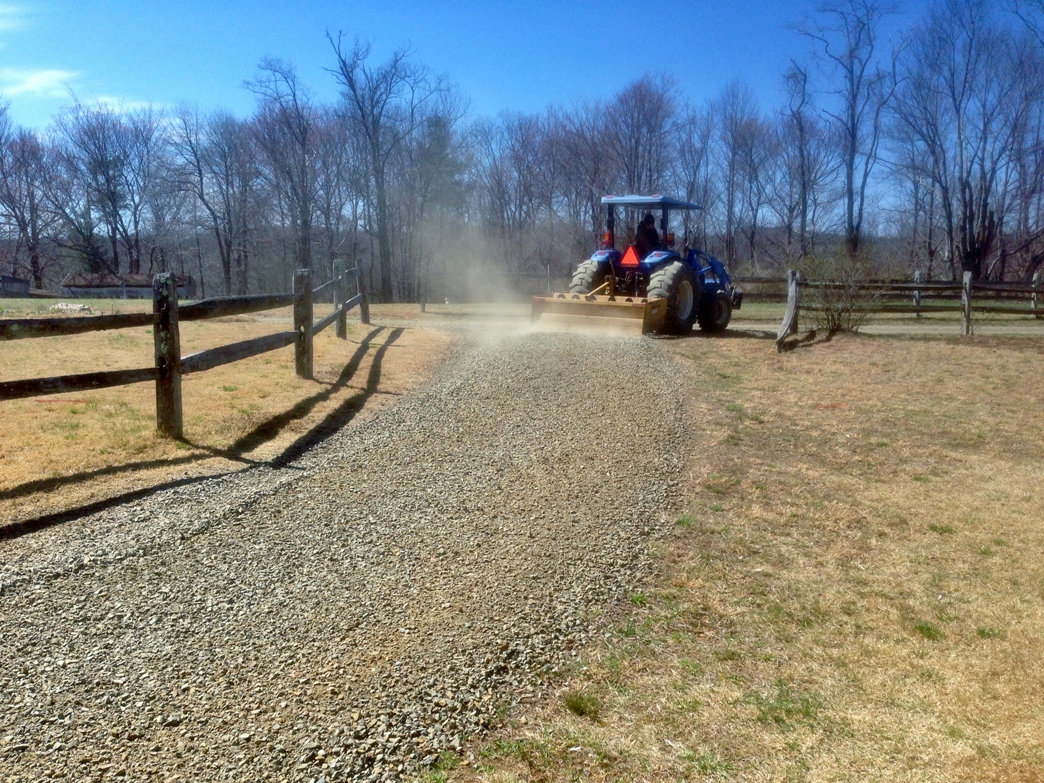
 Once all the stone was distributed the operator dashed back to his depot to pick up another piece of equipment, a tractor equipped with a 'blade', essentially a metal box towed by the tractor that has a heavy thick steel blade at the back end that is use to level and pack down gravel roads. He used this device to do the final leveling of all the stone in the driveway and parking area.
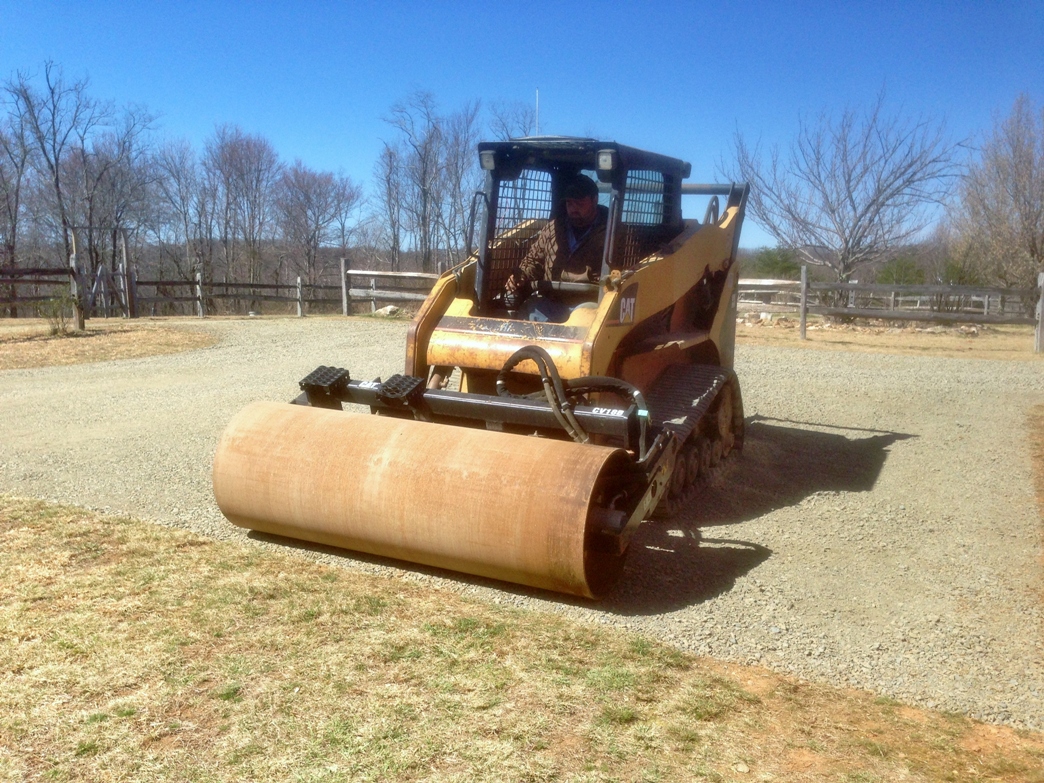
 For the icing on the cake the operator then switched out the bucket on his CAT for a roller and proceeded to roll out the entire parking area and driveway. What a wonderful finish to an already superior job.
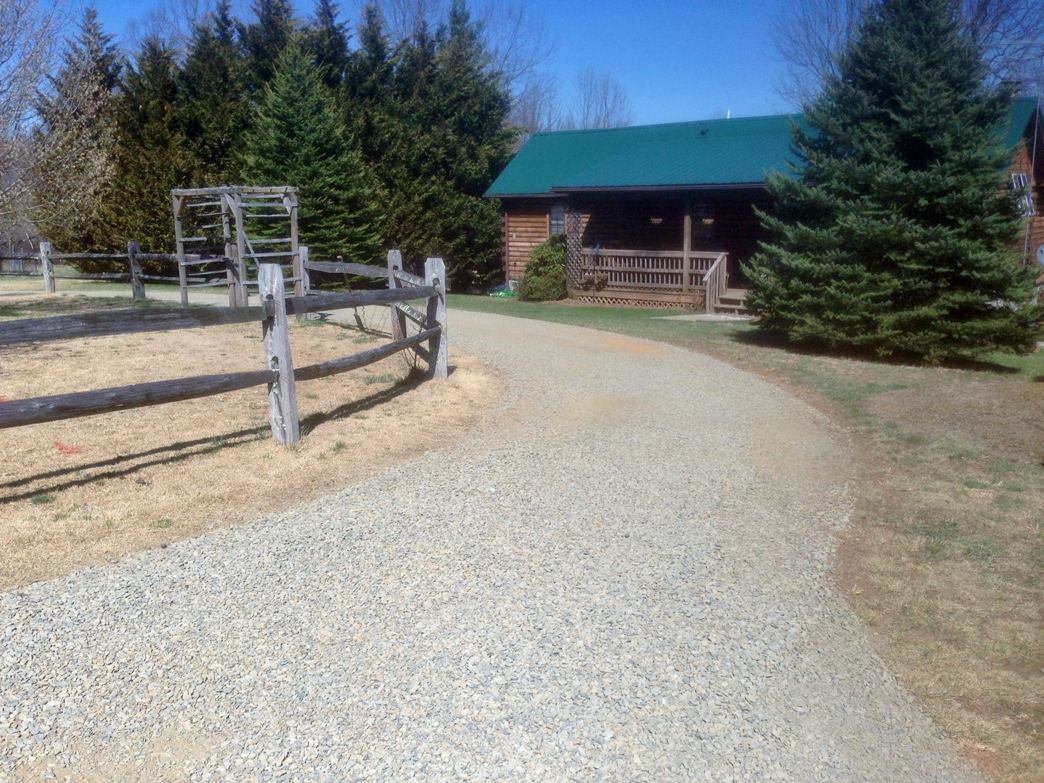
 The results for both the new parking area and the reworked circular driveway were spectacular.
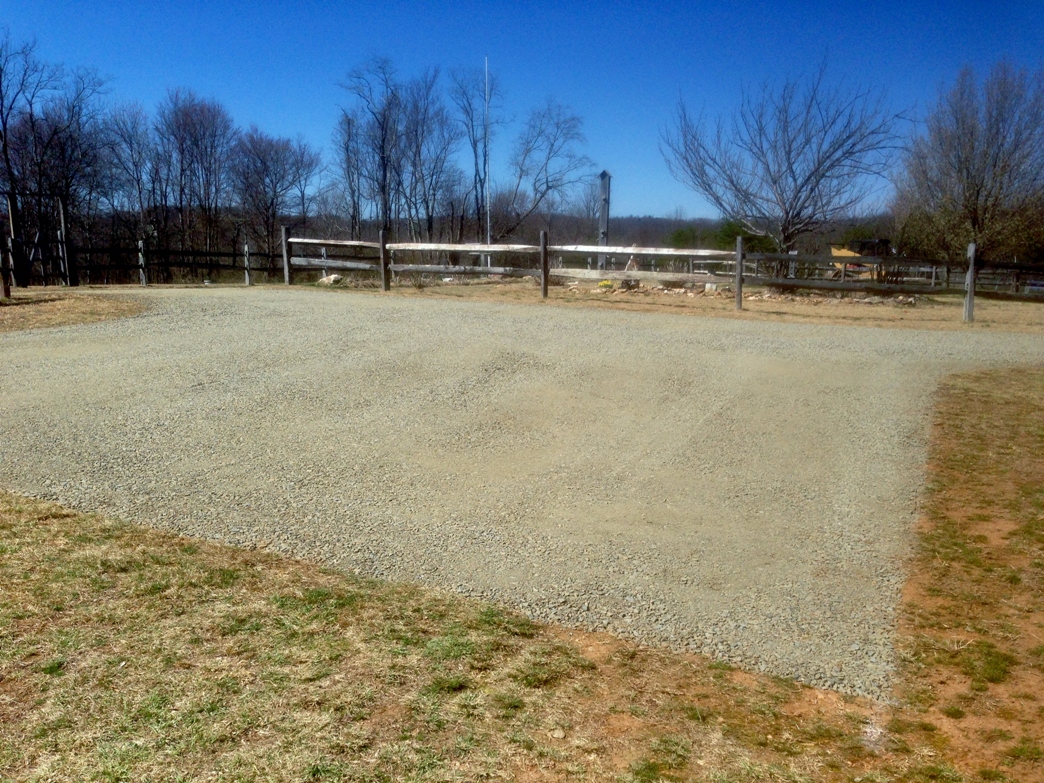
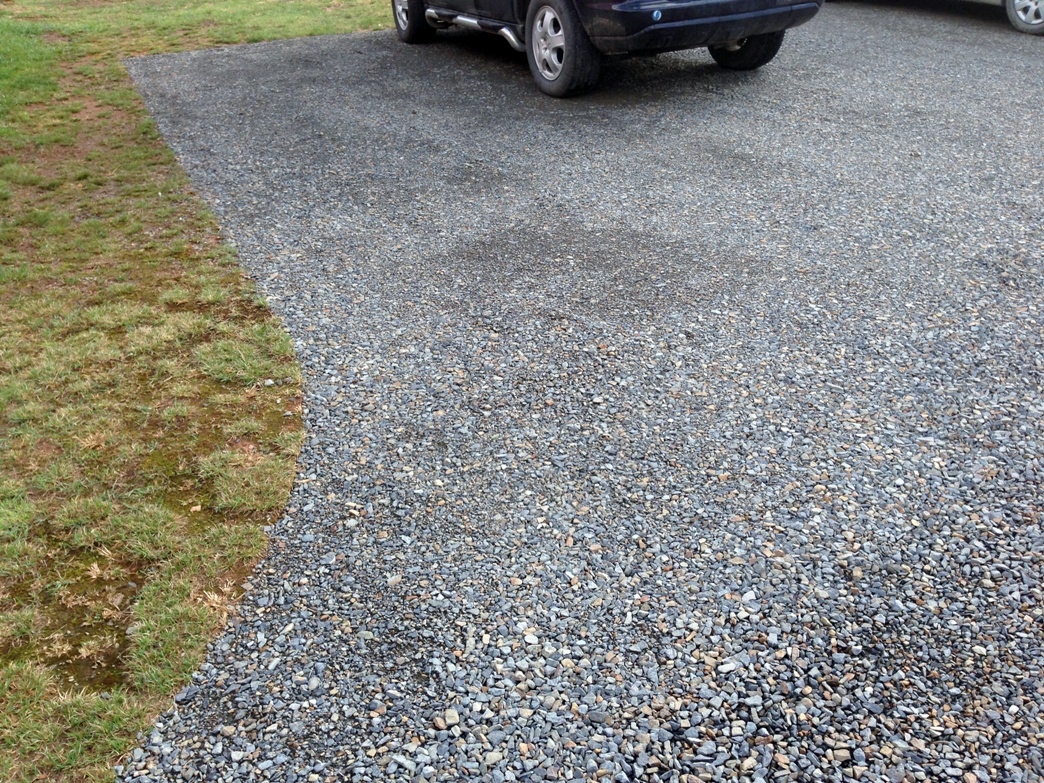
 Nearly two weeks later and after it has rained twice, which helps settle the stone dust down into the cracks and crevices to lock some of the stone in place, we find the following.
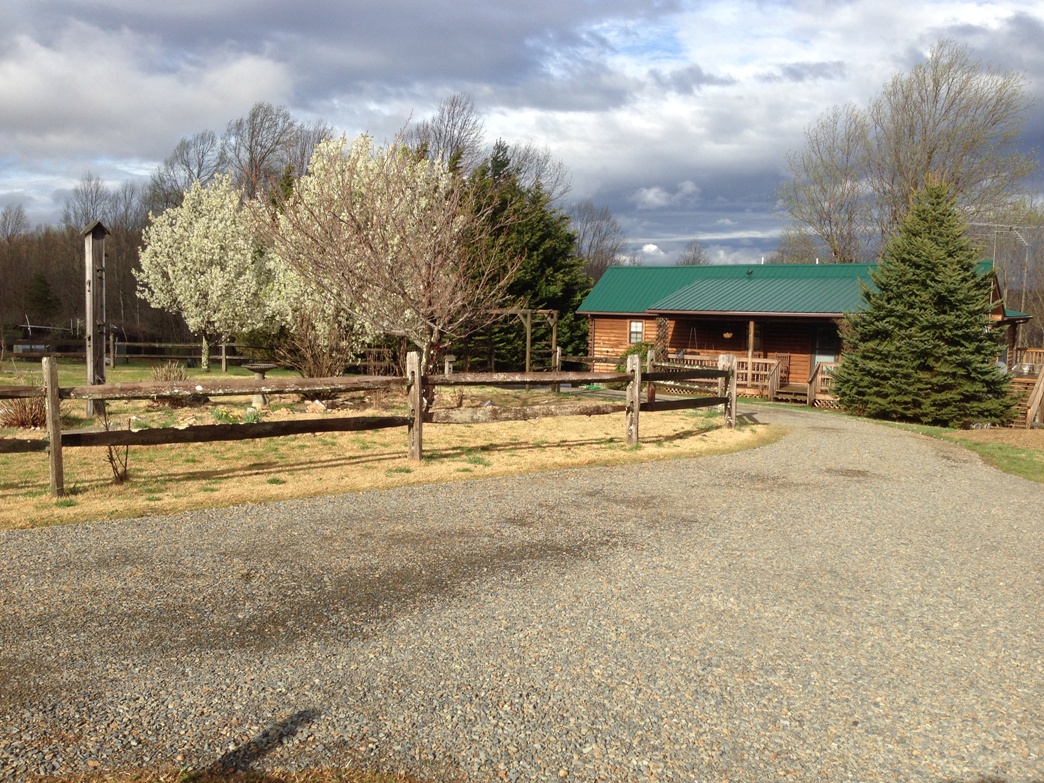
 The contractor exceeded my expectations in every way possible. Quality work by a quality individual. And we made a new friend on the mountain as well. A very successful completion of another mountain project.