(Click on any image below to enlarge.)
One of the little charms that came with the homestead we purchase was a set of three cast iron and wood benches that were placed on the back deck outside the master bedroom sliding glass door. Arranged in a crescent with the larger bench in the middle and flanked on either side by two smaller 'love seat' benches, we could imagine them beckoning us to take a seat and relax while enjoying the cool breezes of the summer evening.
It was obvious to us during the two times we were shown the place before purchasing, that the owner took great pride in the benches, patting them affectionately or lightly caressing them as we passed by them while touring the place. If memory serves me right, at one point during the second showing he paused with his hands draped over the back of the middle bench and asked if he had mentioned how he and his (deceased) wife whiled away many hours on these benches while enjoying the cool evening air.
A cursory examination at that time indicated to me that they needed major restoration, with most of the wood slats missing nearly all of their paint and primer and beginning to deteriorate rapidly. In fact a few pieces were getting a bit punky in places. The cast iron end pieces and back inserts were terribly rusted and would need lots of tender loving care to bring them back to life.
I made a mental note to revisit the issue in the spring, after we had closed and before we moved in. Unfortunately while we did visit the place in late April for a week to get it ready for our mid June move in we were so over whelmed with projects that the deck benches once again we pushed down the priority list. The result was that they were rained on all spring and didn't receive my full attention until mid August. That was a mistake. I should have at least removed then from the deck and placed them under cover.
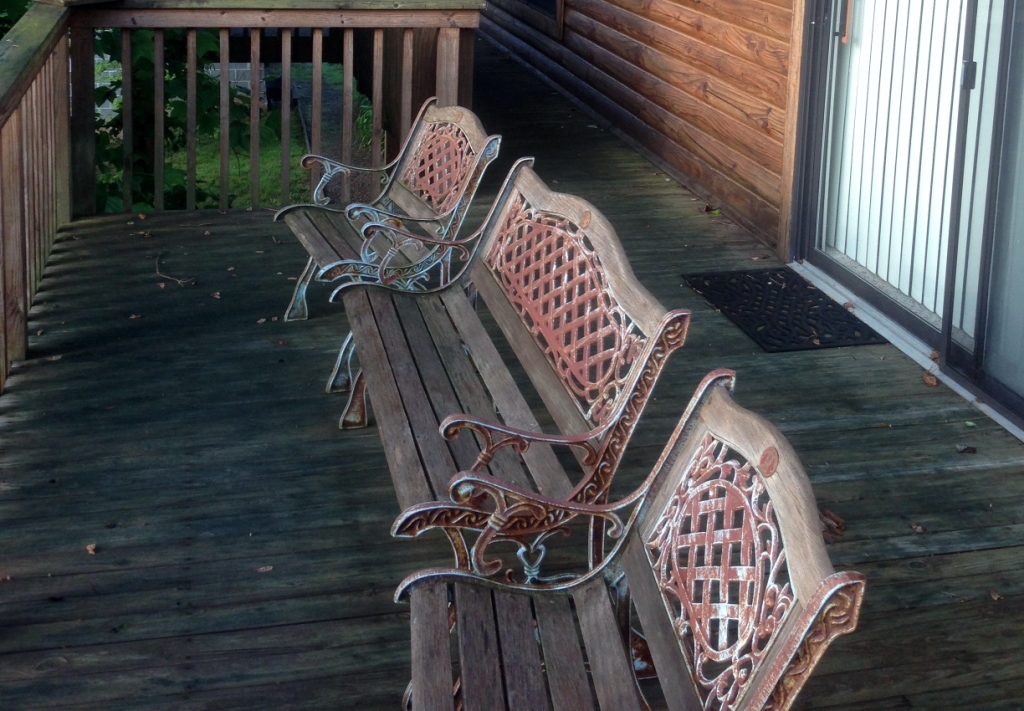
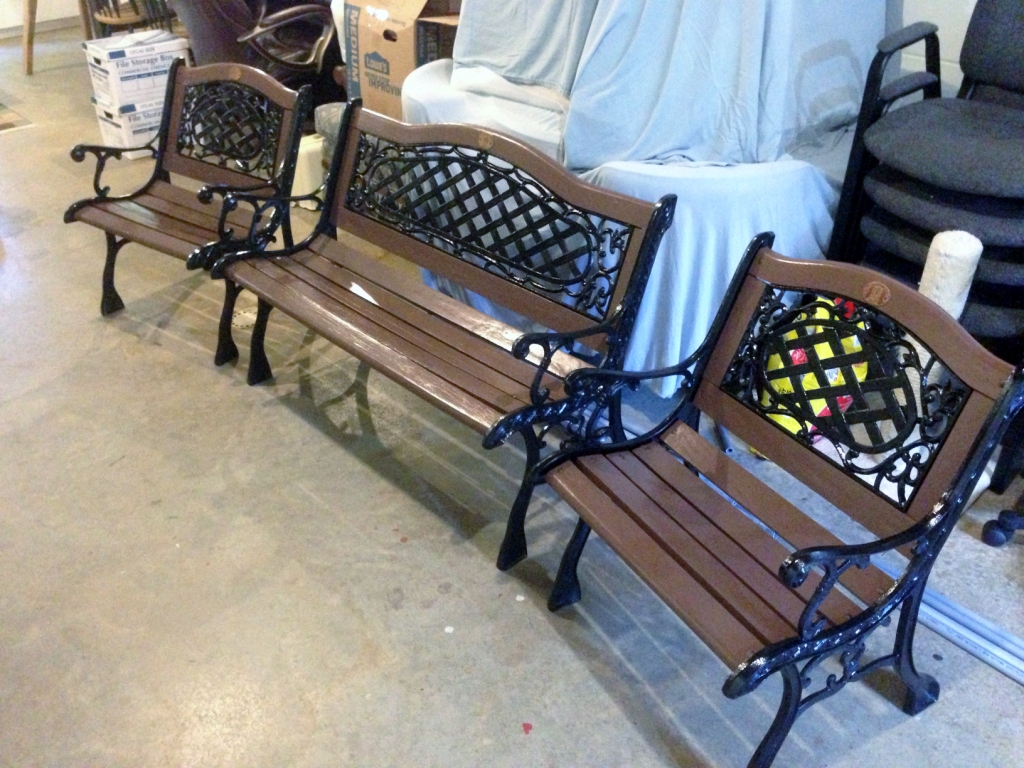
Below is a picture of the benches taken mid June 2013.
 What finally prompted me to tackle this project was another project that I had already started. I was power washing the deck and in order to do so I had to remove the benches, which were securely screwed to the surface to prevent being blown over and possibly into the sliding glass doors behind them by the always strong winter winds up here on the mountain.
I was very surprised how heavy the benches were when I tried to get them off the deck and down into the walk out basement. The largest bench was too much for me to safely handle, so I enlisted the help of the always lovely Mrs. Cog to maneuver the mass down the stairs and into the basement where they were unceremoniously deposited out of the way to be examined at a later time.
A few days after when I found a few minutes to explore I grabbed a strong flashlight and took a closer look at the condition of the benches. I was a bit shocked by how much the wood had deteriorated since I last looked closely in February of 2013. Or maybe I was just really looking closely for the first time rather than seeing them as part of a bigger picture.
It was clear that these were once quality benches. The cast iron was well formed and very heavy with intricate detail. All the wood slats were bolted to the cast iron frames with brass bolts, screws and nuts and lock washers. Some were heavily corroded and had to be discarded while the vast majority of them I was able to remove without breaking or stripping them. The wood showed the worst weathering damage and would take the vast majority of my time to restore.
I was careful while dissembling the benches to mark and number each wood slat in a manner that was the same for all three benches. Only the letter code next to the number distinguished which bench the wood belonged to. Originally I was going to replace all the brass bolts, but a trip to the hardware store disabused me of that notion. Brass is not cheap. I did replace three bolts and nuts that were broken, but decided to soak all the hardware in a solvent for several days to see if I could salvage it. As it turned out the solvent worked out well and I reused every last bit of hardware.
The cast iron sides and backs were in serious need of priming and painting, but otherwise were in great shape. Quality cast iron will last a real long time with just a little bit of TLC. I used the power washer to blast off the heavy rust and paint, then after drying a day I finished up the prep with a couple of heavy duty wire brushings. Two light costs of grey primer were applied per instructions, then they were left to dry for 48 hours before two finish coats of semi-gloss black were applied.
Overall I was quite pleased with how the cast iron came out. While I was initially concerned that maybe the black semi-gloss was too glossy, after assembly I decided my concerns were unfounded.
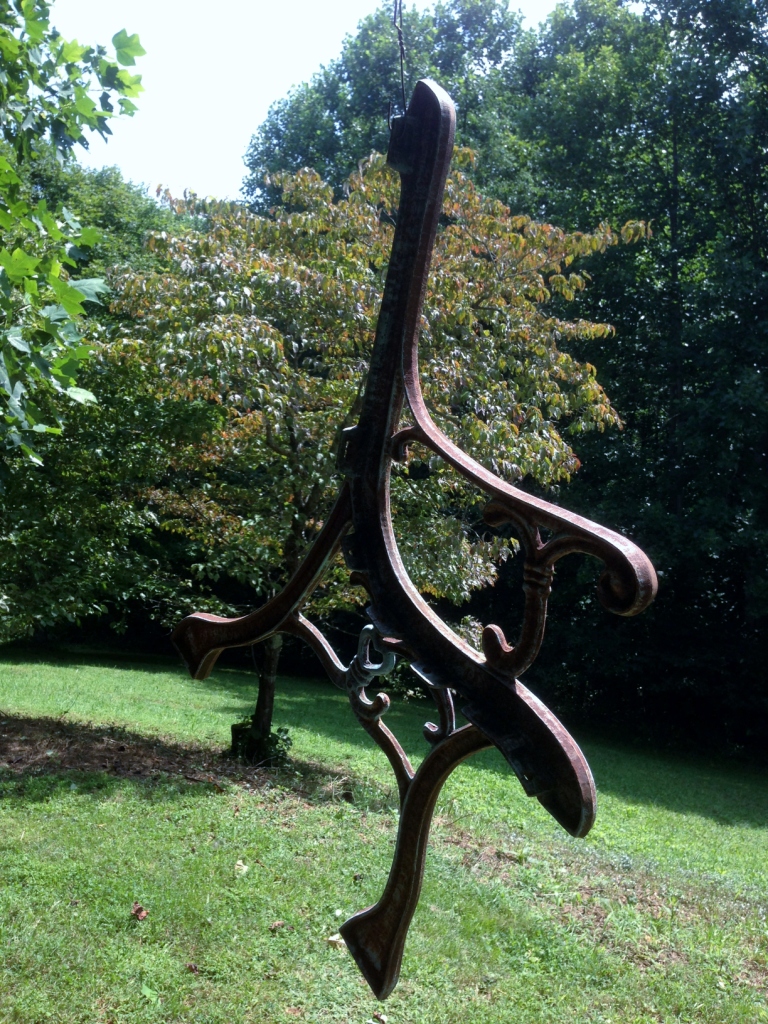
Below is an image of one of the cast iron sides before priming. Click on the image to enlarge.
The wood slats were where the real challenge lay and where more two thirds of my labor was invested. While it was obvious that the curved wood pieces that frame the cast iron back insert along the top were specially milled and not easily replaced, a closer look while disassembling revealed that many of the seemingly ordinary slats were also milled to fit in specific places.
Since I do not own a table saw or planer (remember that I had moved from a suburban townhouse without a garage, a situation not exactly accommodating to workshops) I needed to restore rather than replace the wood slats, particularly because I was trying to keep expenses down to a minimum. My equity in these benches would come in the form of sweat.
While the slats were in poor condition and there was some checking and splitting, especially at the ends, the only wood pieces that were in need of replacement were three or four small pieces that fit in on the sides of the cast iron back-plate. Since they were not curved, bowed or milled I was able to easily cut new ones from basic 1x3 stock and trim them to fit.
Everything needed to be sanded because the top sixteenth inch of wood was porous and almost powdery, a sure sign that the wood was just about to pass over into rot. I had caught it in time to save them, though there would be scars and marks visible even after finishing. I used a small palm sander with several grades of sandpaper and slowly got the slats down to bare wood. I gave extra attention to all ends and edges where the wood was showing the greatest signs of stress.
We had purchased a high quality exterior grey primer and also some brown semi-gloss exterior paint earlier when Mrs. Cog had refinished the rocking chairs on the front porch. After letting the bare wood hang from modified coat hangers for a few days in the basement to thoroughly dry out I set to work priming the slats.
This was slow tedious work because I was trying to make sure I filled all the cracks and crevasses with the primer while wiping away drips that formed as primer seeped back out of said cracks and crevasses. I quickly decided that two light coats would be better than one heavy application and since the drying time between coats was only one hour I spent the better part of the entire day priming the wood slats.
I wish I had taken pictures of all those slats hanging from wire coat hangers from the basement ceiling. I am tall and I can't tell you how many times I brushed against one of them and got paint in my hair, on my face and all over the set of work clothes I was wearing. I am not normally messy when I paint, but you would not have known this if you had seen me. Mrs. Cog stifled a giggle when she saw me after I was done.
I let the two coats of primer dry for three days, then put two light coats of the exterior brown paint on the slats, once again paying close attention to filling cracks, holes and what not. The wood was so dry and porous that it just soaked up the primer and even the first coat of paint. It was only after I had put the second coat of paint on, after waiting more than a day for the first coat to dry, that I felt I had created a true water proof barrier. I was hoping to get at least five years from my restoration and maybe even ten if I stayed on top of the painting as it weathered.
The assembly was a challenge and I was grateful for my years of experience as a contractor and my all around handy man skills. The key to putting something like this together without a jig is not to securely tighten any of the hardware until all the pieces are in place. As more and more pieces are fitted one can slowly tighten up the bolts but nothing should be torqued until everything is where it should be and the bench is square and level.
The cast iron back-plate insets are actually screwed into place with wood screws so before I primed those pieces I had cleaned out and filled the old holes with wood filler. I wanted the screws to find good purchase when I reused them. Nothing is more frustrating than to reuse an old hole and find that it is essentially stripped and won't provide firm purchase for the wood screws. If you're in need of some, you can buy woodscrews online or in any reputable shop. I was pleased to find that in all but two cases my idea worked as planned. I refilled the two that failed and secured them the next day.
Below is the finished product arranged on the walk out basement floor.
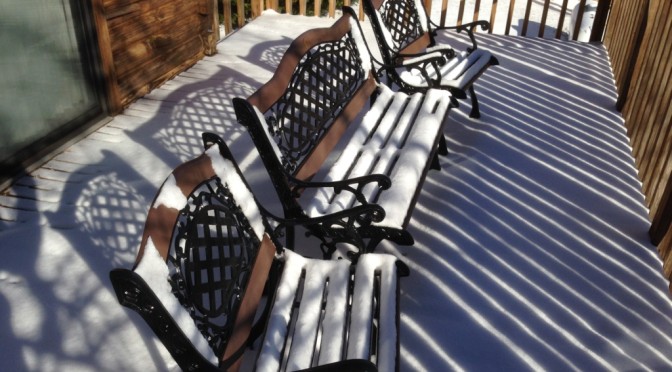
 I let the benches set for a week to finish drying/curing while I completed power washing and sealing the back deck. Once completed Mrs. Cog and I moved the benches topside and proceeded to play "move the furniture several times to see what works best" before realizing that where they were previously was exactly where they should be now.
I securely screwed them to the deck using some brass screws I found in the garage and then applied the ultimate test. I sat my considerable bulk on them individually and was surprised to discover how much sturdier they felt than from before I started the restoration. The years of weathering and exposure had loosened the bolts, allowing them to wobble a bit. With everything now tightened down and secured with lock washers they felt quite sturdy.
Good as new.
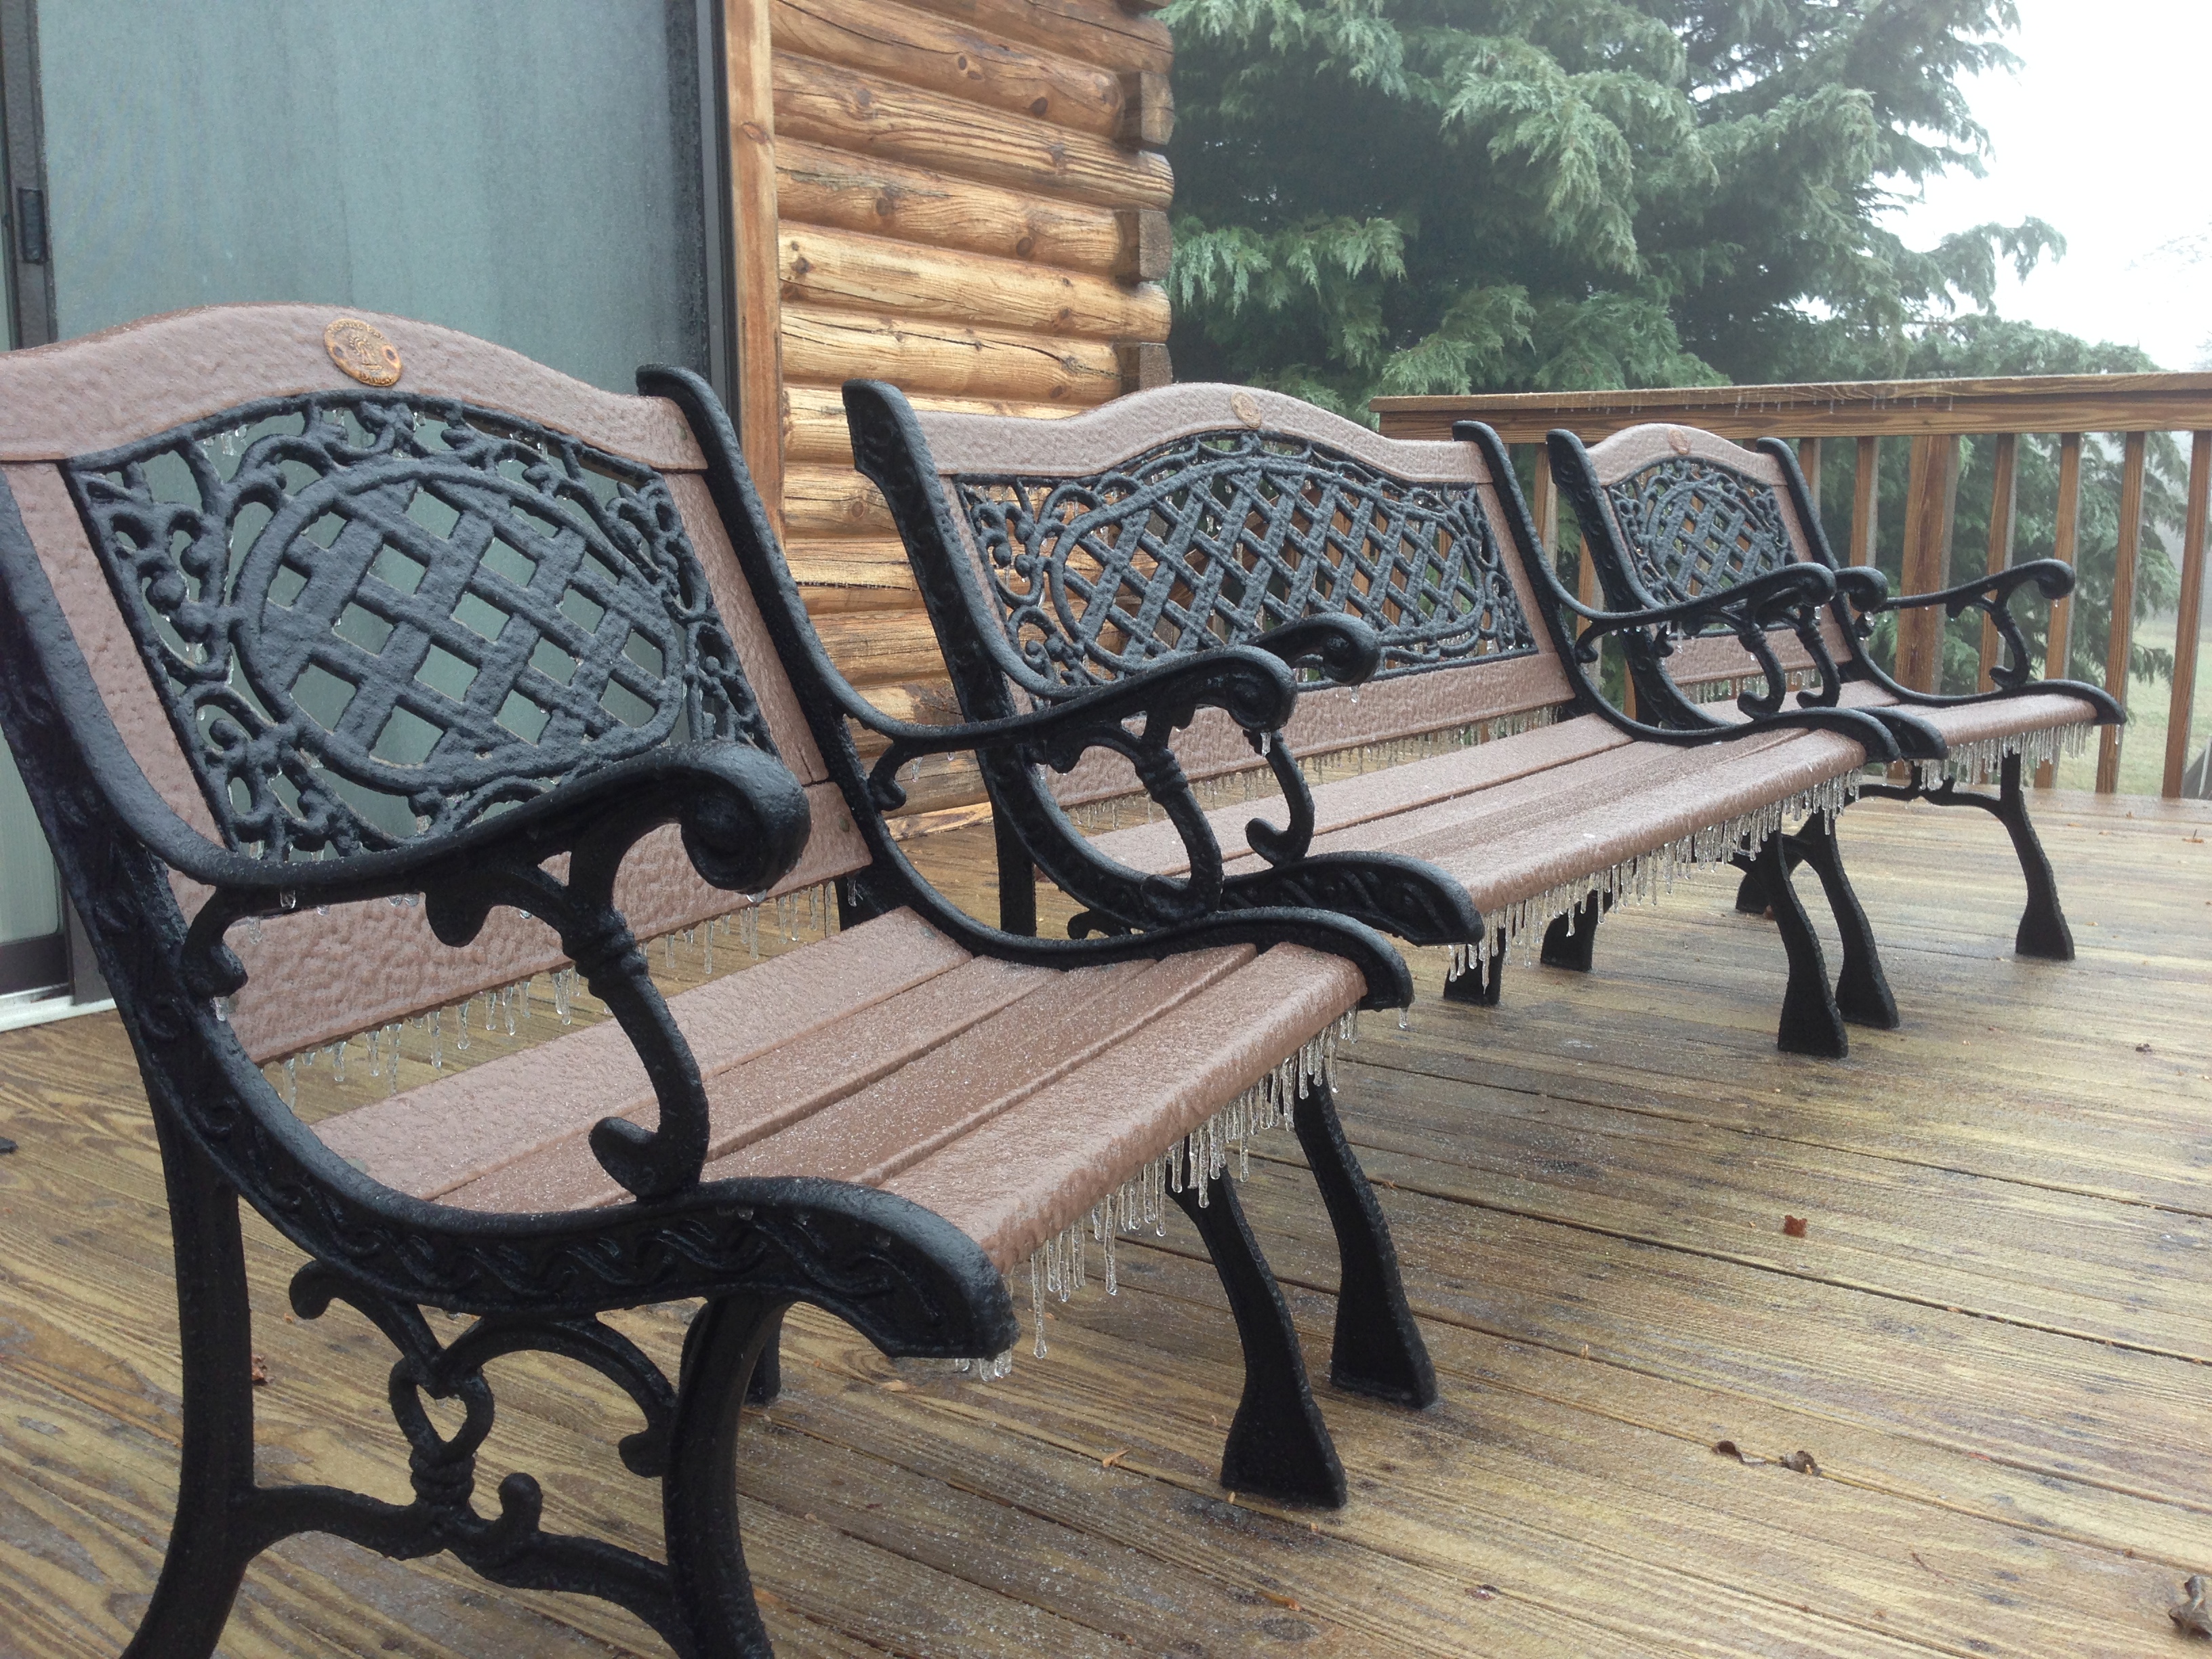
Below is an image I snapped in December of 2013 when a heavy fog had frozen over and the benches were completely cover with a veneer of ice. Very pretty.
Overall I am extremely pleased with the results of the project, though once again my personal estimate of the time it would take to complete was low by a factor of two. Then again, once I got into it and realized how involved it was going to be, if I wanted it done right, the amount of time doing so would entail was just the cost of quality and craftsmanship. Ultimately one never regrets quality work, both immediately after the fact as well as years later when the quality still shines through.
Cognitive Dissonance
If you're looking for ideas for a new bench or how to revamp your own and you've found this useful, I'd recommend you to have a look at The Charming Bench Company. They have plenty of ideas of ways to improve or change your benches, or even buying a new one.