(Click on any of the images below to enlarge.)
When we first viewed the property in January of 2013, one of the very first things I put on my mental 'to do' list if we bought the property was to power wash the rear deck. It had been more than 16 years since the owner had the deck professionally built and over that time the Poplar tree located between the two wings of the deck had dropped its fair share of leaves, slowly building up a pretty thick layer of green slime, mold and mildew.
Soon after we moved in I was out back on the deck after a light rain had fallen and nearly broke my neck trying to walk across the slippery surface. Still, even after my near death experience, power washing the deck was pushed down the priority list in order to accommodate more pressing items inside our home that needed to be taken care of in order to pack away stuff and beginning living on the mountain.
By early August I was ready to tackle the deck, and by extension the deck benches (a separate article about the deck benches project can be found here) so I began to think about how I would seal it after power washing. Originally I had considered a semi-transparent stain that matched what I had thought was the base color of the deck.
But upon closer inspection I found that any 'color' I thought was there was just dirt or crud that had built up over the years. It was then that I decided to just go with a clear Thompson's Water Seal and allow the natural color and grain of the sixteen year old pressure treated wood show through.
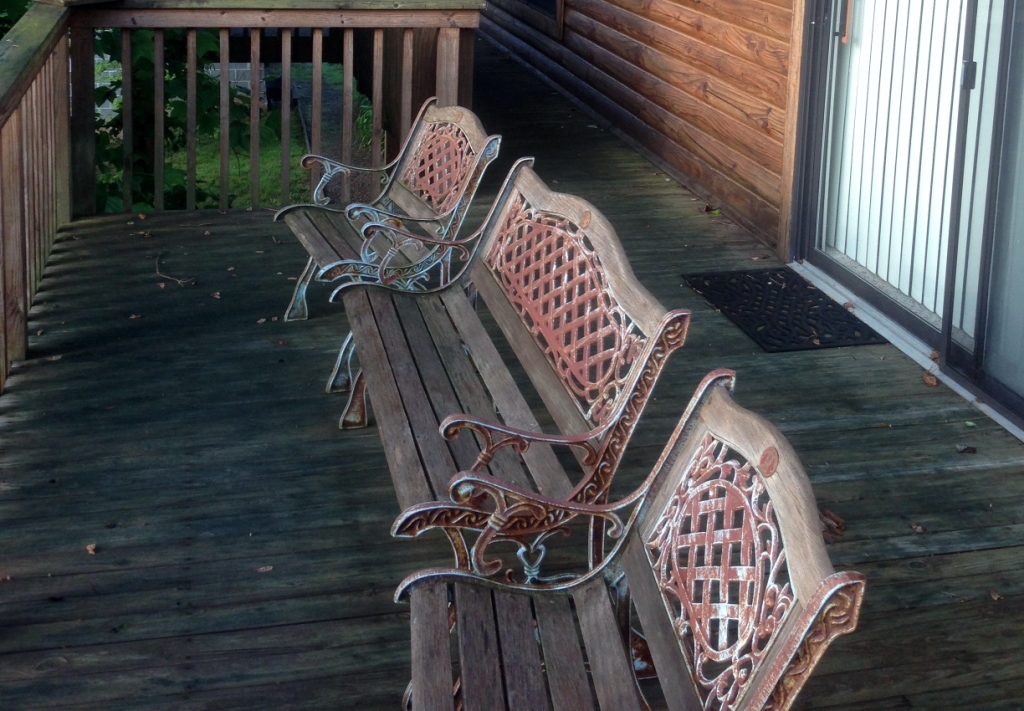
Below is an image of the deck benches before restoration on the deck before it was power washed. As you can see the deck was filthy, and when wet very slippery.
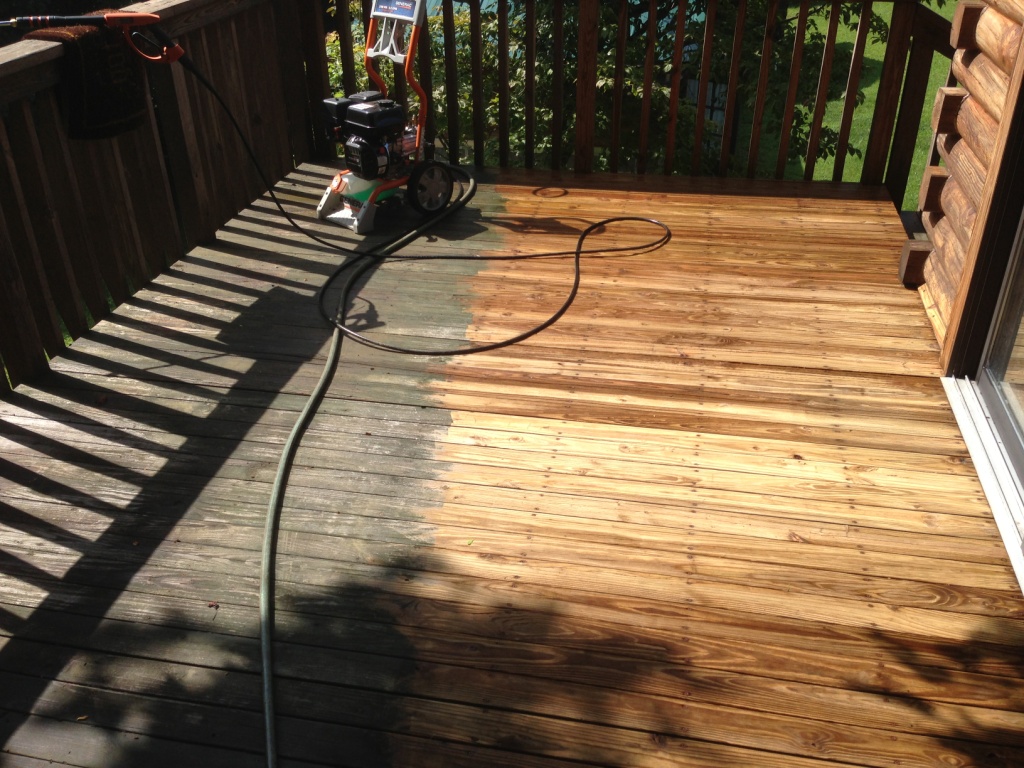
 Below is another "before" image taken from the other side of the deck before it was power washed. I had just begun to set up the power washer in this image and began to work the deck shortly after this picture was taken.
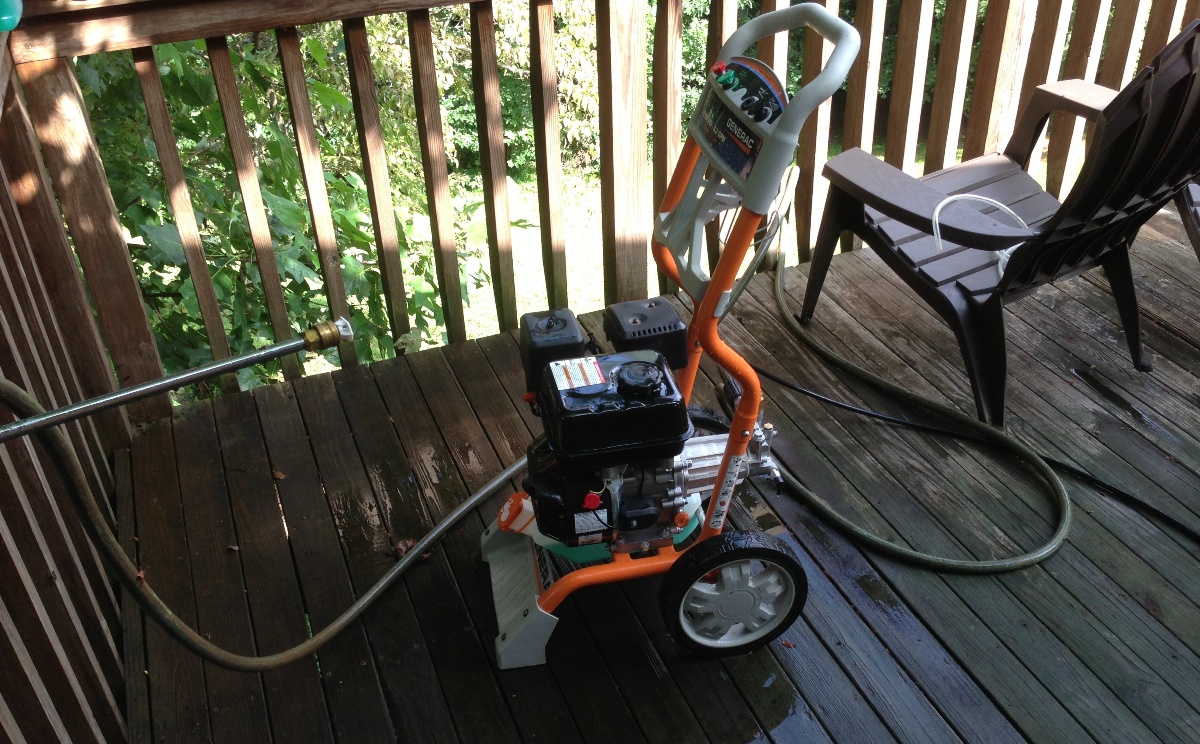 The power washer has four different nozzles that can be used ranging from a wide spray (call it one) that can be used to wash the car to a very narrow spray (call it four) that, while powerful, can remove paint and wood rapidly if one lingers for just a second or two too long in one place. I selected nozzle number three and began to work the far end of the deck.
Very quickly I discovered two things. One, that the dirt and grime wasn't going to come off easy and two, that because of this I was going to need to work slowly and deliberately. Meaning that I was looking at easily 12-14 hours of work to power wash the entire topside of the rear deck.
Anyone who has used a power washer knows that the closer you move the nozzle to the work the more push back you get in the wand. I had to hold the wand within an inch to two from the surface and move very slowly over the deck in order to remove most of the crud. After a while this became painful on my wrists, both of which I already suffer from some carpal tunnel syndrome. I wound up wearing some heavy elastic wrap around both wrists and switching the wand from left to right and back again every fifteen minutes.
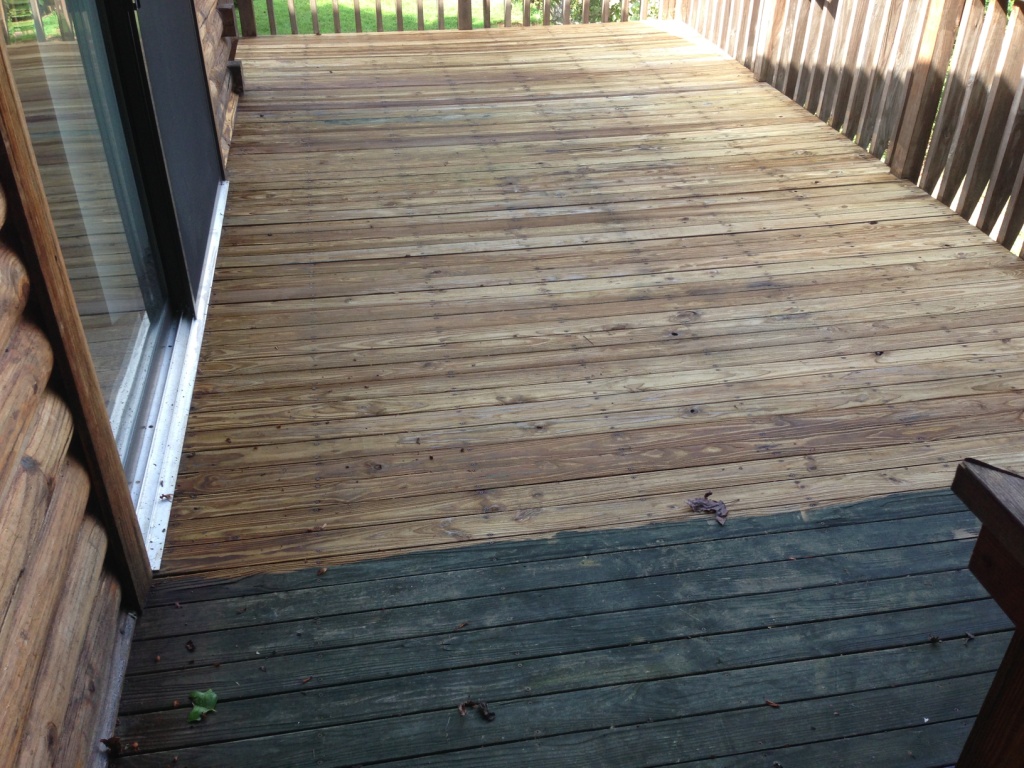
However, the results were spectacular. Below is a shot of the deck area where the deck benches were before removal. While it is taken from the opposite angle you can clearly see how much cleaner the deck is after cleaning and before. And the deck is still mostly wet which tends to make the wood look that much darker. This is the northeast side of the deck and house, and thus where I would expect the greatest buildup of mold, moss, dirt and gunk.
 The next image below shows the southeast section of the deck and house. This section of the deck receives the greatest amount of sun during the summer, so while the buildup of dirt and grime is less the wood has taken a greater beating from exposure. Because the wood deck has a bit more weathering and cracking, the grime was deeper into the pores of the wood and actually took more effort to remove. But once again the difference was remarkable.
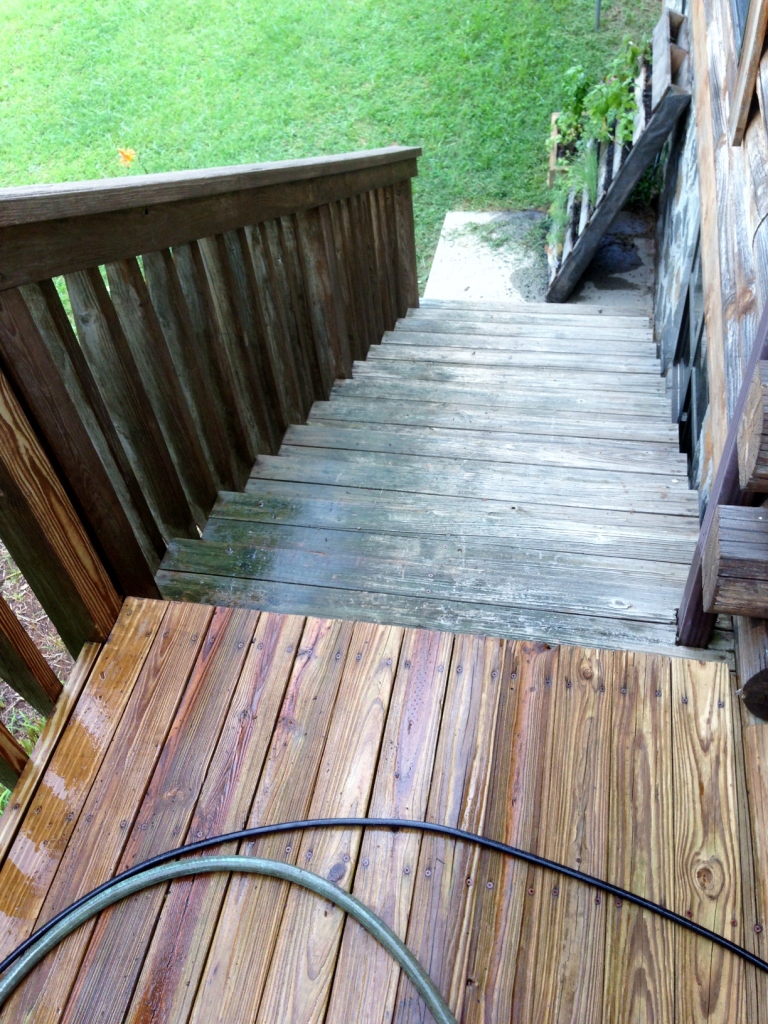
 The next two images are before and after images of the stairs running down the south side of the house. Again these stairs receive the heaviest weathering and were most in need of cleaning, then sealing. Once again the change was night and day and well worth the effort.
Before. (This image is a bit distorted so click on it to see the full resolution.)
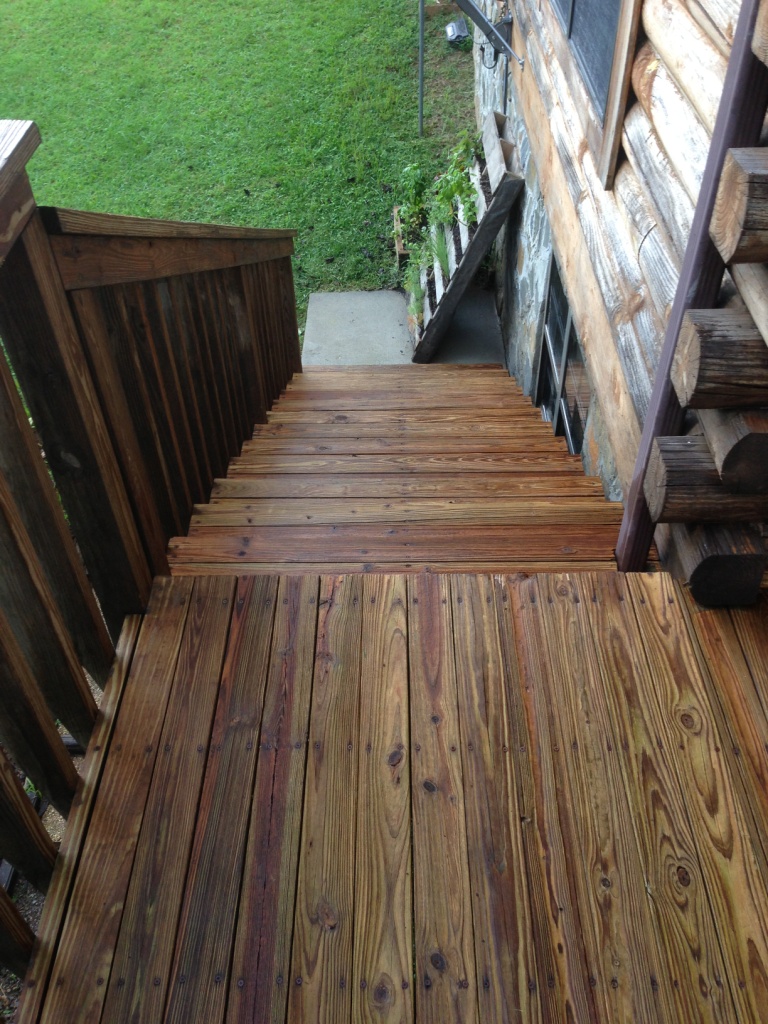
 After. (This image is a bit distorted so click on it to see the full resolution.)
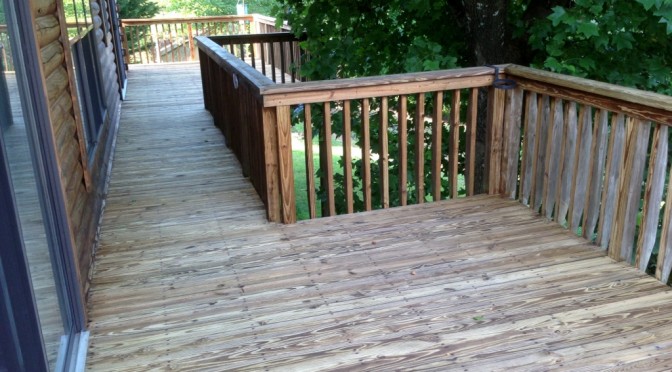
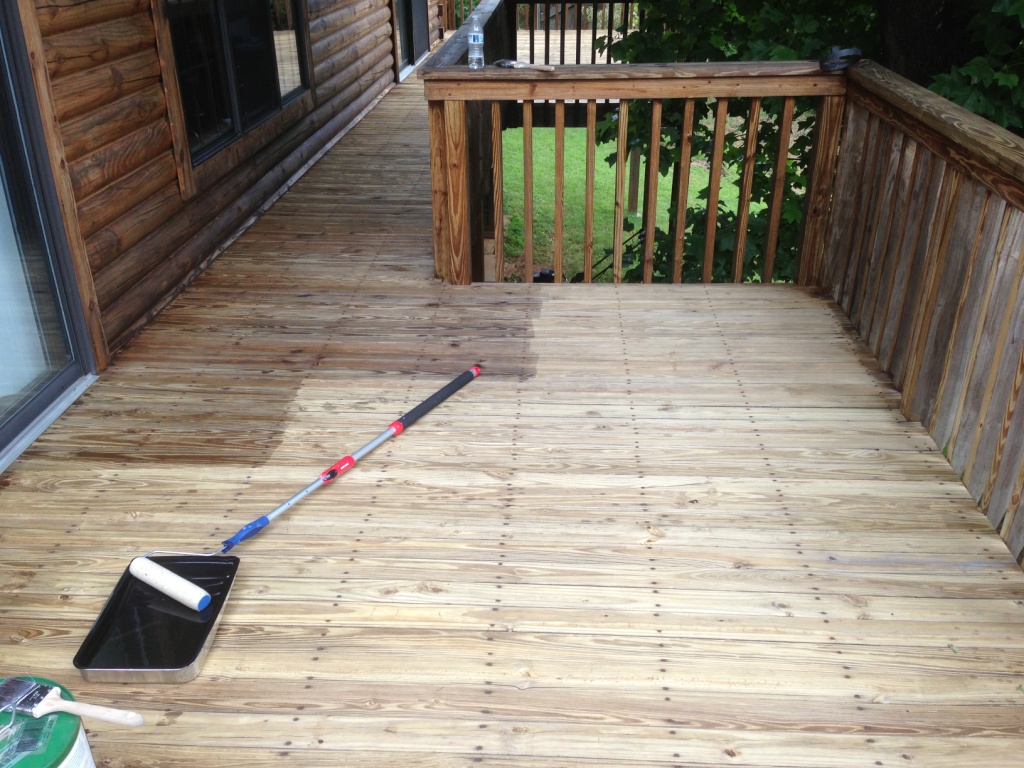
 After I had completed the power washing I then prayed for dry weather and waited three full days to allow the deck to thoroughly dry. I understood that the power washer drove water deep into the wood pores and I did not want to seal the wood when it was still damp. On the fourth day I got the roller and brush out and used almost seven gallons of Thompson's Clear Water Seal to finish the deck. In the image below you can see how the clear seal darkened the deck slightly while bringing out the grain. I loved the results.
 The instructions on the Thompson's warned against using too much seal so I decided that I would put a second coat on in the spring of 2014. At the very least the south facing side could use another coat to help prevent more damage than it already has suffered.
I shall update this article as the work progresses.
Cognitive Dissonance