From Mrs. Cog's Corner
When we discovered our teen was gluten intolerant, one of her biggest disappointments involved pizza. Obviously the bread in the crust of most pizzas nearly always contains wheat (gluten).
We learned the hard way that companies such as Domino's Pizza who offer "gluten free" substitutes probably do not understand that utensils and kitchen appliances can easily cross contaminate other non-gluten ingredients. After a weekend of "gluten-tummy", a very specific belly ache that the child unit gets when she has eaten gluten, I embarked on a mission to supply her with decent pizza.
Still new to the whole game, at the grocery store we found several brands of frozen gluten free (GF) pizza, none of which evoked any excitement. Pillsbury even makes a GF pizza dough (found usually in the area where their cookie dough is) that does work in a pinch as far as texture is concerned, but I am trying to get the family away from those processed ingredients.
Finally after troving the interwebby and experimenting with several tries, I found a recipe that both the child unit and Cog were impressed with. It can be made thick or thin, as I found out by accident, but has yet to let me down.
Here is that recipe.
The Crust:
- In a bowl combine one cup of warm water, one packet (or 2 ¼ tsp. from a jar) of dry yeast, and one tsp. of sugar. Set aside for fifteen minutes to 'poof'.
- In a larger bowl combine either 4 cups of Gluten Free all purpose baking flour (I have used Bob's Red Mill) OR 2 cups of tapioca flour, one cup sorghum flour, ½ cup brown rice flour and ½ cup GF millet flour. Add 3 Tbsp baking powder, 2 tsp. xanthum gum (can substitute plain gelatin), 1 tsp. salt and 3 Tbsp. light brown sugar.
- Add the 'poofed' yeast mix from above and mix in.
- Then add 1 ¼ cup warm water, ¼ cup of coconut or olive oil, 2 well beaten eggs, and ½ tsp. apple cider vinegar.
- Mix dough until smooth and sticky.
- Preheat oven to 400°.
- Prepare two slightly greased cookie sheets or pizza pans. (I use organic coconut oil to grease.)
- Press dough gently to desired thickness, the thinner the better, gently pinching the edges as you go. The dough will stick to your fingers as you do this, so greasing and reapplying more oil to your fingers helps.
- Bake pizza crust for approximately ten minutes until golden brown.
The Top of the Pizza:
Here is where you can be really creative with making your favorite pizza. Below I have listed two possible options that we have tried. Both turned out delicious!
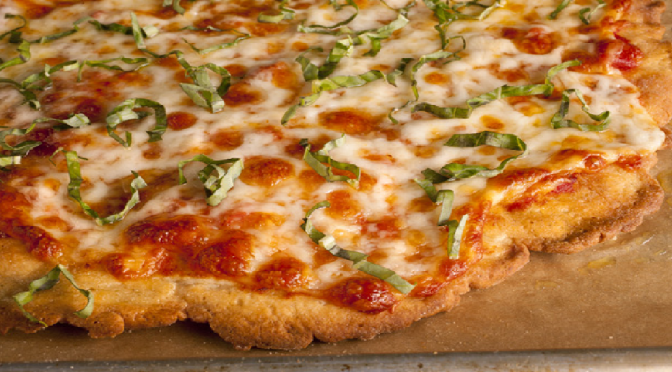
1. Traditional → Cover crust almost to the edges with marinara sauce. (This summer we will be experimenting with canning our own homemade and home grown recipes- organic/GMO free, etc..) We use the Classico brand (purportedly "all natural" with only a handful of ingredients), cover in shredded mozzarella cheese and Italian seasons, and add our favorite veggie toppings. Broil for 4-5 minutes. Watch and remove from oven when top starts to brown slightly.
2. Alternative →Brush browned crust with extra virgin olive oil. Season with salt, fresh garlic, Italian seasonings and then veggies and herbs of your choice. Cheese is optional. Broil 4-5 minutes until top is slightly browned.
The above recipe makes two pizzas. If planned in advance, we buy the toppings to make one bacon/pineapple pizzza for the child unit and green peppers/onions/and fresh basil for the adult pizza.
Enjoy!