Category Archives: On The Mountain

Garden Tiller

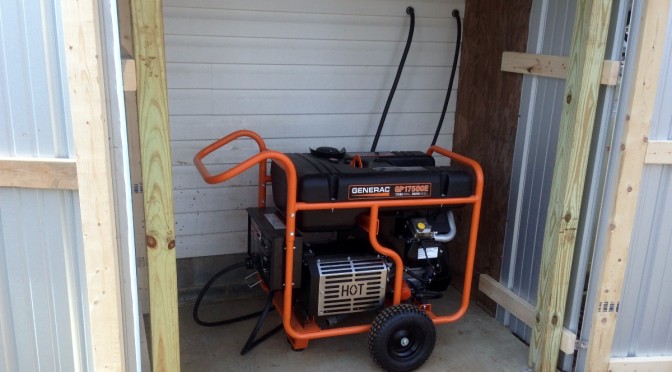
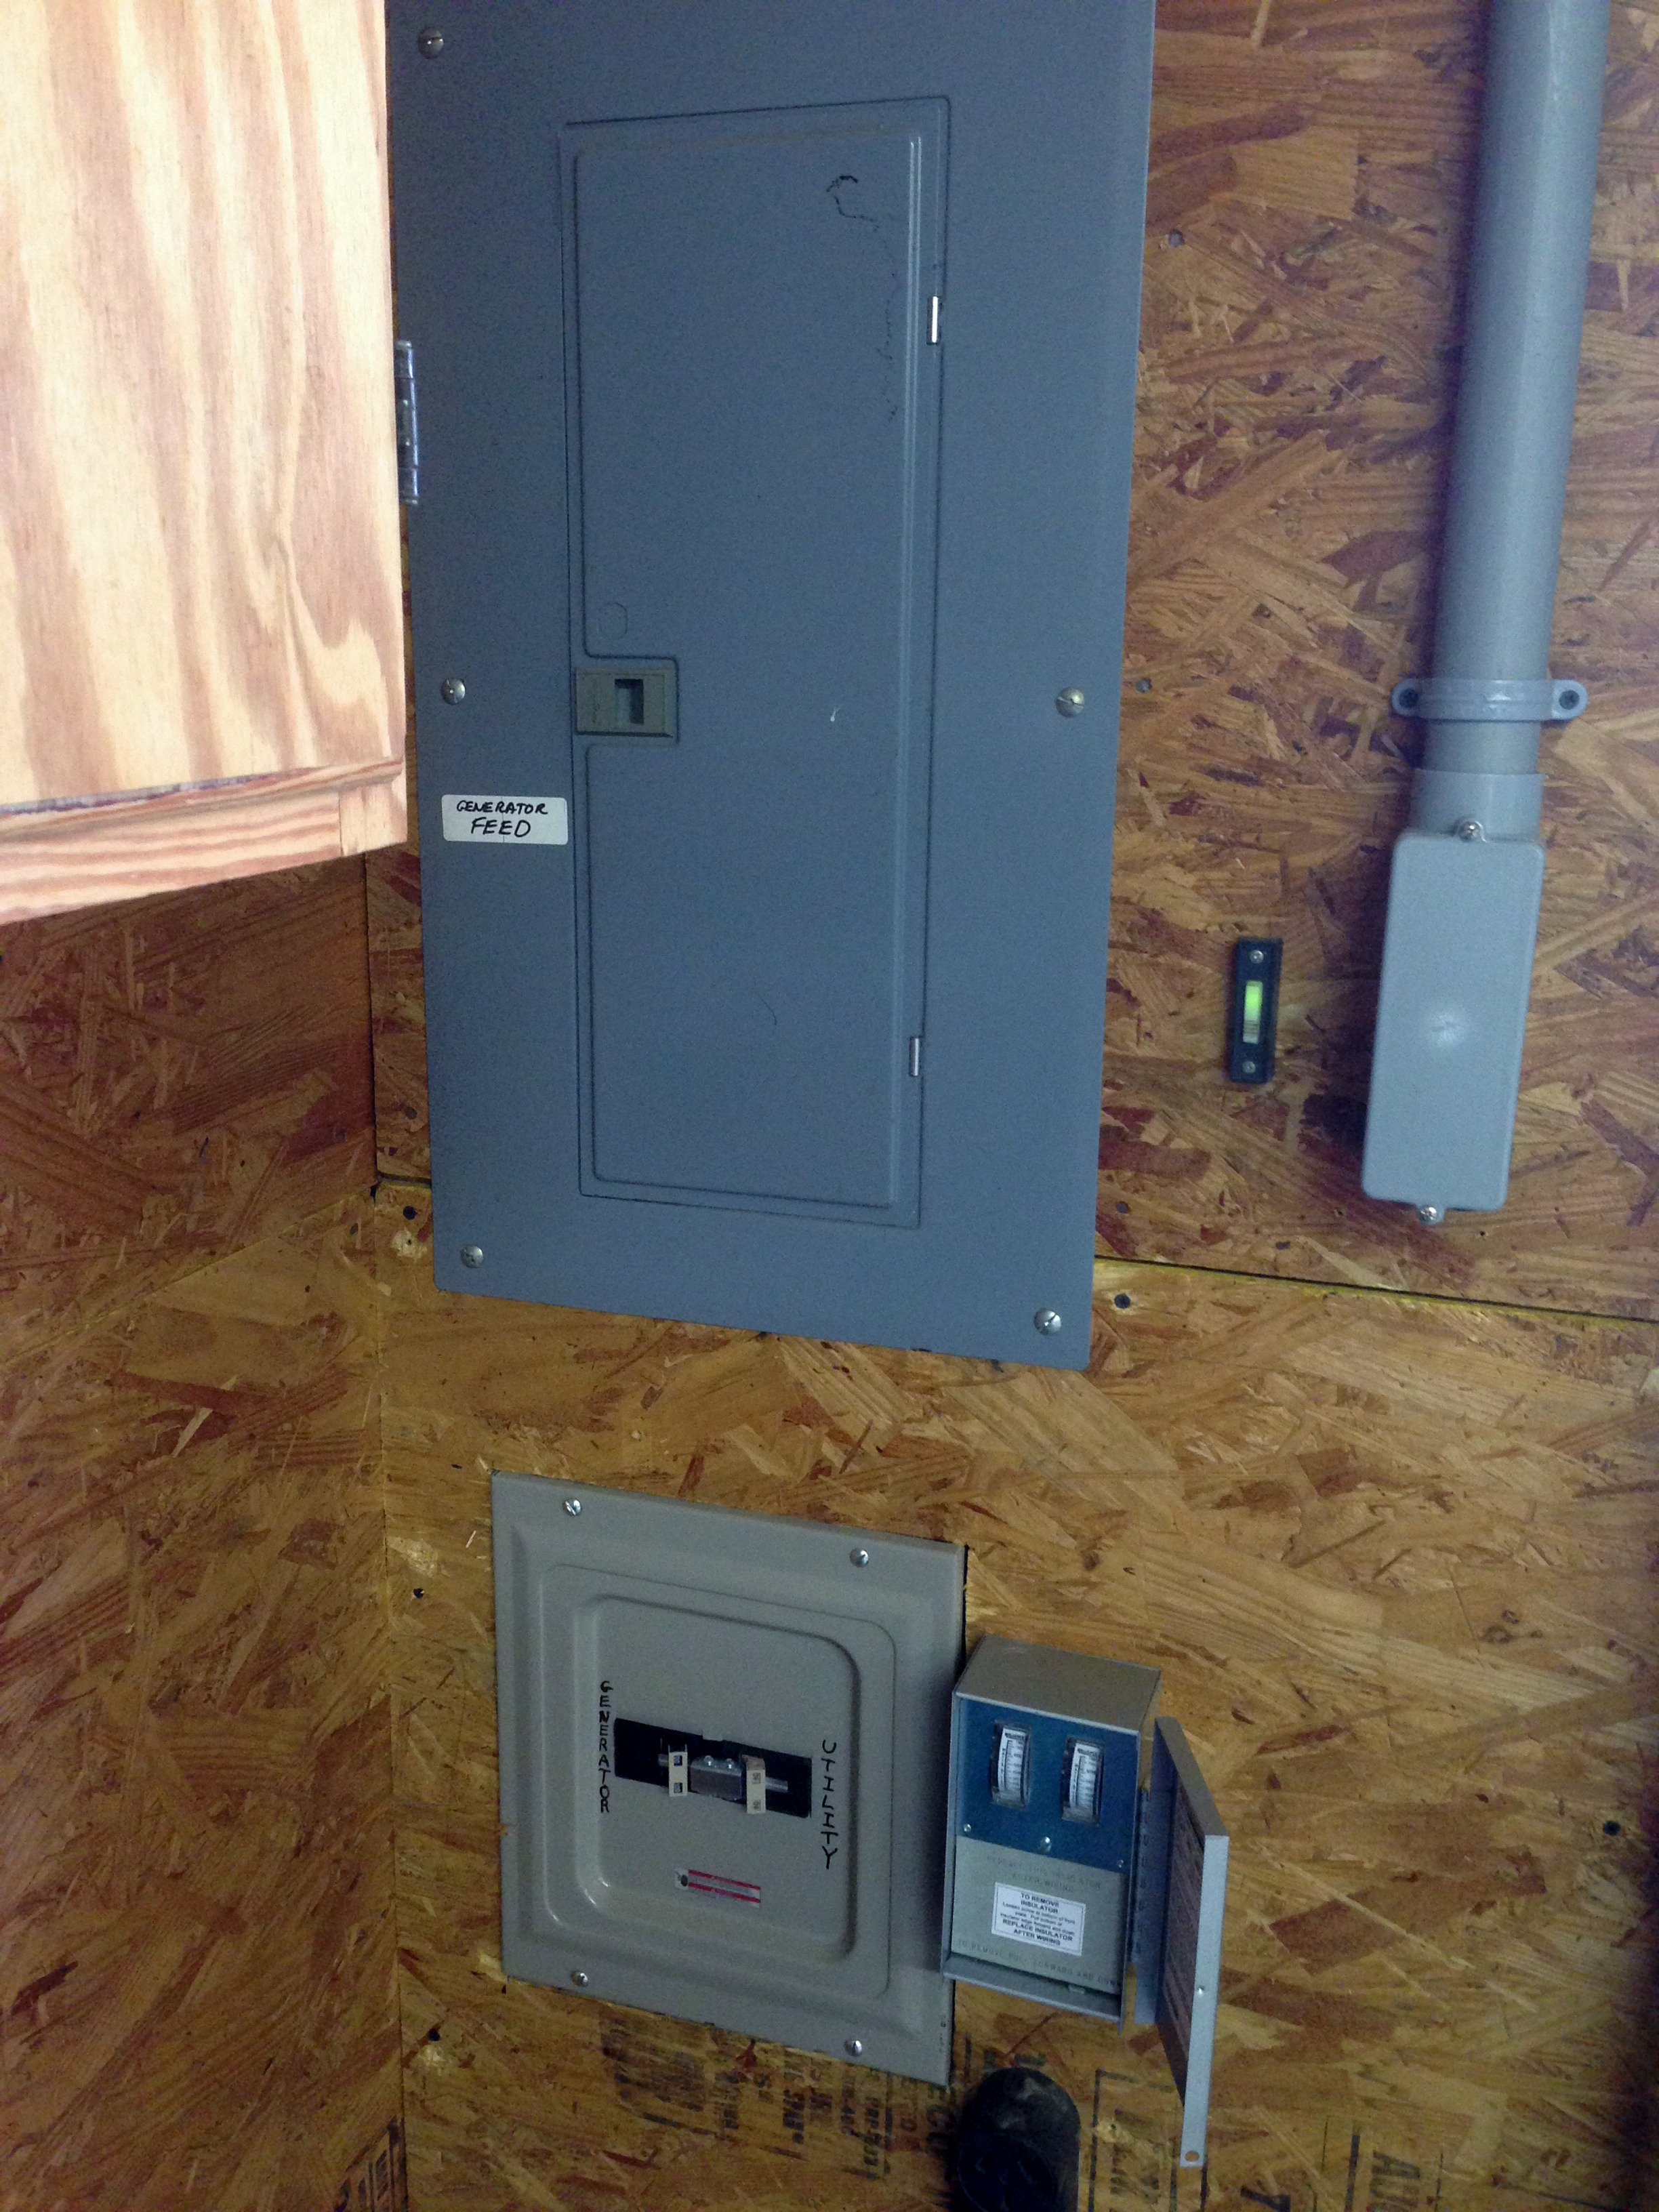
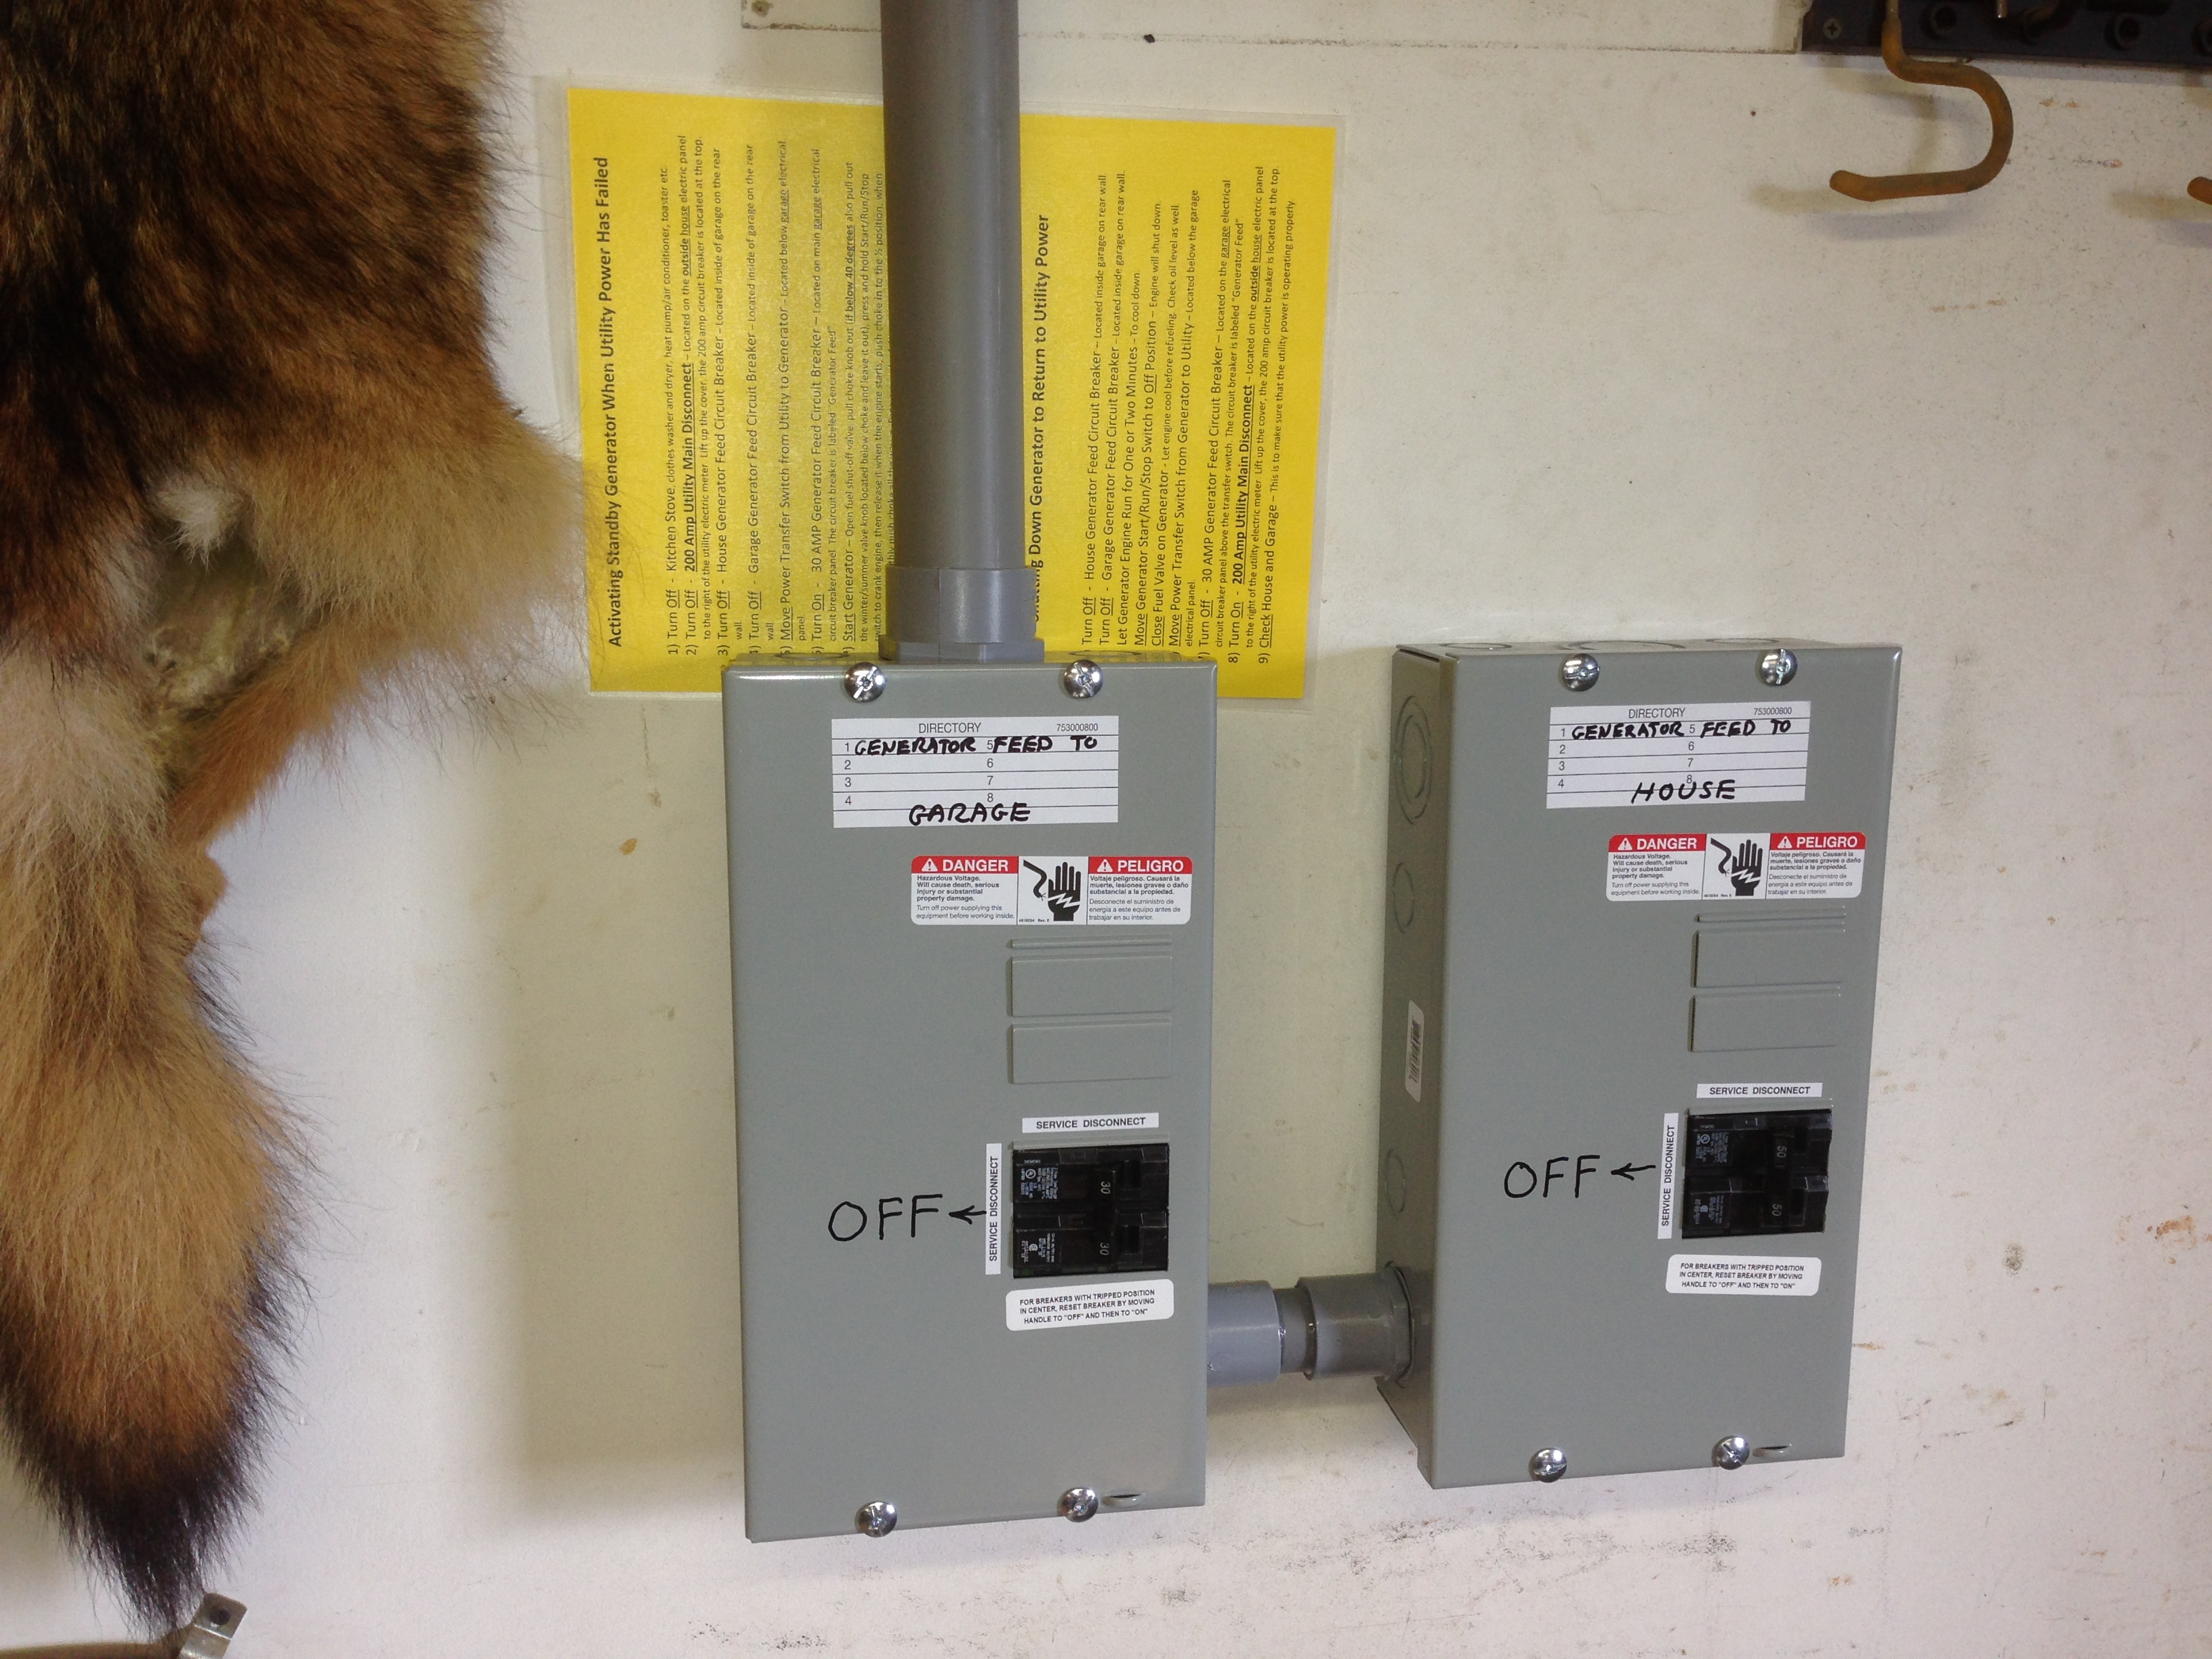
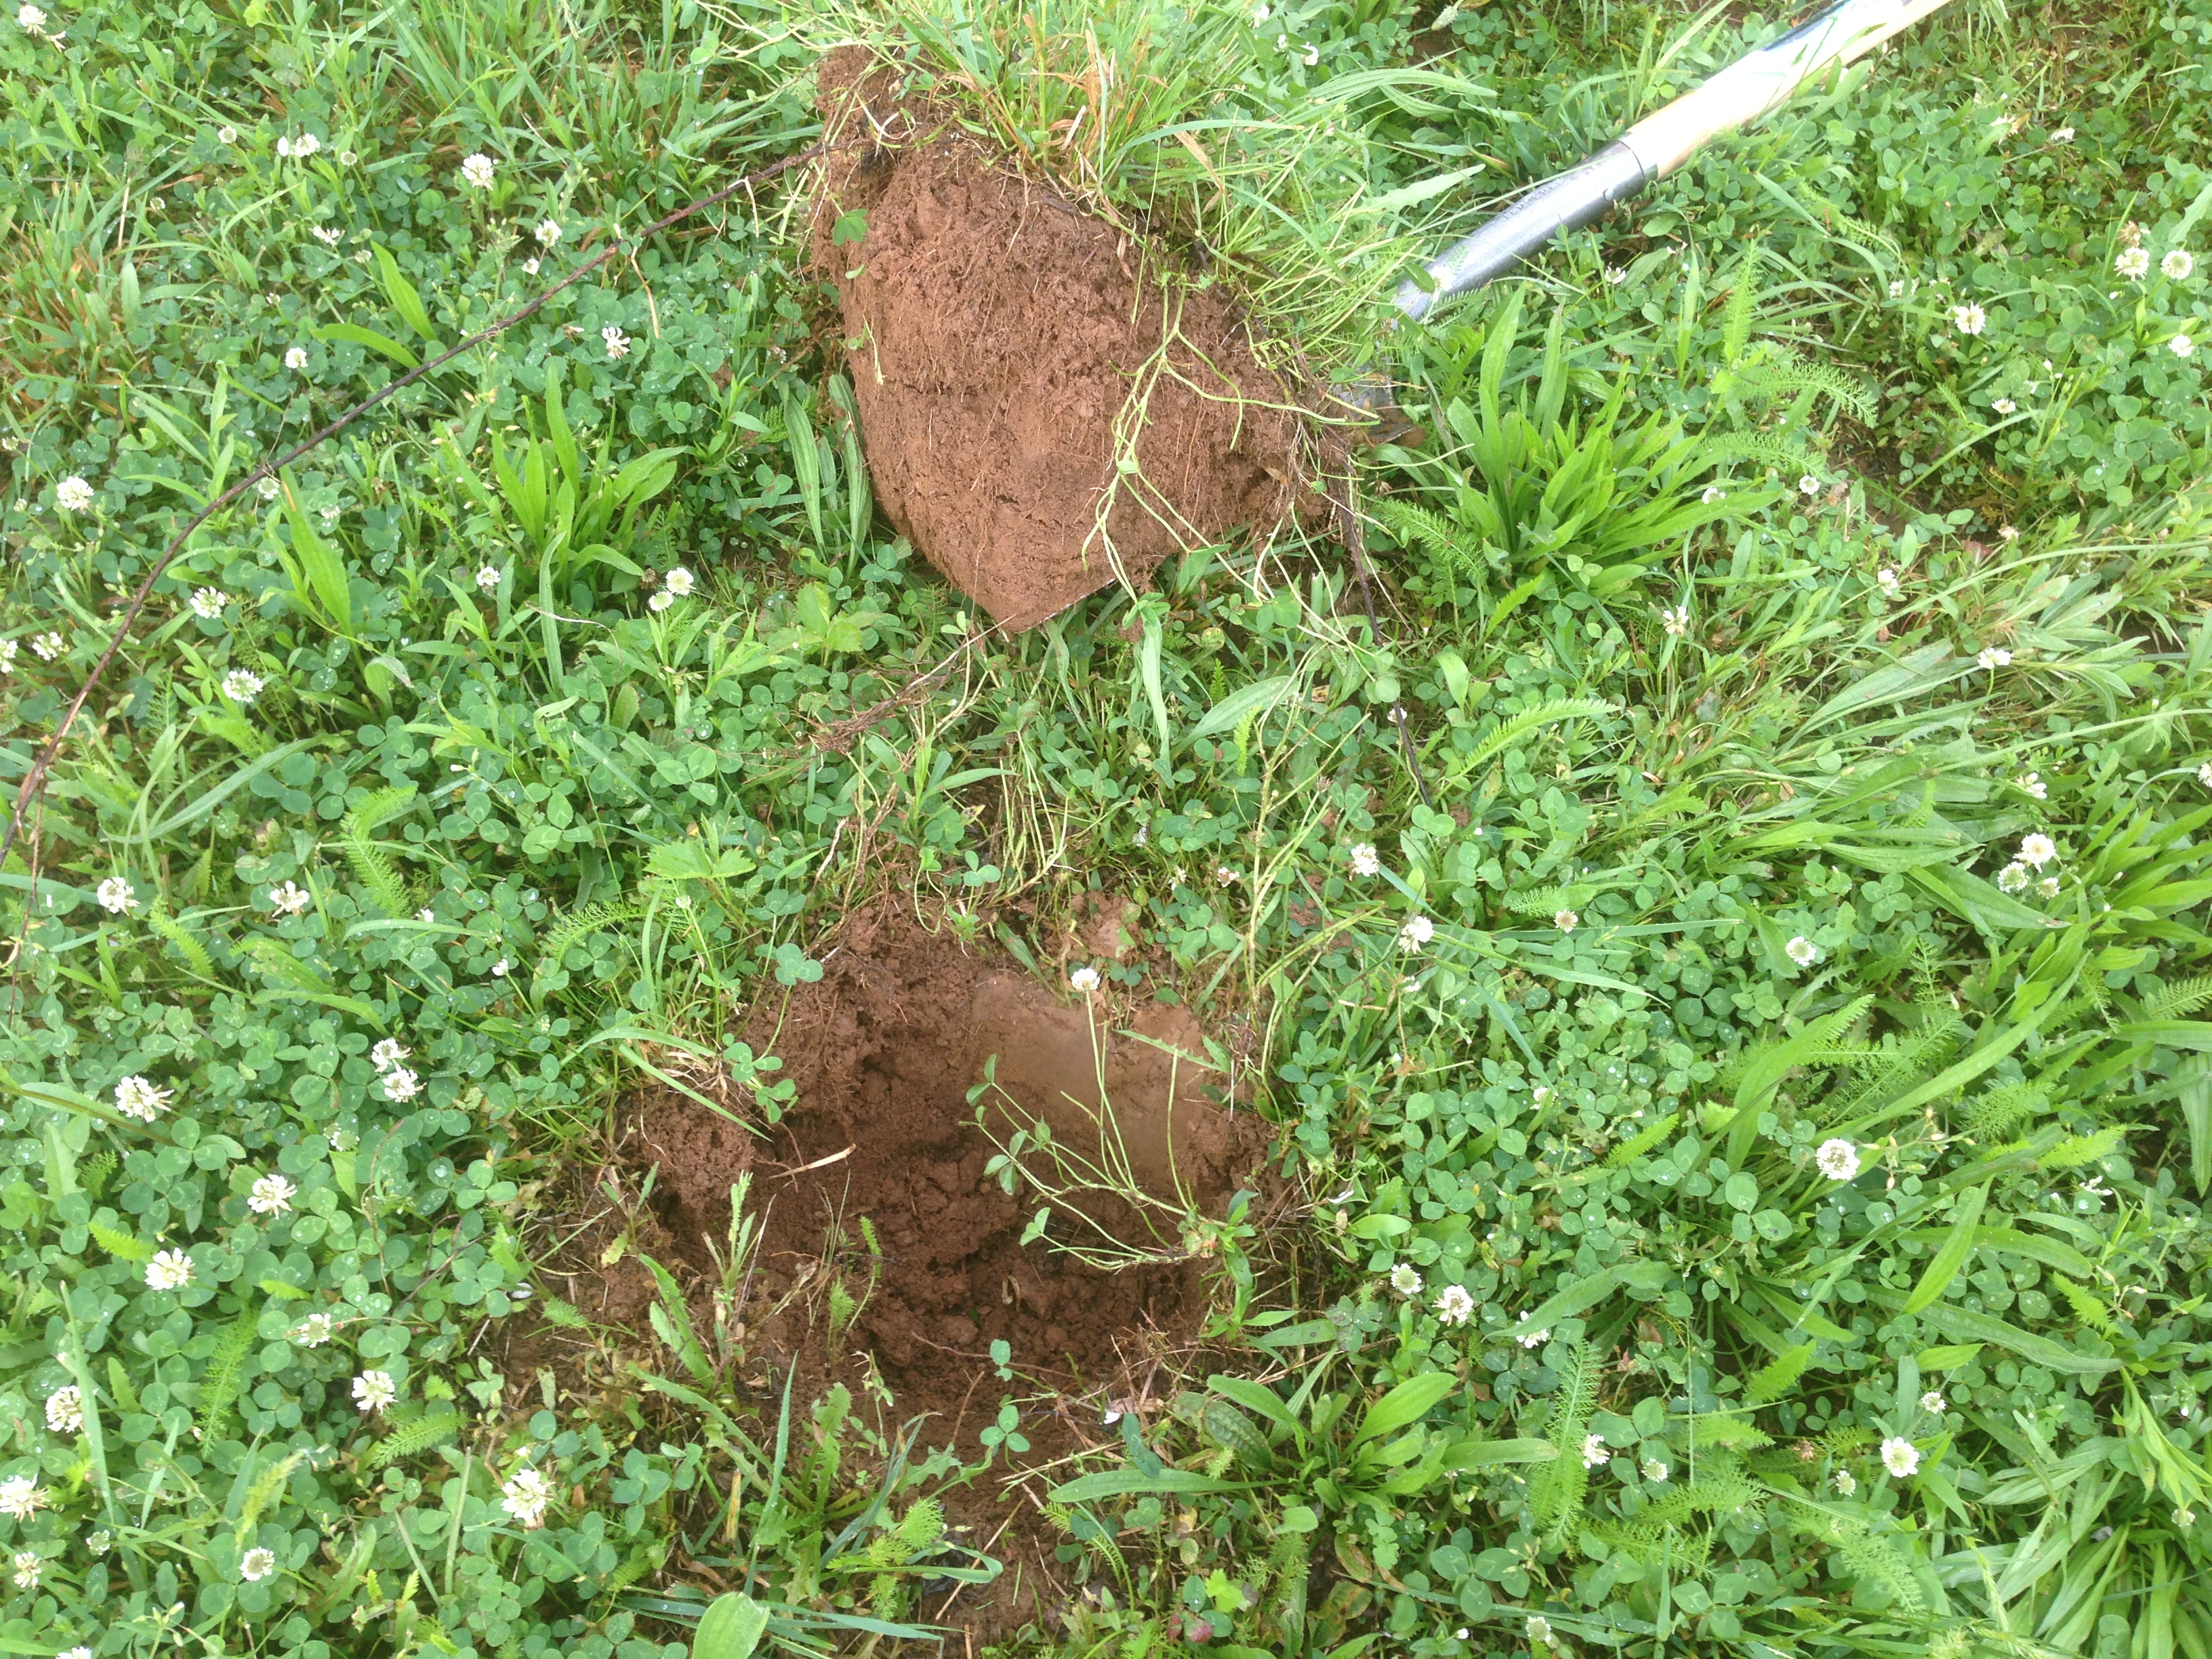
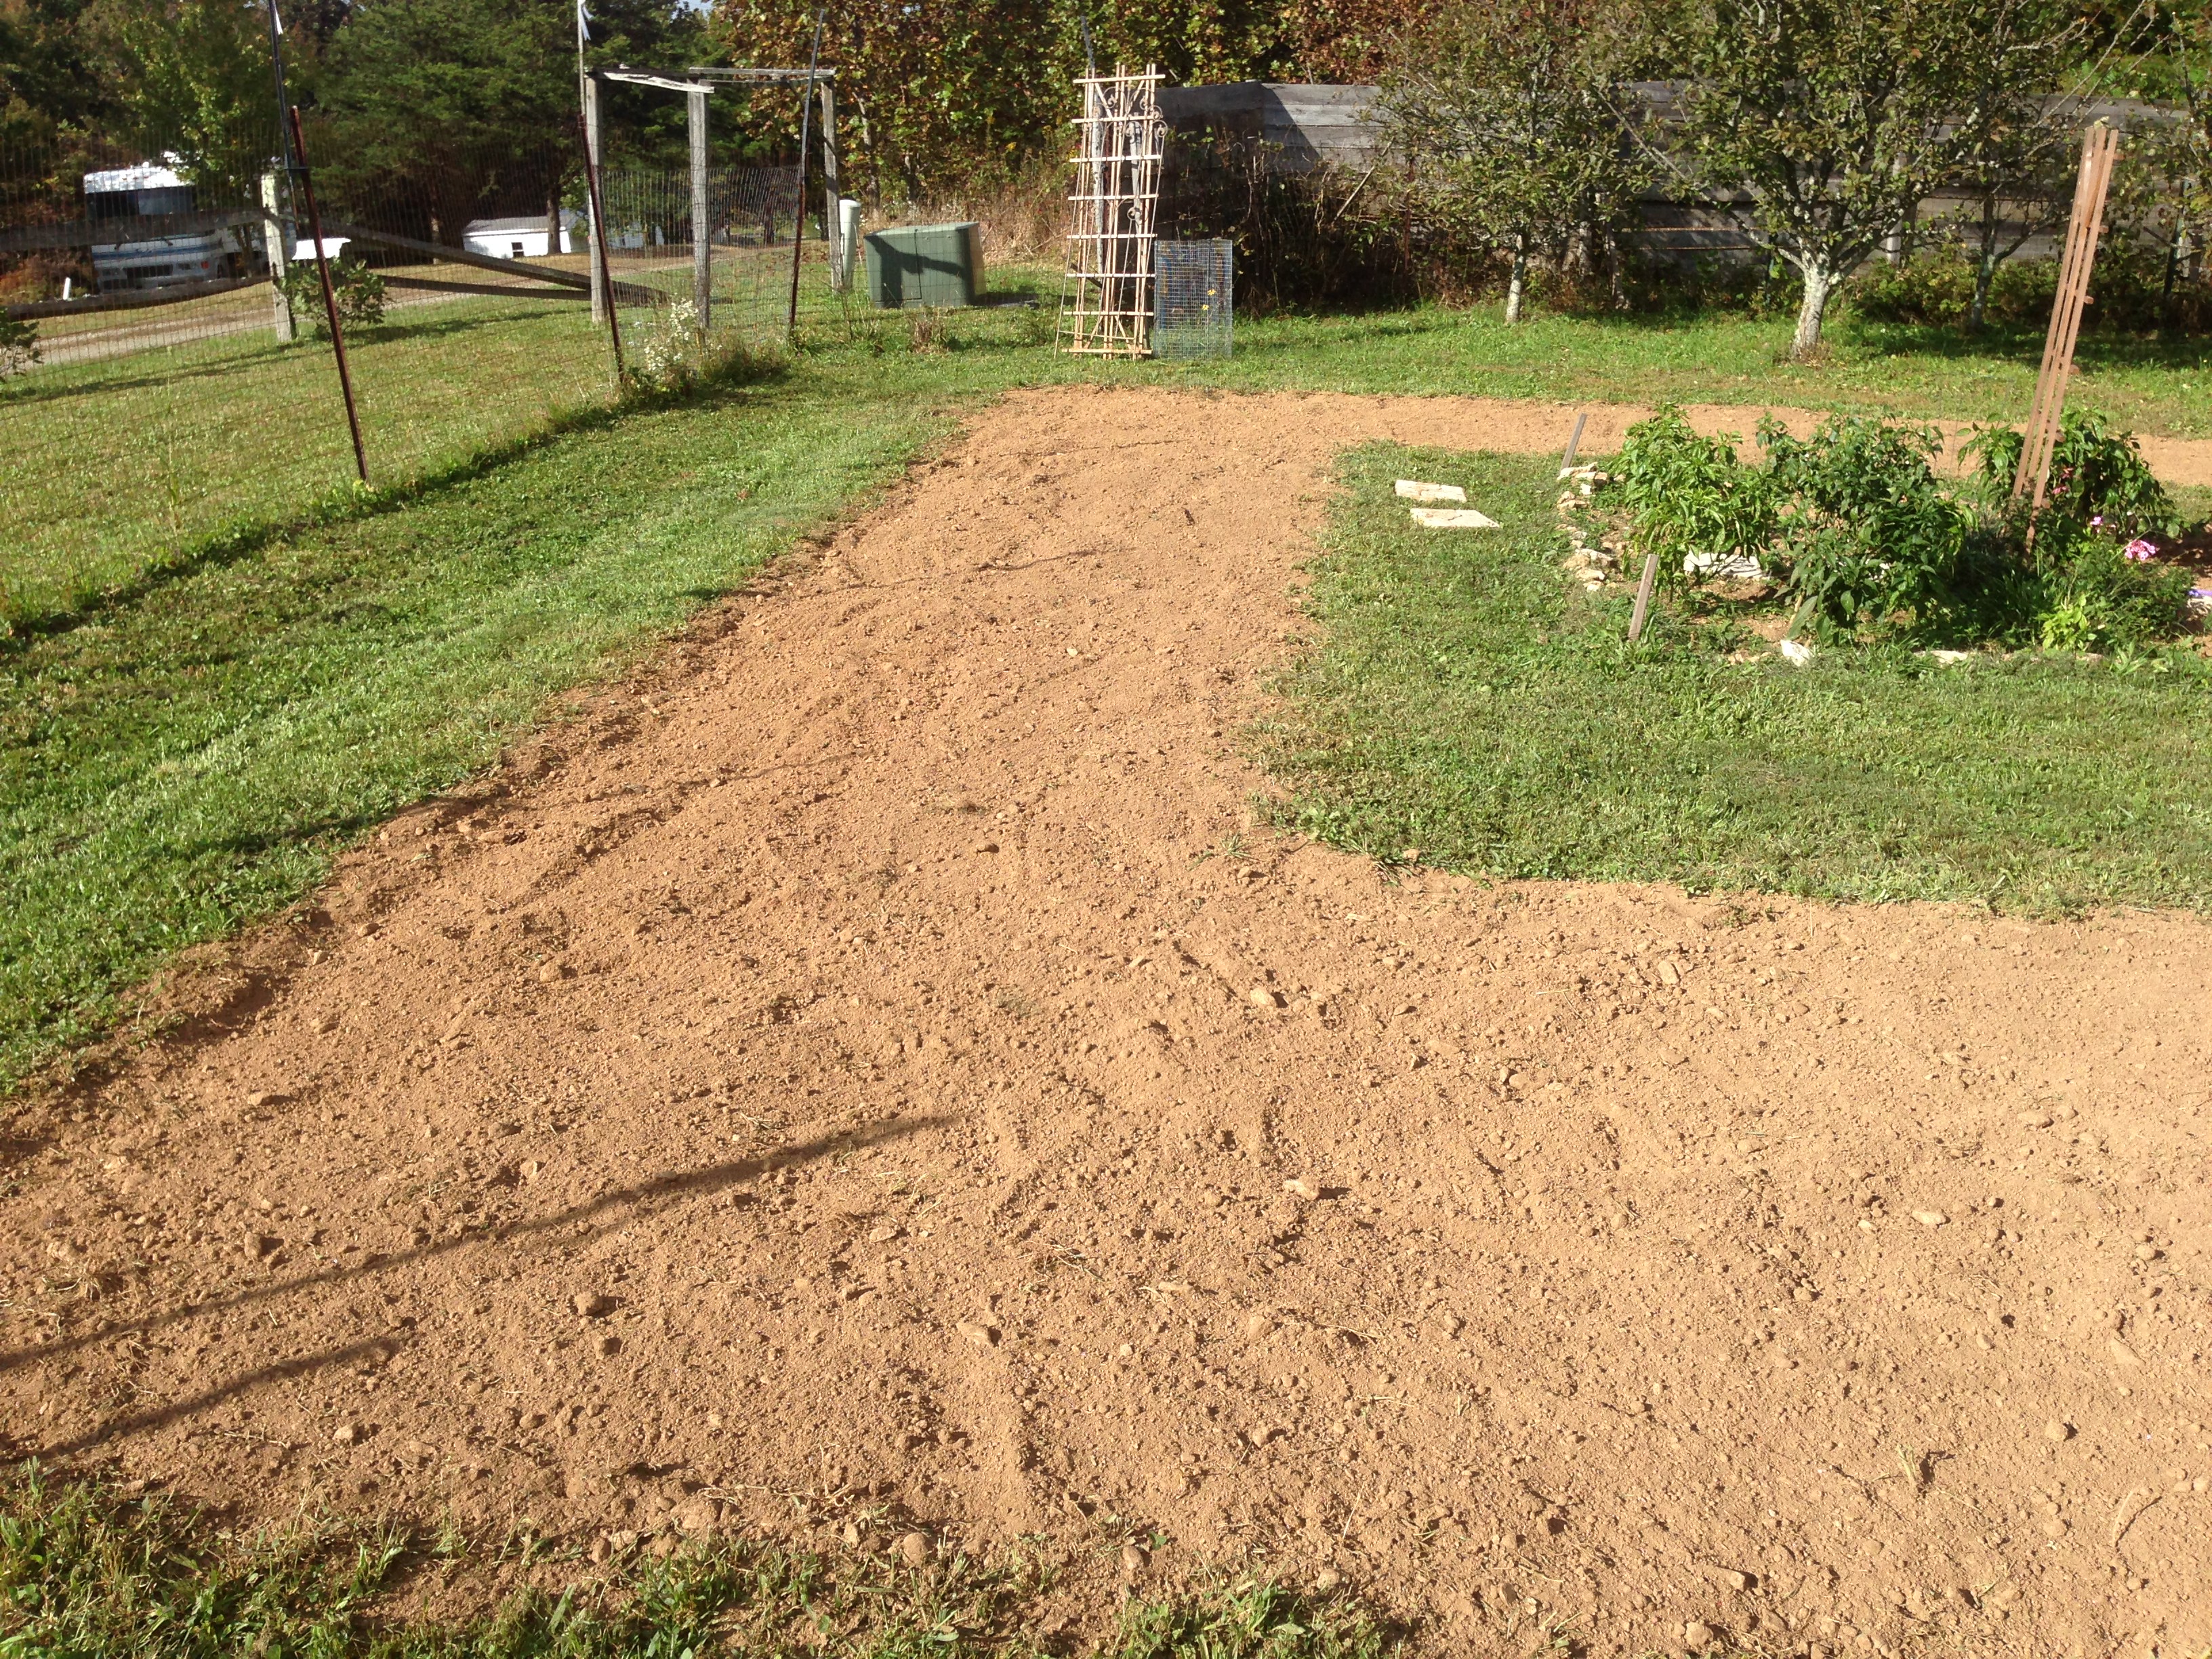
The soil up here on top of the mountain is primarily clay with some black dirt here and there. While digging the trench to bury conduit for the standby generator I got a first hand look at what we are up against if we expand our garden beyond its present boundaries. What I found was rocky clay within an inch or two of the surface and it got worse as I went deeper. Ouch!

The previous owner had invested years building up the soil in the garden area with mulch and compost, so within the fenced garden area one finds 5-6 inches of relatively decent loam before hitting the dreaded clay with a side order of rocks. Even so it was amazing how many rocks we pulled out of the garden after turning the soil with the tiller. The garden itself had not been turned in two years so the weeds were in full bloom.

Dirt and WeedsWhen considering purchasing a tiller I understood that we would be expanding the garden soon, as well as working the heavy soil in the garden even if we did not expand. So I did not want to purchase a small tiller designed to turn lighter soil down only 4-6 inches. Basically I wanted a large tiller with lots of power that was able to dig down up to 10 inches if desired.

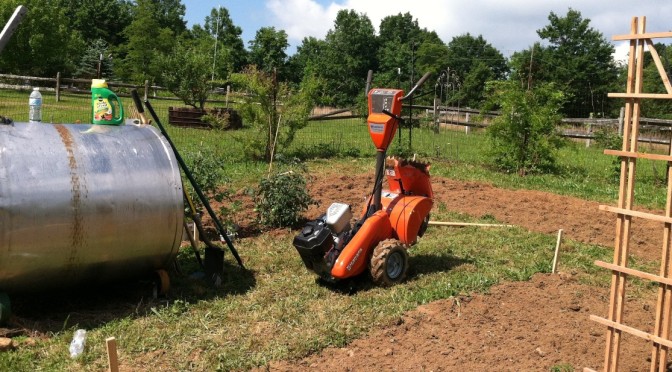
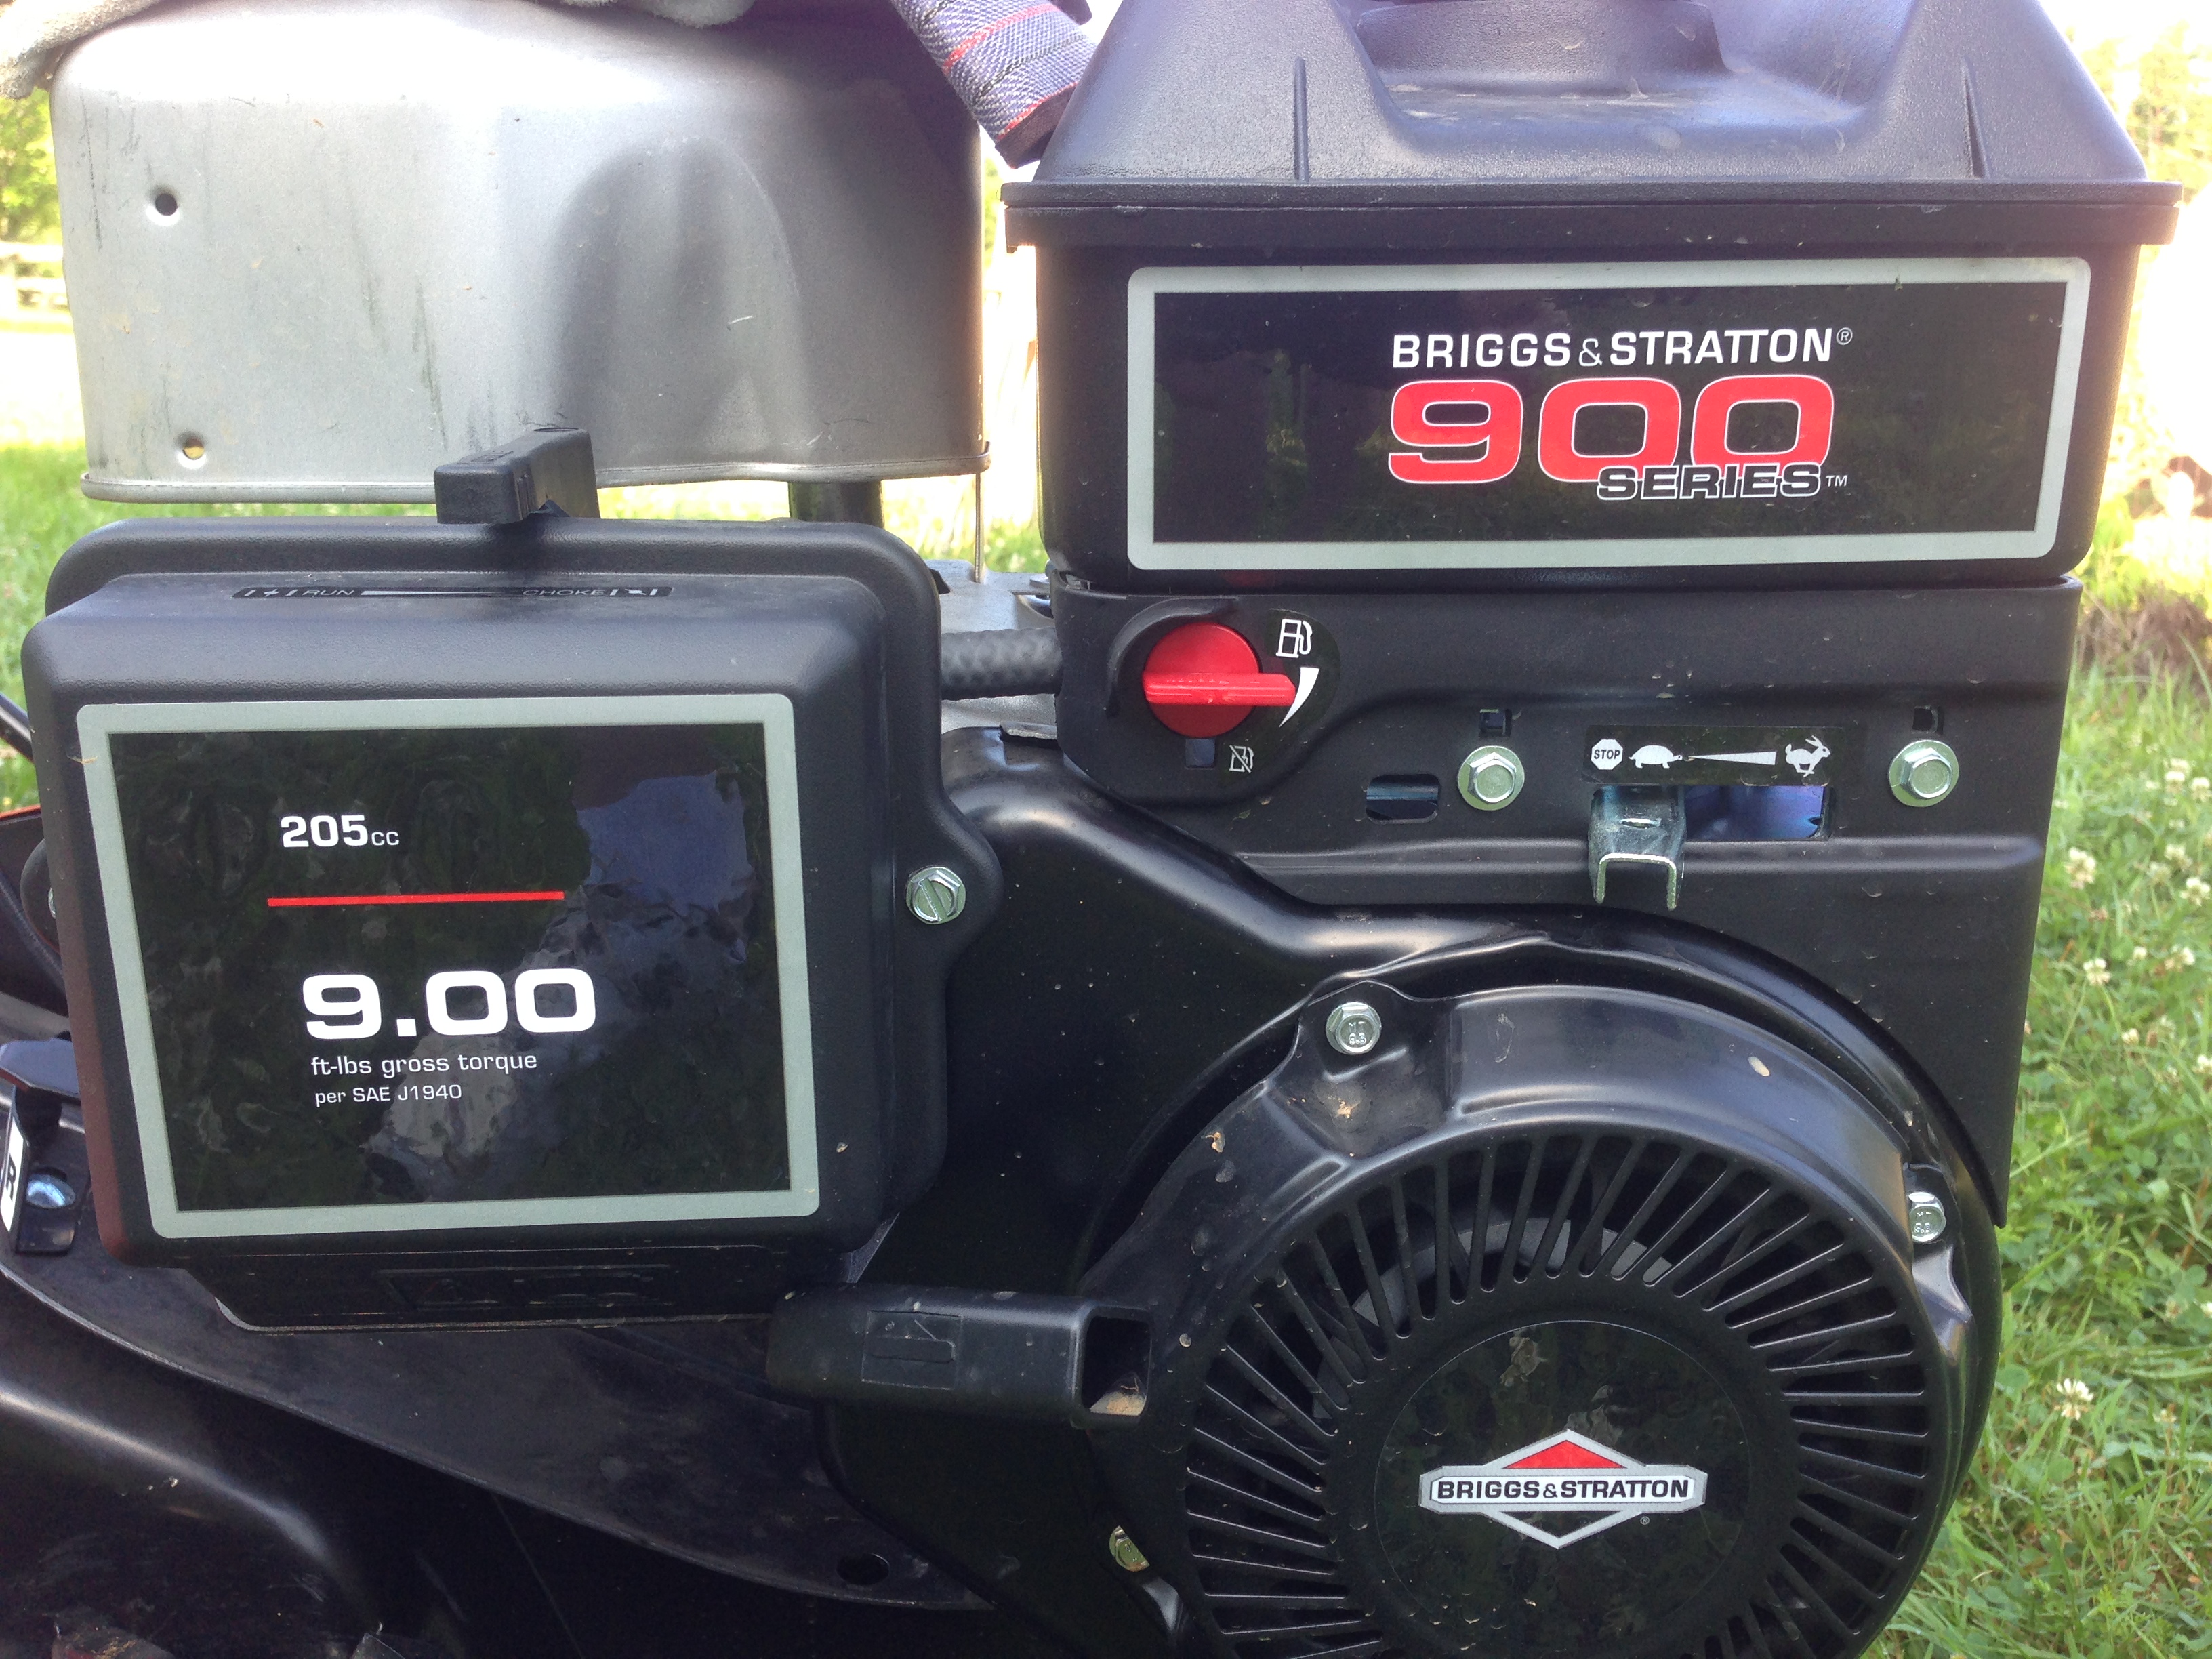
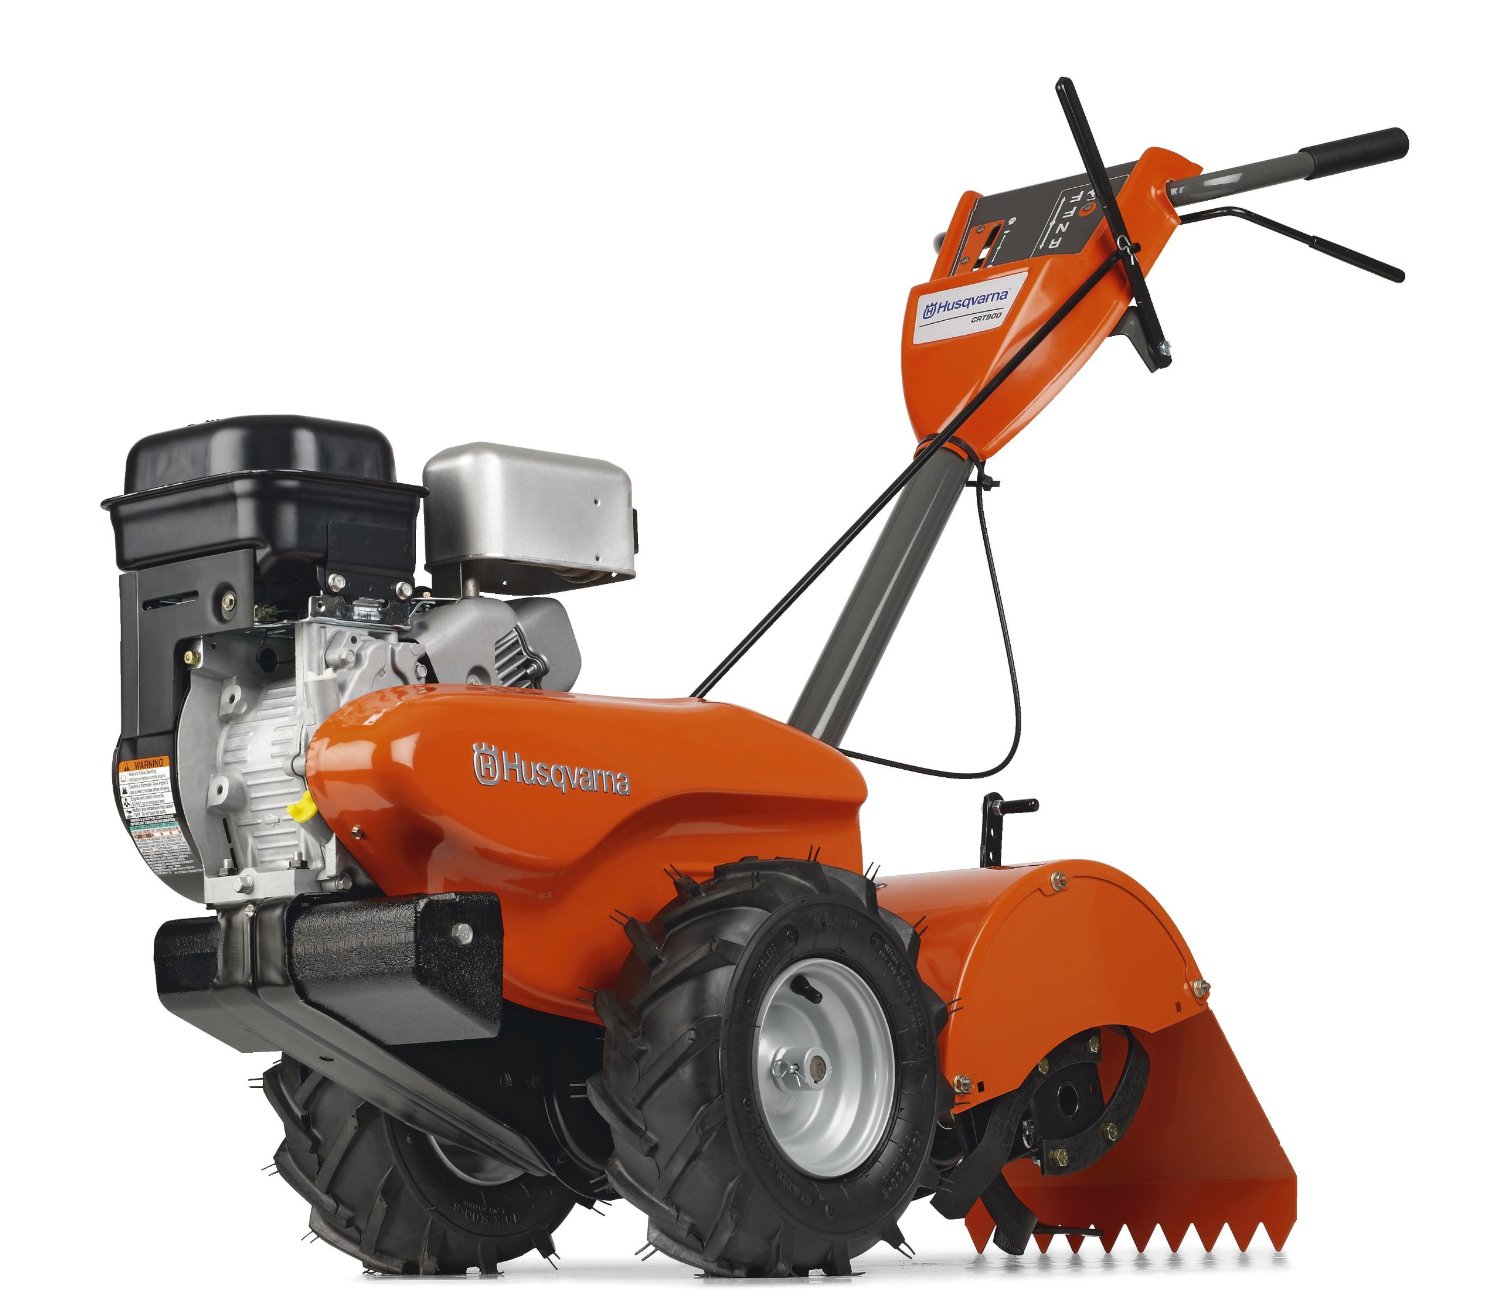
What we purchased was the Husqvarna CRT900 14-Inch Briggs & Stratton 900 Series Gas Powered Counter Rotation Rear Tine Tiller.

I guess I'll start with an image of the finished product, meaning the tilled garden (or at least a section of the garden) and work backwards. Some of the issues I have with the machine appear upon reflection to be operator error and some design error. Sorting out what belongs to whom is the purpose of this article. I will say that overall I am pleased with the tiller, though I would not purchase it again if presented with the choice.

Finished TillingLet me start off with what I like about this machine.

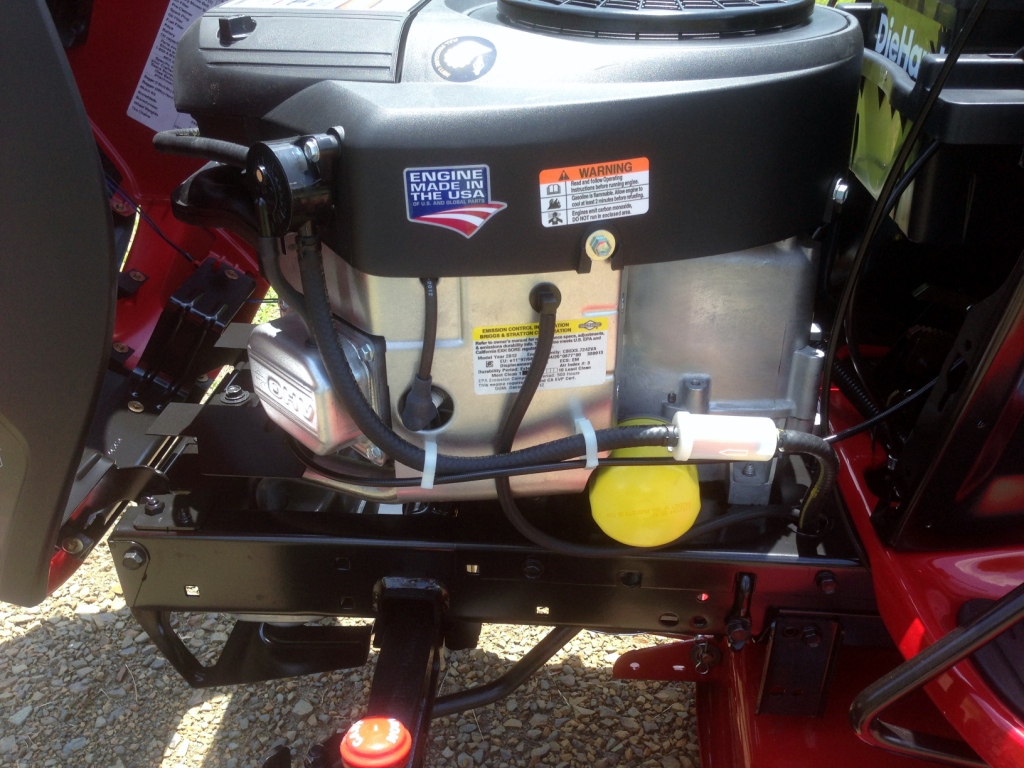
1) The engine is very powerful and regardless of how deep I was tilling, the engine never showed any sign of bogging down as long as I gave it full throttle. Speaking of throttle, all engine controls are found on the engine itself since when tilling you should be controlling the machine with two hands and not messing with the engine speed. There is a choke located above the air cleaner and the engine shut off switch is on the engine. The fuel shut off is located under the fuel tank.

Engine close up

2) This big and heavy machine is self propelled. If it were not it would go nowhere when tilling since the counter rotating tines provide no forward momentum to the machine when working. Having a forward and reverse gear is great, especially when working in tight places. If you examine the image of the tilled garden above you will see that Mrs. Cog has created a pretty garden, which means lots of tight corners and short runs.

3) Heavy duty everything on this machine, including a big heavy counter weight up front. This puts more weight over the wheels and helps keep it balanced when tilling in the dirt.

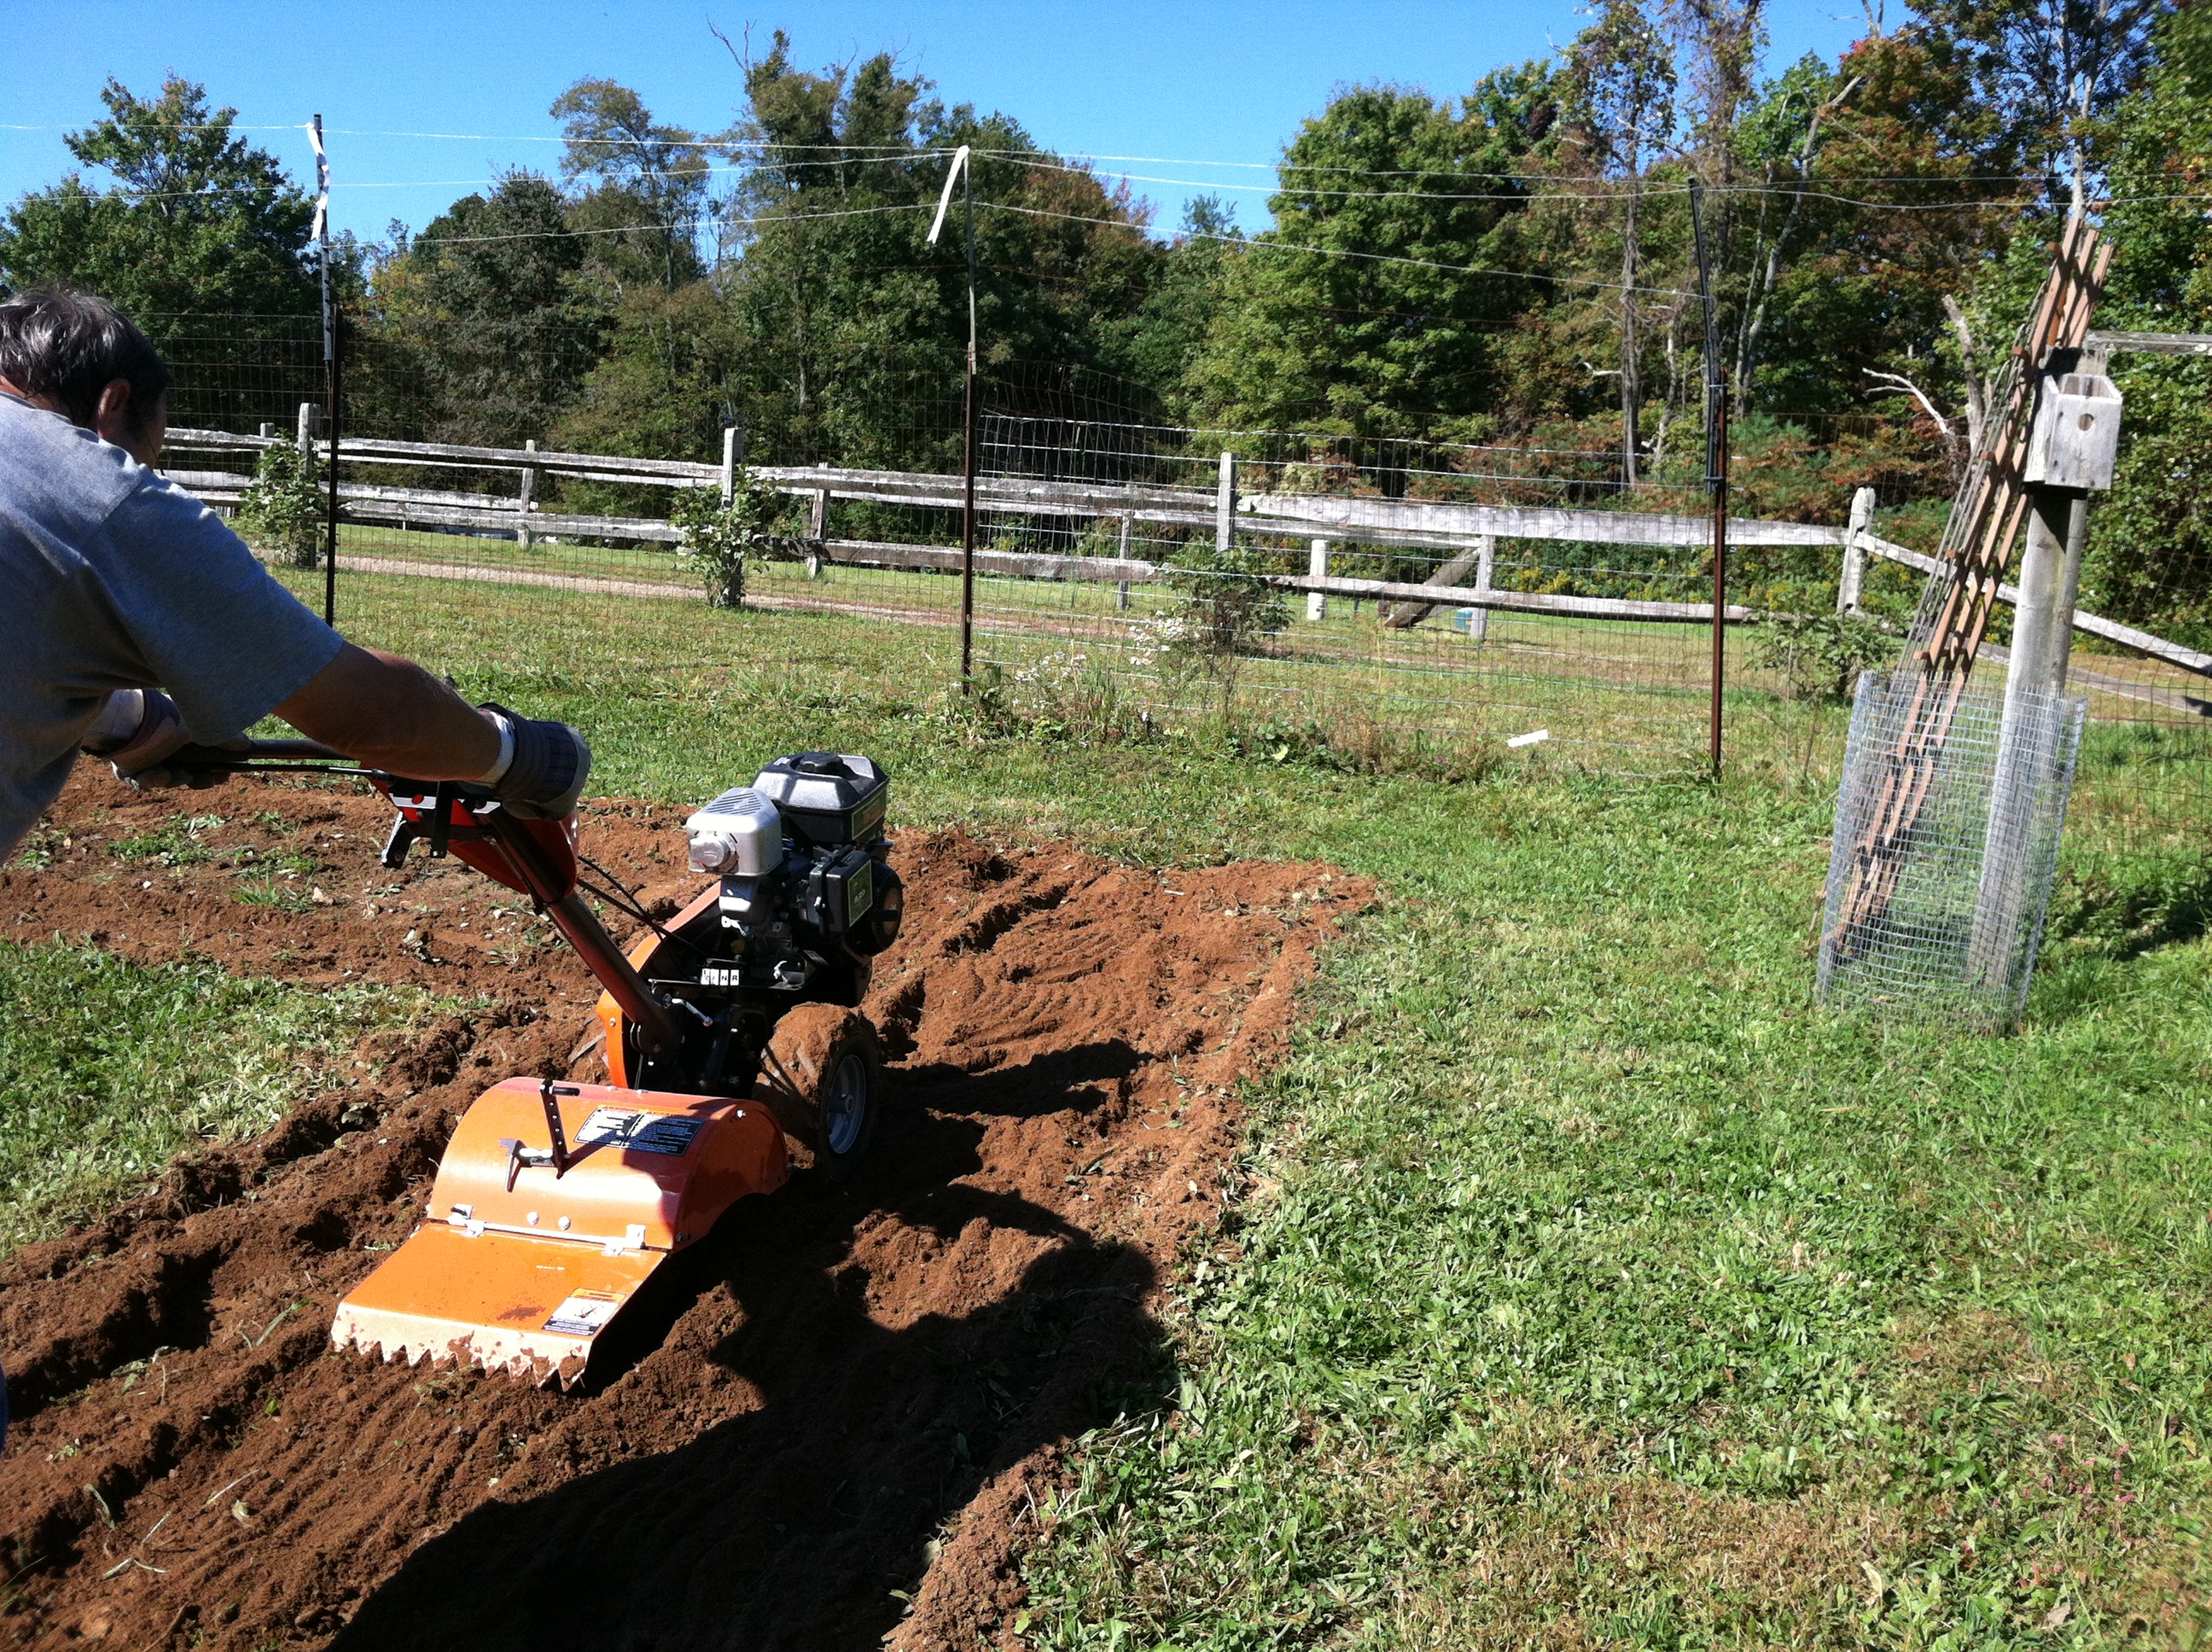
4) Very thick tiller shroud and shroud flap. On two occasions a large rock got jammed between the tiller tines and the shroud and in both case the machine stopped as expected. Very nice feature. The shroud was not dented or creased in the least. Husky spent some money on this thick steel and it is appreciated. In the image below you can see the shroud flap keeping dirt from flying into my face as I am dragged along tending to the beast.

Garden Slave at Work
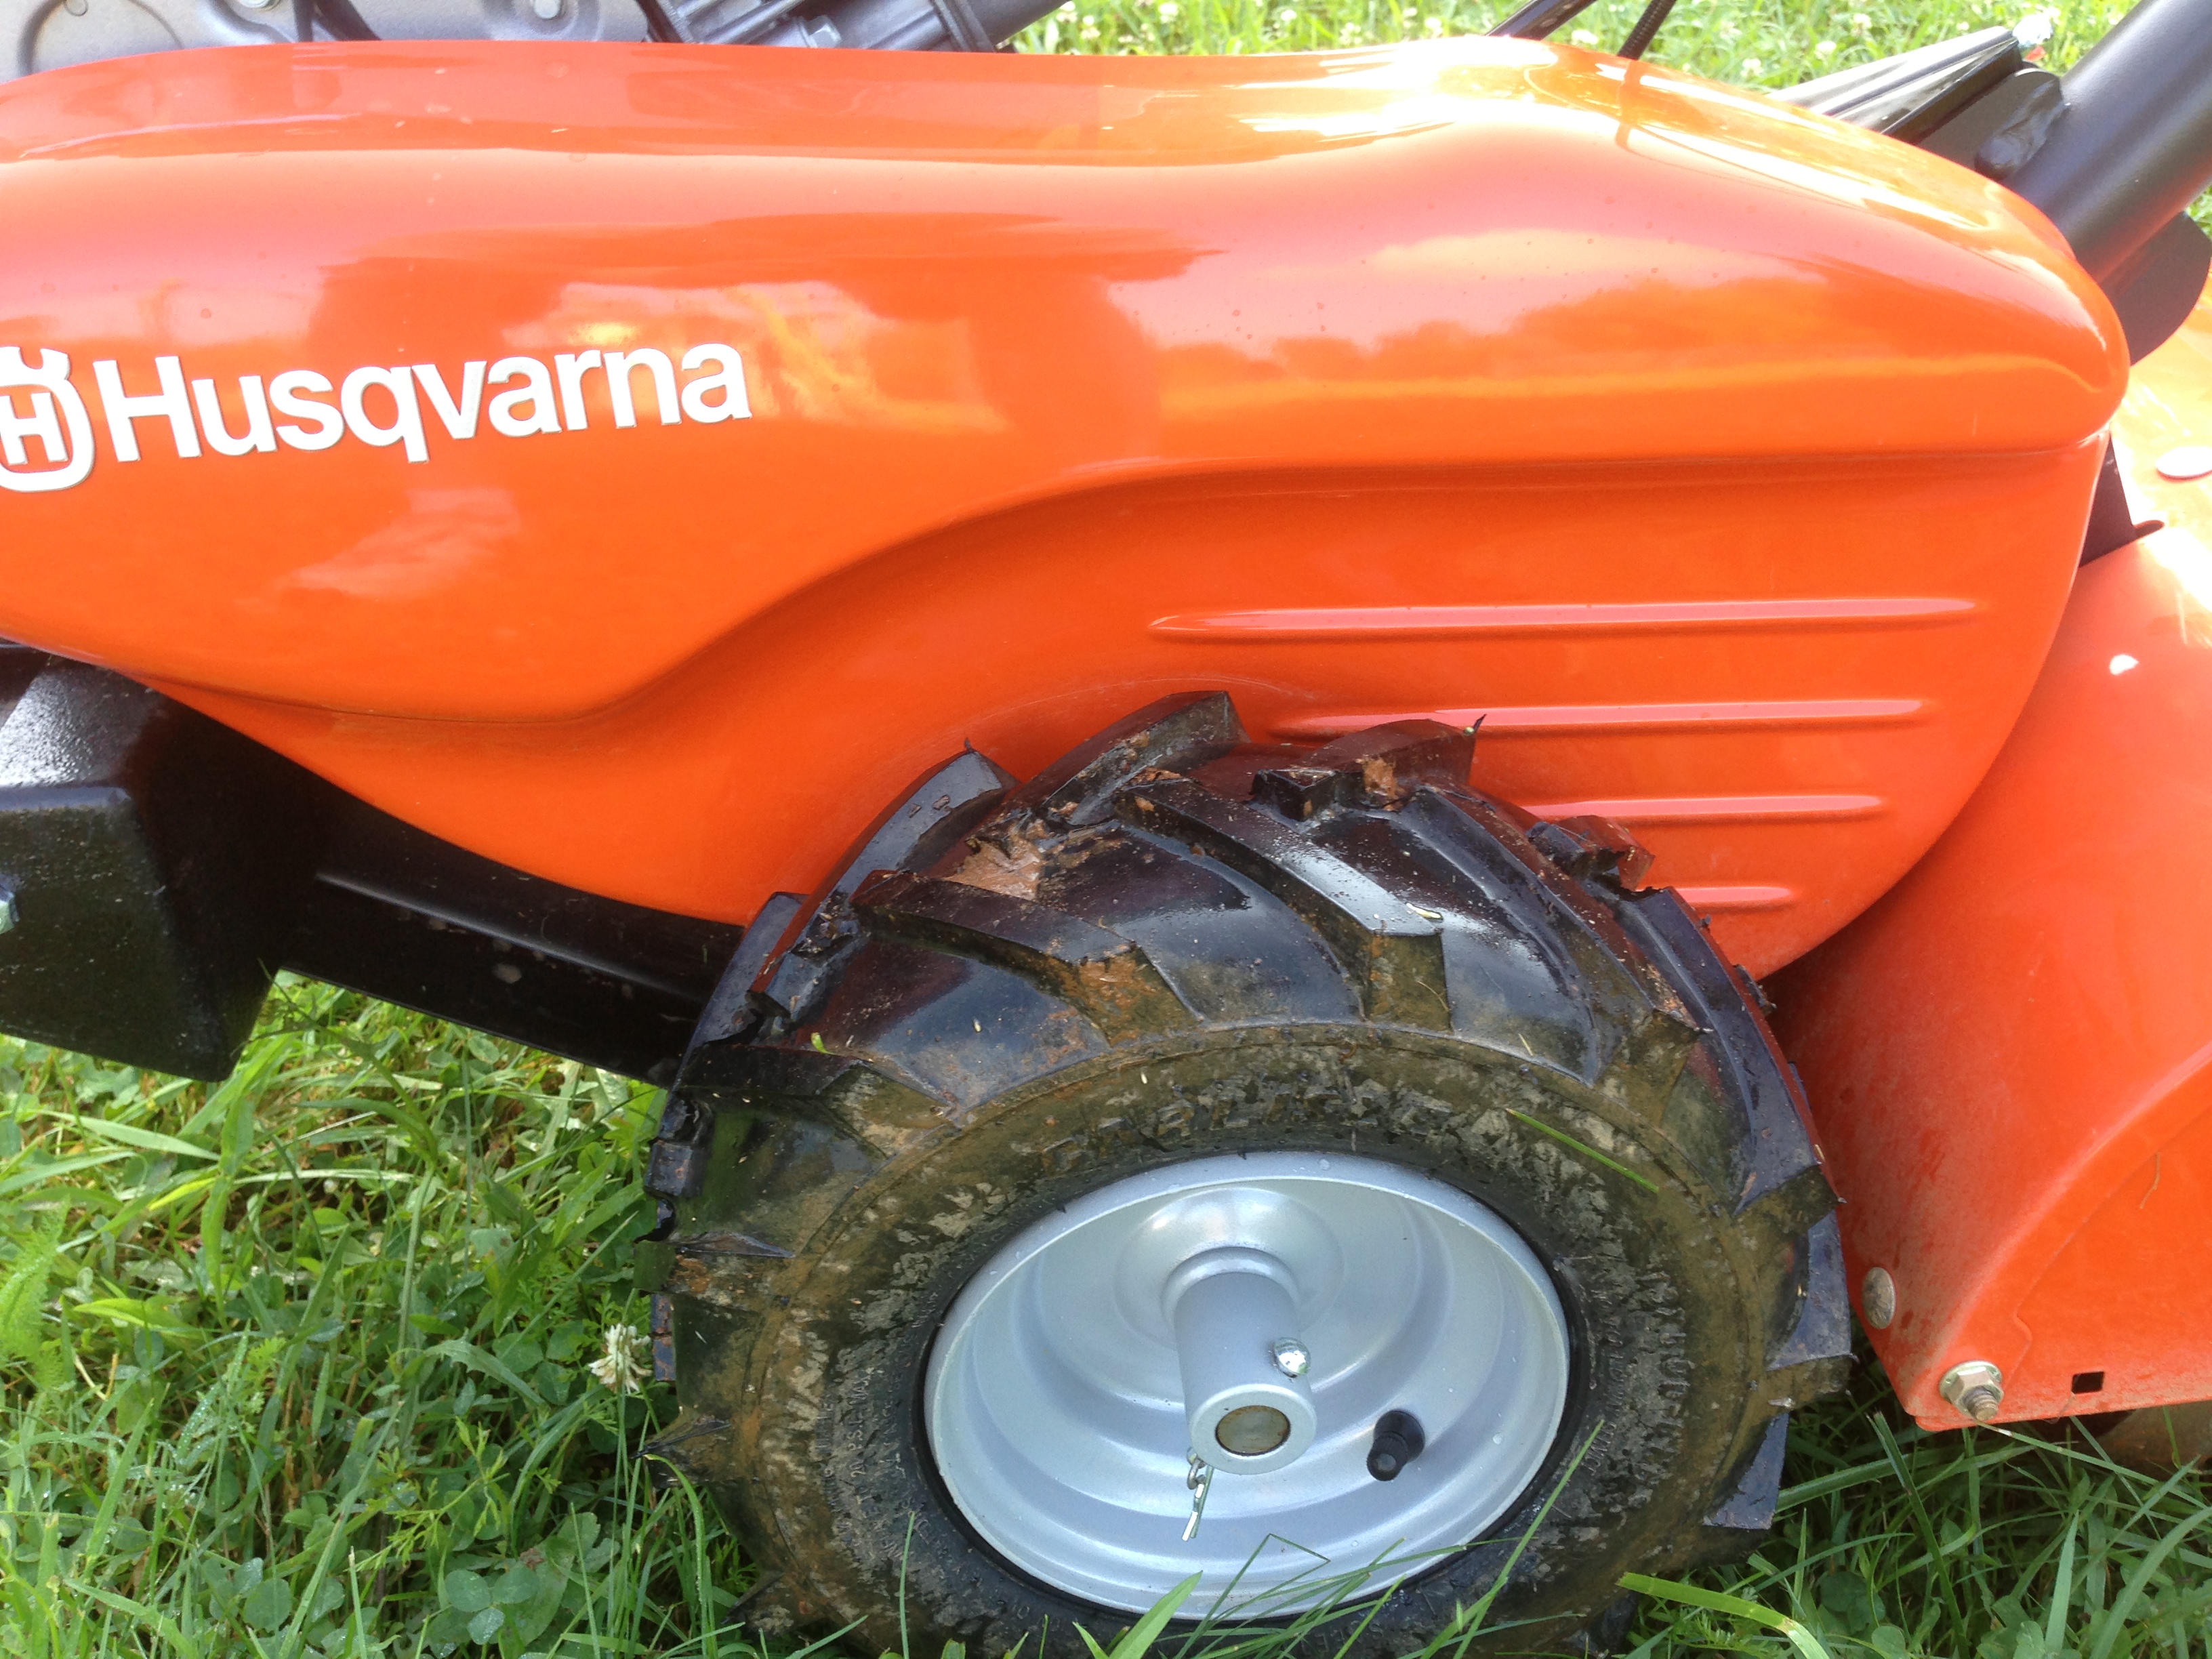
5) Heavy tread on the tires. The soil tends to clump and so the treads do get filled on occasion. But if the tire treads were not as deep as they are they would quickly fill and the result would be slicks. No thank you.

6) Reasonably balanced machine. The counter weight helps forward to back balance and when on level ground the side to side is balanced as well. Note below my problems with side to side balance.

7) The dead man levers are located on both sides, but only one needs to be held in order to keep things running. This is helpful when you loose your balance and don't let go with both hands. The machine continues dragging you forward anyway. Increases productivity that way.

8) The adjustable tine depth adjuster thingy. There are several setting in one inch increments, so for the annal retentive there is just the right depth to be set. This is where I went tragically wrong because being the typical male, since 5 inches is good, 10 inches must be better......right. More about this below.

9) The handle is adjustable up and down...but it takes tools and time to do so. No problem if one person uses the machine most of the time and many other machines don't even offer this feature.

10) The Husky came securely packed on a pallet with wood uprights and cross bracing and with heavy cardboard covering. Assembly basically consisted of attaching the handle and one cable. The biggest issue was getting the wheels out of the pallet spaces. Very pleased with the packing.

Husky Tiller

Now for the stuff I dislike. As I said above there was/is some operator error here and it will be pointed out where appropriate.

1) The machine is too narrow. Yes, I understand that its width makes it perfect for tilling 4-6 inches deep between rows of crops. And I suspect that if used in this manner the machine is just perfect. But when tilling heavy soil that hasn't been turned lately or ever, the machine tends to tip left and right as the rear tines hit varying degrees of compacted soil.

Operator error alert. I suppose if I took several shallow runs when first turning the soil that this would be less of a problem, if at all. But stupid me....this never occurred to me until the fall tilling when I realized that the soil was easier going this time because it had been tilled in June. So I won't condemn the tiller until I have corrected the operator error.

But ........as soon as one wheel gets a few inches lower than the other in the already tilled soft soil the machine wants to veer off in that direction. This happens often when you are tilling next to a row that has already been tilled. One wheel is on hard pack while the other wallows in the soft dirt. Stay tuned for an update in the spring.

Narrow2) While I love the self propelled feature, both forward and backward, the gear shifting mechanism is clunky, the engagement is uncertain and sometime you need to let out the clutch a little when trying to move out of reverse or forward, a dangerous proposition for anyone because the machines tends to jerk and the tines engage if you are moving into forward. Reading some comments left on the Interwebby indicates that this is a design flaw and not particular to my machine. I don't think it is a transmission issue, but rather a clutch problem. This spring I will look for an adjustment.

3) While I love the powerful engine and the engine controls work fine, I have had problems with the engine running smoothly. I make sure I am using fresh high test gas and I run the engine dry when I am finished. It appears to be a carburetor issue, maybe air/fuel mixture. The odd things is that it is intermittent and thus hard to diagnose. It doesn't make the machine difficult to operate, just irritating.

4) While I love the tine shroud I wish there was some way I could remove it to clean under and around the shroud and tines. This mountain clay/dirt packs hard and it is very time consuming and labor intensive breaking it loose and removing it from all the cracks and crevasses. Maybe I am missing something here and it only takes a few bolts to remove the shroud. I will look closer in the spring and see if I can remove this from the list of issues.

Tires

Like I said, some of my issues are with the Husky and some I can see are operator error. I have used powerful tillers before so I do have some experience. But none of them had counter rotating tines which, while without them the machine can beat you to death, it does tend to move the tiller straight ahead. When this Husky starts to tilt left or right it is a damn hard machine to control. Mrs. Cog would not be able to handle this machine.

Let me know your thoughts.

Cognitive Dissonance

Garden/Lawn Tractor

Once we made the decision to purchase our mountain home we knew that eventually, meaning real soon, we were going to need to purchase a riding mower. That or I was going to die a slow and agonizing death mowing a hilly acre + with a 22 inch self propelled lawn mower. Walking a mid sized lawnmower around for 6-7 hours once a week during the summer is a young man's game and not for me.

So once I convinced Mrs. Cog that a riding mower would improve our lives (meaning mine) and that it could be used for many other tasks, including hauling cut wood out of the woods, and all kinds of stuff around the property/garden I got down to some research.

For my price range, under $1700 if at all possible, the market is pretty narrow with only a handful of name brands available, some of which are just re-badged for that particular brand, but actually made by another manufacturer. Based upon the local mower of choice, John Deere seems to be the favorite around here with a distant second going to Craftsman. There is a smattering of Yard Boy, Cub Cadet, Snapper, Troy-Bilt, Poulan and Husqvarna.

Interestingly Husqvarna makes mowers for several of the name brands including Poulan and Craftsman. Pulling up www.consumerreports.org I found that Husqvarna and Craftsman were highly rated along with John Deere. Everyone else was bringing up the rear in the ratings at this price point with John Deere at the very high end of the price point.

As a side note, soon after moving up here in the middle of June we noticed that many people place their pride and joy lawn tractor in their front yards rather than out back in the garage or storage shed. I suspect we had stumbled upon a mine-is-bigger-than-yours informal competition amongst the locals. I wisely decided not to show mine being new to the neighborhood. Besides, we live at the end of a dirt road off a dirt road off a back road so no one would see it anyway. :)

My qualifications were simple. I wanted power for the hills on the property and nothing wider than a 46" cutting deck because of some tight spots to get through and a generally uneven and bumpy lawn. I wanted four control wheels for the cutting deck to help prevent scalping the uneven lawn, and as much as I wanted to go with the manual transmission, since Mrs. Cog and daughter were going to use the tractor at times, I decided to go with an automatic transmission.

Because the John Deere was several hundred dollars about my ideal price range and the nearest Husky dealer was 50 miles away I decided to go with the Craftsman....which was essentially the Husky except for some trim pieces and badges. Best of all it was on sale and shipping was free from the local Sears outlet within 25 miles. Plus I could get service from there as well. The 2 year warranty on the mower and 5 years on the frame was also as good or slightly better than the Husky.

Left Side BabyTractor Engine

So I took the plunge and purchased the Craftsman YT 4000 46 inch 24 HP Riding Lawn Tractor Model 28857 for just under $1,630 plus tax. Above are pictures of the tractor on delivery day with lots of bright promise and no disappointment yet realized. Houston, the baby has landed.

To be honest I was a bit intrigued by the Briggs & Stratton 724 cc 24 HP V-Twin OHV motor, particularly the fact that the lubrication system was pressure fed rather than the typical splash oiling system. Briggs only makes one mower engine larger than this in this line, a 26 HP slightly larger displacement engine that was much more expensive. And Consumer Reports rated this tractor a Best Buy, so why not.

The 46 inch cutting deck uses two blades rather than three. Which means there is a slightly higher tip speed on these longer blades and I was hoping this would help cut my less than the best lawn. As it turns out the deck does a real nice job cutting the uneven lawn mainly because of the four control wheels, two more than most decks. However, I did find every damn rock in my yard by the end of the cutting season, so we can kiss that set of blades goodbye. I will re-sharpen them as best as I can and then put them aside as backups.

Deck


BTW as ineffective as the wash out plug/nipple was on the self propelled Husky lawn mower, the one on this deck worked brilliantly. Anyone who owns a large cutting deck knows how difficult it is to properly clean out all the grass clippings after each use, particularly in the spring when the grass is very green and sticky. Yet 5 minutes with the hose attached to the clean out nipple and the underside of the cutting deck is super clean.

The picture below was taken when I finally pulled the deck off the tractor at the end of the cutting season. That was the condition I found it in when I turned it over. Remarkable really. But check out the damage to the cutting blades. Damn to hell those rocks.

Underside

There were some nasty comments about the B&S V-Twins left on the various internet blogs, but it seems they were talking about an older version of this engine and some of them don't understand that the oil level must be maintained and the oil changed more often than every ten years. The two year warranty on the engine put to rest any fears I had on this one. I knew I would be careful and maintain it per the schedule so if it was going to break, it will probably break during the warranty........hopefully.

During the winter months I'm using the tractor as a work horse, hauling the swivel dump cart around the woods and on the the local (abandoned) logging roads while cutting wood for the Heatmaster 5000. As long as I can get traction the tractor will go anywhere I want it to and some of these logging roads are very steep. I put chains on the rear wheels to help with the traction issues and with my 280lbs seated over the rear axle, as long as both wheels get a bite there is no stopping this beast.

The other day I descended this (see below) steep 20 year old logging road I had previously cleared to get to some fallen trees I had already bucked some months ago. I had previously abandoned the wood because it had rained and I could not get enough traction to pull the loads back up the incline. Since it had been dry for a week I tried again, rightly assuming I could deal with the leaves, loose soil and rocks and make it back up for the two trips needed to get all the wood out.

Both trips were still an adventure and the last 30 feet were interesting as I shifted my weight back as far as I could to maintain traction. I actually got the front wheels off the ground for a good distance. It reminded me of my youth crashing around in the woods on my dirt bike. The hill is actually steeper than it looks in the photo. Clearly traction and not power is the limiting factor with this tractor.

Load em up

Craftsman touts their so-called "Turn Tight Technology" on many of their tractors. While I like that the tractor will turn tighter than most other tractors and close to the turning capabilities of a zero-turn mower there are times when it is a pain.

For example, on any wet or slippery surface if you wheel the tractor to one side or another too quickly the front wheels start to plow instead of grab and change the direction of the tractor. This can be as minor as sliding on the lawn a bit to as major as running off the logging roads around here.

I suspect I'm asking this tractor to do things not normally asked of it nor designed to do it. I am learning to compensate for it by being a bit more careful when turning, particularly on a down slope. I suspect the larger than average amount of power available also has something to do with it. No other 46" cutting deck mower out there came with a 24 HP engine. This power rating is usually reserved for 48' - 56" cutting decks. In fact Sears no longer sells this combination of engine size, power and cutting deck size.

The Hydrostatic Transmission has been flawless, handling anything and everything I throw at it. At times I wish I had a lower pulling gear, but have developed a workaround by lowering the engine speed and engaging the drive, then after fully engaged slowly increasing engine speed. This helps cut down on wheel spin in low traction conditions. It works because the engine seems to have plenty of low end torque and doesn't need to be revved in order to pull a heavy load from a standing (uphill) start.

The cutting deck has 6 positions, thought in practice I stick with one or two because of the lumpy bumpy lawn. And the cutting deck height adjustment is spring loaded, which helps take the work out of raising the deck momentarily when abruptly changing grades or running over high spots and bumps.

On the trail

The four control or "gauge" wheels on the cutting deck are adjustable and the drill is to find the average deck height you will be using, then adjust the wheels to that height. I was definitely spot on in requiring 4 wheels because 2 would have been a disaster. On the other side of the equation, those 4 wheels tend to discourage turning the tractor and may contribute to the tendency of the mower to continue straight when turned sharply on slippery grass.

The cutting deck was pretty easy to remove, requiring for the most part removal of clips and pins and the removal of the drive belt from the main engine pulley without having to take it off the deck. The two plastic guards placed over the pulleys directly driving the cutting blades are poorly designed and tend to trap grass and debris that doesn't come out easy when cleaning. But don't pull off the guards because soon enough you might be missing a toe or finger.

The seat is surprisingly comfortable, not too soft and not too firm for a big guy like me and adjusts forward and backward at least 6 inches, allowing short Mrs. Cog and tall Mr. Cog equal access to the joys of lawn mowing nirvana. Best of all it is sealed so you can spray away with the hose and not worry about a water logged seat.

The gas tank is located under the seat, my preferred location, rather than up under the engine cowling shoehorned in next to the battery. It holds at least 3 gallons and won't run out until I have been worn down from the work. The seat folds up to get to the bolts under the seat and to access the top of the gas tank. There is a "gas gauge" down between your legs that is useless and not worth even looking at. The actual gas tank filler spout is to back left when seated on the tractor and it has a large open mouth and is easy to fill. The cap clicks when fully screwed on.

The engine has a fuel filter to the left of the engine that is easy to access when it needs to be changed. The oil filter is bright yellow and on the same side as the fuel filter which feeds into the fuel pump.  The air filter is a two stage filter system and is easily reached up top with two finger sized 'bolts' that screw off and on by hand. The battery is snugged up behind the engine and under the control panel/steering wheel.

Filters


If you scroll further up and look at the image of the right side of the engine you will find the engine oil dip stick with the yellow cap and a rubber hose with a yellow cap. That hose is the oil drain hose and it has a positive lock cap for no unexpected surprise oil dumps. This makes changing the oil a breeze, though changing the oil filter on the other side can and does get messy. Two quarts of the good stuff please and check the tires as well.

The 'break' pedal is to the left and the 'go' pedal is to the right. They are large pedals and that's good for those of us who wear large heavy work boots. Never have I pushed on either pedal and felt any bend or spongy feel. 'Reverse" is this little nub sticking up through the floor board on the right. I suppose it is designed this way to make you consciously search for it so that you are mindful of what you are doing. I find it a pain in the butt.

The ignition switch must be turned to the 'reverse' position when the cutting deck is engaged before backing up or the engine stalls. Just another safety feature to prevent mindless backing over of pets and children.

There is something they called a parking brake. Basically you depress the brake and then pull up on a lever below and to the left of the steering wheel and it keeps the brake engaged. Do this after disengaging the cutting deck and you can get off the seat without stalling the engine. Don't set the parking break and as soon as you stand up the engine goes out. Safety first. The nanny state loves you.

There is also a cruise control which doesn't actually change engine speed, but basically locks the "go" pedal in the down "go" position. Hit the brake and it disengages. And what tractor is complete without a cup holder on the back right side. I laugh at it, then put my water bottle in there and am grateful for the holder when I have worked up a thirst.

At over 500 lbs this is considered a mid size tractor. I have grown fond of it and I'm often impressed with what it can do once you know how to work around its quirks. While we have yet to see how reliable it is, with over 50 hours on it so far all is well. I will post updates as the new cutting season progresses.

01-30-2014

Cognitive Dissonance

Hard Wired Portable Generator

Because we are outsiders who recently moved into a small mountain community (we are 'city people' in the eyes of the locals) one of our long term goals here on the mountain is to ingratiate ourselves into the community by demonstrating that we are good neighbors with value to offer that can be counted on when needed. This little project helped to kick start that process.

Shortly after we moved here we discovered that we needed the services of a professional contractor. Immediately we began looking locally since whenever possible we prefer to buy (and sell) locally to keep the money in the community. We quickly found that the person we needed (with a small crew of workers) was just down the road a few miles from us.

The first time he and his crew came by to begin work I struck up a conversation with the owner. While we come from very different worlds we seemed to hit it off. He was curious about this outsider and found me interesting. I talk and dressed differently, but I seemed harmless enough. And he was very bright and articulate and knew his business inside and out.

The second time he was back I told him I planed to install a standby generator myself, doing everything except the propane installation. He told me he was thinking along the same lines and we compared notes. The third time he came back I was already knee deep into the generator installation and he saw that I had not killed myself.....yet. At that point he told me he had decided to go with a large portable generator, 17.5kws to be exact.

About a month later his wife, who runs his business office, emailed me to ask if I could come over and meet with her husband to discuss helping him hook his new generator into his home wiring system. I jumped at the chance to help out my new friend and was over there the next day.

The Situation

Up to this point my friend had used a smaller 5000 watt portable generator and back fed it into his home's electrical system by shutting down the main 200 amp circuit breaker at the meter outside, then plugging the generator into the 30 amp welding outlet in his garage and back feeding the generator's power into the house. He understood that he needed to isolate the home from the utility line when using the generator or he ran the risk of injuring a utility lineman or a neighbor.

His main feed was a little funky, as I have found many homes around here are. His house was built first, then a few years later he built his very large garage/business workshop and ran power out there from the house. The good news was that the utility power came in underground and up into his meter. It then was routed into a main 200 amp exterior rated panel. From there he had installed a separate 100 amp circuit breaker below the disconnect which fed the garage circuit breaker panel. The house electrical panel was fed directly off the 200 amp main circuit breaker. There is also a small 20 amp circuit breaker feeding an outside outlet below the panel.

Main Dissconnect


His original plan was simply to feed his new (essentially 75 amp) 17.5kw generator into the sub panel in the garage (using a much heavier panel input than the current 30 amp welding plug) and feed the house the same way he had done with his much smaller generator. I looked over all his sub-panels, his main disconnect and the house main panel while taking many photos along the way. I asked lots of questions to understand what it is he wanted to do rather than how he wanted to do it. I wound up returning several times to re-examine the system and talk to him some more.

Then I did my research both on his current wiring setup and his portable generator. Initially I didn't look too closely at the generator other than to examine the output plugs and surge capacity. I almost made an error here, but caught myself when something about the generator didn't compute.

My friends assumption, which initially became mine by default, was that we could just hook the new generator up as he had done before with just a heavier cable. We would not need to upgrade the wiring from the garage to the house because it was already wired for 100 amps and the generator maxed out at 75 amps, 85 if you counted the surge capacity.

But something wasn't right and I couldn't figure out what, so I went to the Generac web site and downloaded the portable generator technical manuals and started haunting various web blogs frequented by electricians who work with generators. What I found surprised me and a few other electricians judging by the responses on the blogs.

What had me searching for something that I felt was wrong was the fact that while the 17.5kw Generac portable generator could put out 240 volts at 75 amps (plus or minus) the largest output plug was rated at, and protected by, a 240 volt 50 amp circuit breaker. There was also a 240 volt 30 amp output and the assumption by the owner had been to use two plugs wired into the same garage sub-panel to gain the total output of the generator. But why would Generac put only a 50 amp outlet on a machine that could put out 75 amps?

It turns out that the answer is the national electrical code which restricts all portable generators to a maximum of one 50 amp 240 volt outlet. There can also be other outlets, such as a 30 amp and a 20 amp. But here is the kicker. All the outlets are not phase synchronized, which means that if they are plugged into the same circuit panel any electrical motors running off that 'dirty' power will burn up and other issues will rear their ugly head. You simply cannot combine power sources that are out of phase.

GenSet Close up


The 50 amp 240 volt output cable is plugged into the bottom of the control panel. The Generac portable GenSet pictured above is essentially the same engine and generator as my permanently installed Generac 17kw standby GenSet except this one is powered by gasoline, giving it a surge capacity and more flexibility. But it is even less fuel efficient than mine while using more expensive, and potentially harder to find, fuel.

So what do I do? Initially I went back to my friend and explained the situation. While he didn't understand what 'phase' was he was resigned to only having 50 amps available to power his house and garage. It was still 2.5 times greater than his old generator was capable of producing. But something told me I could wire this sucker to utilize all it's output if only I thought about it long enough.

Long story short what I needed to do was to treat his house and garage as entirely separate circuits. This way I could use the 50 amp output to feed the house and the 30 amp output to feed the garage/business workshop. This way is did not matter if the two generator outputs were out of phase since the two panels would be separated and the power never mixed.

My friend's other requirement was that he wanted to build a shed with doors behind the garage where he would store the portable generator. When it was needed he could simply prop open the doors and fire it up, then do whatever he needed to do with switches to disconnect the utility and engage the generator. I suggested he use a flexible pipe to vent away the exhaust gases from the generator so they aren't sucked into the intake and stall the engine. He took my suggestion under advisement.

The only other issue he vetoed was installing a whole house transfer switch at the meter to mechanically disconnect the utility before engaging the generator circuits. He felt his method of flipping the 200 amp main off nest to the meter was sufficient. While I disagreed it was his show and his generator. Instead I tried to compensate for this omission by building other safety steps into the system.

First off I needed to install a simple 100 amp transfer switch in the electrical feed line between the house and the garage sub-panel. This was needed so that I could isolate the garage from the house when on generator power. But I also needed to send the 50 amps of generator power back to the house using the same feed cable. I decided to place that transfer switch physically under the garage sub panel where it was easiest to intercept the feed cable before it entered the garage sub panel.

I'll skip all the details and just say that it was a bitch taping into the feed conduit coming up into the sub panel so that I may insert the transfer switch without cutting the wires inside. Obviously I cut the power in that line while I was working on it. But it is nearly impossible to cut a plastic conduit without cutting what is inside. So I didn't cut the conduit. There was a coupler near the floor and I chiseled it off, allowing me to remove a section of the conduit between the coupler and the sub panel. The feed cable was aluminum and not easy to maneuver in the colder weather.

Below you can see the garage sub panel which is located on the front wall of the garage next to the garage door. Below it is the semi installed transfer panel with most of the wiring done except for the feed coming from the back garage wall. Coming down from the top right is the conduit from the back wall that ran along the ceiling that contains two sets of generator feed cabling, one 6 gauge and one 4 gauge. I sized the conduit to handle more than twice the cabling used, so no worries about heat buildup.

Transfer, subpanel and gen feed conduit


I decided to place two cutoff switches on the back wall of the garage where the two low temperature flexible cables entered from the shed behind the garage. I wanted to give my friend a positive shutoff to disconnect both the 30 amp feed for the garage and the 50 amp feed for the house from inside the garage. I always wanted at least two places where the generator feed could be shut off in addition to the generator itself.

In the picture below you can see the two wall mounted small circuit breaker panels, one 50 amp and one 30 amp, as well as the conduit that runs to the front of the garage where the sub-panel and transfer switch are located. The two flexible feed cables from the generator feed directly into each panel from the backside. The picture at the very top of this article shows the generator inside its shed. It also shows those two flexible cables connected to the generator and running through the outside wall. Those cables run into these two boxes.

And Yes, that is a fox hanging on the wall.

BTW, my friend heats both his home and his workshop/garage with a wood stove boiler and you can see the garage heat exchanger/fan hanging from the ceiling in the upper right of this image.

Gen feeds and conduit


Below is an image of the completed garage sub-panel modification with the transfer panel below it, the generator feed conduit on the right and a meter placed to the right of the transfer panel to monitor the 50 amp feed going to the house.

I wasn't too concerned with my friend exceeding the 30 amps feeding the garage. He understands that when the generator is on one must always think about total power consumed before turning on any heavy motors. But the house is a different matter and doing normal household stuff while on the generator can easily exceed 50 amps. As well we knew that all 240 volt appliances in the house would be mostly balanced between the two 120 volt sides, but that the rest of the house, meaning lights, outlets, refrigerator and freezer etc that run on 120 volts might unbalance the system if they were clustered to one side or the other of the main house panel.

I installed the meter so that when his generator is running he can come out to the garage and see if both sides of the electrical load going to the house are pretty even with just a glance. If it is consistently unbalanced I can come back and move some of the unbalanced load from one side of the main house panel to the other side. Too heavy an unbalanced load run for too long can damage the generator.

Transfer Switch and Meter


One of the things I was worried about when building this type of hybrid system is for someone who doesn't know what they are doing, or worse thinks they do, to come in and start throwing switches. I told my friend that I wanted to build in some redundancy in order to increase safety and then create simple instructions that allow someone who has never seen the system before to know how to start things up, shut down to refuel and then start up again, and finally shut it all down when utility power comes back on.

If you notice in the image above I have clearly labeled the transfer switch, though what you don't see is that I labeled it to make intuitive sense, which is just the opposite of 'code". The national electrical code only makes sense to an electrician, and then only half the time.

Below is the finished cutoff switches for both the 30 amp garage feed and the 50 amp house feed. Again they are clearly labeled, only in this case I wanted it to be crystal clear which way was OFF. In an emergency you want to know how to turn things off and once again the code labeling is confusing. The new panel labeling is not.

Slipped behind the conduit are the printed instructions I created for the system. They were printed on yellow paper and then laminated. The only thing worse than confusing instructions are instructions you can't find and yellow paper is easy to find even when mixed in with white paper.

I printed out 6 sets and placed them on the generator, behind the back wall conduit, hanging from the transfer switch itself, inside the exterior 200 amp panel near the power meter where you disconnect from the outside world and two in the hands of my friend's wife so that she may start the system if hubby ain't home and the power goes out.

Generator feeds with Instructions


Ultimately the 30 amp garage generator feed can be shut down from the generator, from the back wall panel and from a 30 amp circuit breaker I installed in the garage sub-panel. If you scroll back up to the picture of the finished garage sub-panel and transfer switch you can see a label on the outside of the sub-panel that says "Generator Feed". Inside the door you will find that 30 amp circuit breaker.

The 50 amp house generator feed can be shut off at the generator, on the back wall of the garage, at the transfer panel and at the 100 amp circuit breaker found inside the panel next to the house electrical meter. The instructions always begin by shutting down the outside world with the 200 amp disconnect next to the meter before any other switches are thrown to start up the generator and feed the system.

The reverse is the case when the utility power comes back up. Everything else is shut down and switched over before the operator is told to turn the outside world back on. Those steps are in big bold black oversize type. The instructions show a step by step process of what exactly to do first, second, third and so on.

After we had tested the system and all was OK I reset the generator system to off and grabbed one of his employees. I handed him the instructions and told him the power had failed and to start up the generator system. Then I shut my mouth and watched him go through each step while I looked for flaws in my instructions. Even better, the employee was nervous working around electrical power so I'd picked the perfect test case. Both generator start up, refueling and shut down worked flawlessly and no instruction changes were needed. My friend was most pleased.

Before we had started this project my friend and I had agreed to barter our services so no cash changed hands. I quoted him a very fair price for my labor with him buying the parts. And even though I ran over on the hours I stuck to the price. I was building goodwill here and my loss was more than compensated for by the community connection I was making. It was a win win situation all around.

Cognitive Dissonance